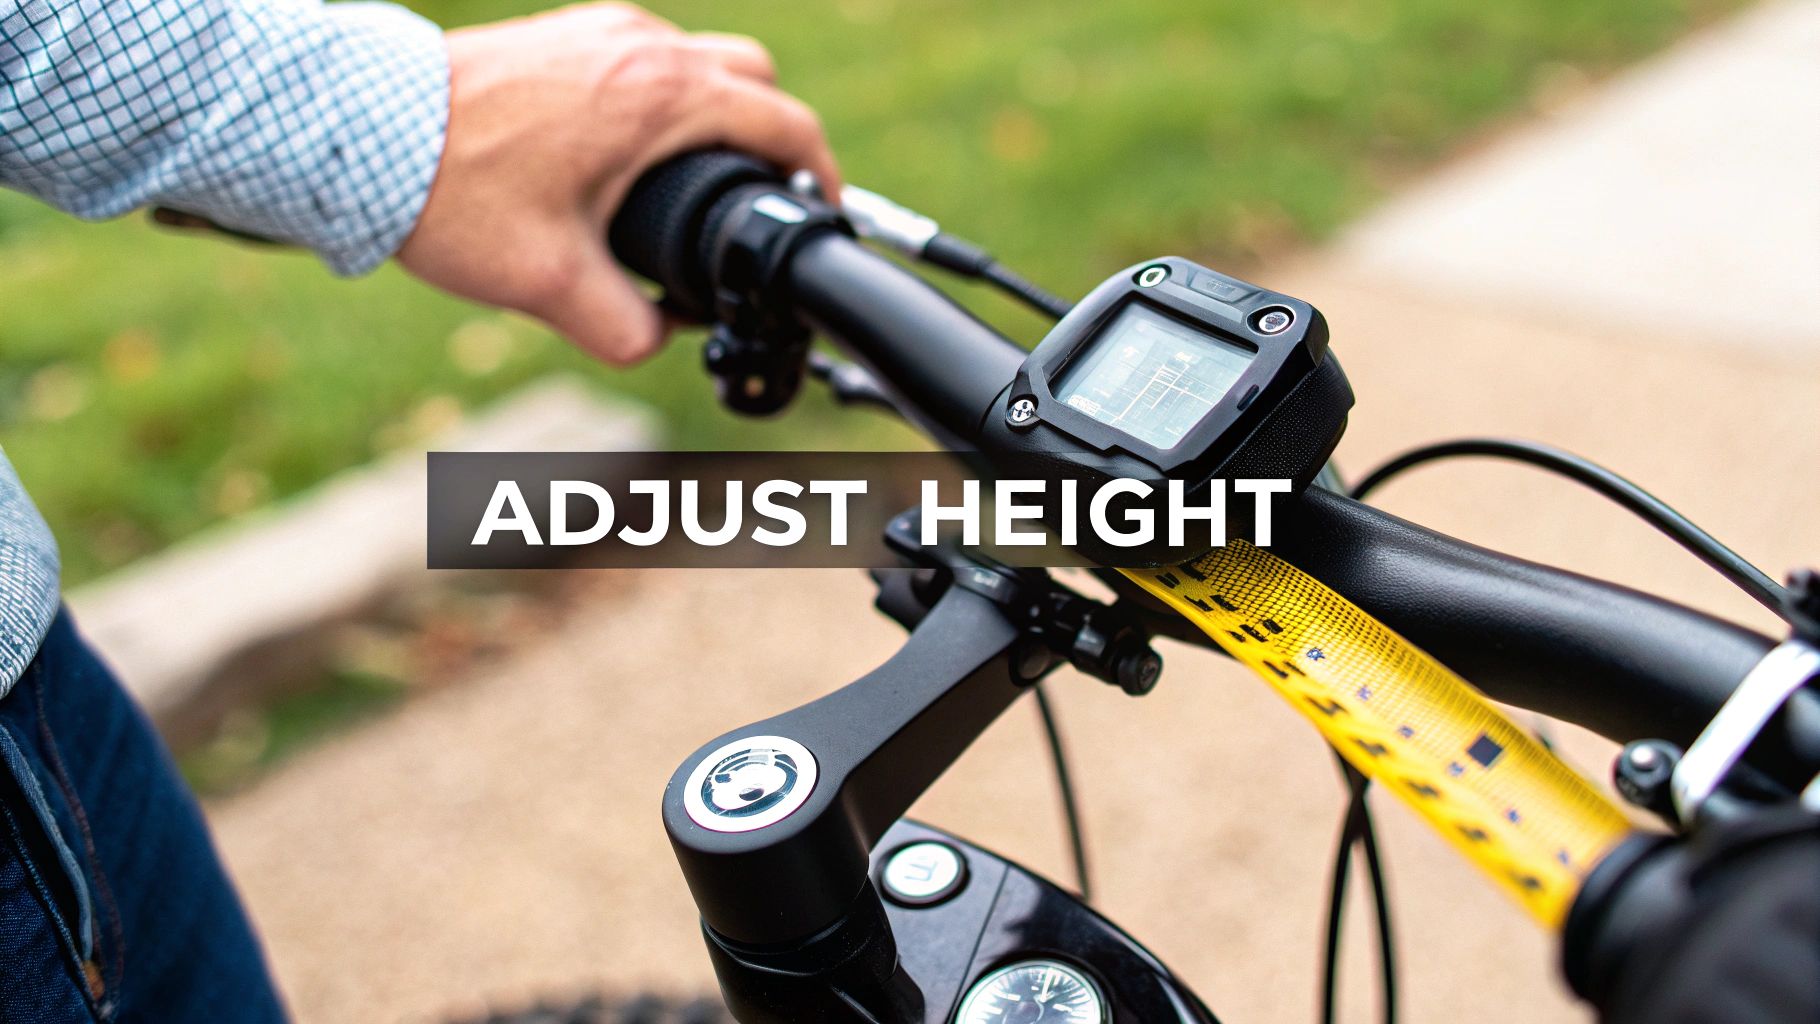
You'd be surprised how much of a difference a few minutes with an Allen key can make. Adjusting your handlebar height seems like a tiny tweak, but it's one of the quickest ways to completely transform your ride from just "okay" to incredibly comfortable and controlled. It’s all about finding that personal sweet spot where your e-bike or e-scooter feels like an extension of you.
Why Your Handlebar Height is a Bigger Deal Than You Think

Before you start loosening bolts, let's talk about why this matters so much. Getting your handlebar height right isn’t just about feeling a little more comfortable; it’s fundamental to your safety, how well you can control your ride, and your overall enjoyment.
A bad setup forces you into an awkward posture, and that’s where the trouble starts. If you’re constantly hunched over bars that are too low, you’ll feel it in your wrists and shoulders. It’s also a classic recipe for lower back pain, even after a short trip. On the flip side, handlebars that are set way too high can make your steering feel floaty and imprecise, which is the last thing you want when navigating a busy street.
The Real-World Payoff of a Dialed-In Setup
When you nail the right height, the change is immediate. You’ll feel it right away.
- You'll Actually Be Comfortable: This is the big one. Less strain on your back, neck, and shoulders means you can enjoy the ride without wincing. A more natural, upright posture is just plain easier on your body, whether you're commuting across a city in the US or cruising scenic Australian bike paths.
- Better Handling and Stability: The right position gives you way more authority over your e-bike or e-scooter. You'll feel more confident steering through tight spots, dodging potholes, and keeping things stable on rougher pavement.
- You Can See More: A slightly more upright position naturally brings your head up, which opens up your field of view. This is a massive safety boost, as you’ll be able to spot traffic, pedestrians, and other hazards much earlier.
This isn't just a feeling; the science backs it up. Getting the ergonomics right can reduce back strain by as much as 30% for casual riders. Raising the handlebars to a more comfortable position can even lower muscle activity in your lower back by 15-20%. And the best part? It's a fix that usually takes less than 15 minutes.
The ultimate goal is to find a neutral, relaxed riding position. Your arms should have a slight bend, and your back should be fairly straight—not arched like a cat or hunched over. This is the foundation for a great ride, every time.
Here’s a quick look at how different handlebar heights affect your ride.
Quick Guide to Handlebar Positions
| Handlebar Position | Primary Benefit | Best For | Potential Downside |
|---|---|---|---|
| Lower | Aerodynamics & Power | Sporty riding, climbing hills | Strain on back, neck, and wrists |
| Neutral (Level with seat) | Balanced Comfort & Control | All-around daily commuting, fitness | A compromise; not specialized for speed or pure comfort |
| Higher | Maximum Comfort & Visibility | Casual cruising, long-distance touring | Less aerodynamic, can feel less connected to the front wheel |
Finding the perfect balance is key.
For serious cyclists, this small adjustment has a huge impact on efficiency and endurance. It's a critical part of optimizing your bike setup within a comprehensive Ironman training plan. By taking a few moments to dial in this setting, you’re not just tinkering with your bike; you're personalizing it for better performance and a much more enjoyable ride.
Getting Your Tools and Workspace Ready
Before you even think about touching a bolt, let’s get everything in place. A little prep work goes a long way and turns a potentially fiddly job into a smooth, safe process. Think of it as mise en place for your bike—everything ready before you start cooking.
The good news is you won't need to raid a professional mechanic's toolbox. For the vast majority of e-bikes and e-scooters you see across Australia and the US—from brands like Eleglide, Engwe, or Hitway—the tool list is surprisingly short.
Your Core Tool Checklist
You can tackle just about any handlebar adjustment with a handful of common items.
- A decent set of Allen keys: You’ll be reaching for the 4mm, 5mm, and 6mm sizes constantly. These are the bread and butter for stem bolts and top caps.
- A tape measure: Don't just eyeball it! Precision matters here. A tape measure lets you track your changes and replicate that sweet spot height later if you need to.
- A bit of tape or a non-permanent marker: This is my favorite trick. Slap a small piece of electrical tape on the stem to mark your starting point. It gives you an instant reference so you don't get lost.
Now, those tools will absolutely get the job done. But if you want to do it like a pro, a torque wrench is a game-changer. It’s the single best way to avoid the classic mistake of over-tightening bolts, which can strip threads or even crack expensive components. Understanding how a dynamometer works gives you some insight into why measuring force is so critical for safety, which is exactly what a torque wrench helps you do.
Pro Tip: While you're at it, give your tires a quick squeeze. Your bike's overall geometry and feel can change with tire pressure. If they feel soft, it's the perfect time to top them up. We have a simple guide on inflating bike tires if you need a refresher.
Finally, set up your space. You don't need a dedicated workshop, just a flat, stable area. Lean your e-bike or e-scooter securely against a wall. If you happen to have a bike stand, now's the time to use it—it's a massive help, freeing up both your hands. A few minutes of prep means you can focus completely on getting that handlebar height just right, without any distractions.
Getting Hands-On: Adjusting Threadless and Quill Stems
Alright, let's get down to the nitty-gritty. This is where we’ll actually tweak your e-bike’s handlebar height. Most e-bikes today use one of two main types of stems—that's the bit connecting your handlebars to the bike's frame. You'll either have a threadless stem or a quill stem.
Threadless stems are what you'll find on most modern e-bikes, especially in markets like the US and Australia. Quill stems, on the other hand, have a more vintage, streamlined look and are common on city bikes and some hybrids. Don't sweat it; we'll cover how to handle both.
Before you grab your tools, a quick mental walkthrough can save a lot of hassle.
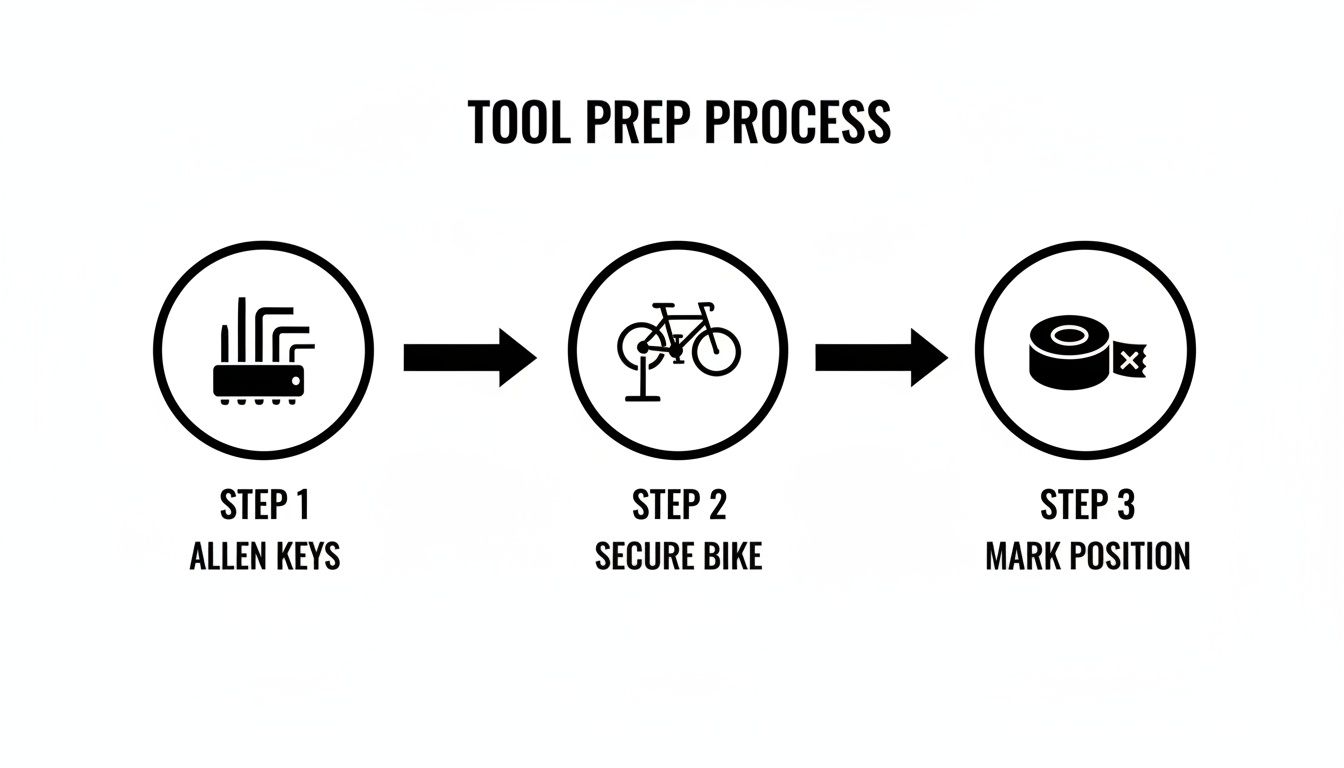
This little graphic sums it up perfectly. Get your Allen keys, make sure the bike is stable, and mark your starting point. Simple prep makes for a smooth job.
Adjusting a Modern Threadless Stem
Take a look at your stem. If you see a stack of round rings—called spacers—either above or below it, you've got a threadless setup. These spacers are your ticket to a new handlebar height. The whole assembly is held in place by a bolt on the very top (the top cap) and a couple of bolts on the side of the stem.
First things first, loosen the two side bolts where the stem clamps around the fork’s steerer tube. You don't have to take them all the way out; just back them off enough so the stem can wiggle freely.
Now, move to the top cap bolt and remove it completely. This bolt's main job is to set the tension for the headset bearings, not to clamp the stem down hard. With that bolt out, you should be able to slide the stem and any spacers right off the top of the steerer tube.
Want to raise your handlebars? Just swap a spacer from above the stem to below it. To lower them, do the reverse. Each spacer makes a small but noticeable difference, so play around until it feels just right.
Heads Up: This next part is critical for safety. The reassembly order is not optional. Once your spacers are rearranged, slide the stem back on, then pop the top cap back on. Tighten the top cap bolt first. Snug it up just enough to eliminate any rocking or play in the headset, but not so much that it makes steering feel tight or sticky.
With the headset tension set, stand over the bike and align your handlebars so they're perfectly straight with the front wheel. Now you can go ahead and tighten those side stem bolts. Make sure they’re good and snug, ideally to the manufacturer's torque spec. That final step locks everything securely in place.
Adjusting a Classic Quill Stem
Quill stems have a much simpler appearance. You’ll see a single, long bolt going vertically through the top of the stem. This bolt controls an expander wedge hidden inside the steerer tube, which is what holds the whole thing tight.
To make an adjustment, all you need to do is loosen that one central bolt. Grab your Allen key and give it two or three full counter-clockwise turns. That should be plenty to release the pressure on the internal wedge.
At this point, the handlebars should slide up and down. If it feels stuck, which can happen over time, give the top of the loosened bolt a gentle tap with a rubber mallet. That usually does the trick to break the wedge free.
Now, just move the handlebars to your preferred height. The single most important thing to watch for here is the minimum insertion line. Every quill stem is etched with a line showing the absolute highest you can safely raise it. If you can see that line, your handlebars are dangerously high and need to be lowered immediately.
Once you’ve found that sweet spot, tighten the central expander bolt back down firmly. To check your work, stand over the bike, grip the front wheel between your knees, and try to force the handlebars to turn. If they twist but the wheel doesn't, that bolt needs to be tighter. Once it's rock solid, you're good to go.
Finding Your Personal Sweet Spot for Comfort
Alright, you've got the tools and know the basic steps, but here's where the real magic happens: dialing in the handlebar height that feels perfect for you. Forget about universal rules or a single magic number. This is all about your body, your riding style, and chasing that pain-free, comfortable ride.
The way you ride should dictate your setup. Simple as that. If you're mostly cruising around town as a casual commuter, you'll want a more upright posture. Bringing your handlebars up nearly level with your saddle is a game-changer. It gives you a great view over traffic and takes a ton of strain off your back and shoulders.
On the other hand, if you're chasing speed or hitting more aggressive trails—something we see a lot with riders in the US and Australia—a lower handlebar position might be your ticket. Dropping the bars down a bit gets you into a more aerodynamic tuck and can seriously improve your handling when you’re really pushing it.
Your Riding Style Defines Your Setup
Think about what you're doing most of the time on your bike. The perfect setup for a laid-back city cruiser is going to feel awful for an e-MTB rider on a singletrack trail.
- The Urban Commuter: Comfort is your number one priority. A higher handlebar position gets you sitting upright, which means less pressure on your lower back and wrists. It’s perfect for navigating traffic and just enjoying the ride.
- The Weekend Fitness Rider: You're after that sweet spot between comfort and performance. A neutral position, with the handlebars roughly at the same height as your saddle, usually hits the mark. It lets you put down power without causing too much strain on those longer weekend adventures.
- The Performance Enthusiast: It's all about aerodynamics and control here. A lower handlebar position (below the saddle) helps you get low, cheat the wind, and feel more connected to the bike for aggressive handling.
Expert coaches will often tell you to aim for a 90-degree angle between your torso and upper arms when you’re seated and holding the grips. For most casual riders, this means a 45-degree torso lean with the handlebars raised to match, a setup shown to slash shoulder strain by an impressive 22%.
In fact, a 2022 study discovered that higher handlebars activated neck muscles 12% less than lower ones, making them a much better option for your spine. For a rider who's around 175cm tall, a great starting point is setting the handlebars just 2cm below the saddle height. From there, you can make tiny adjustments in 5mm increments until it feels just right. You can dive into the full study on how handlebar height impacts muscle activation if you want to geek out on the science.
Ultimately, the best test is your own body. Take a quick spin around the block. If you feel any pinching in your neck, soreness in your shoulders, or that dreaded numbness in your hands, the height is off. The secret is to make small, incremental changes until you find that perfect fit.
A comfortable handlebar position is a huge piece of the puzzle, but it works even better when paired with other ergonomic upgrades. Check out our guide on the best electric bike accessories to see what other tweaks you can make for a truly customized ride.
Final Safety Checks and Your First Test Ride
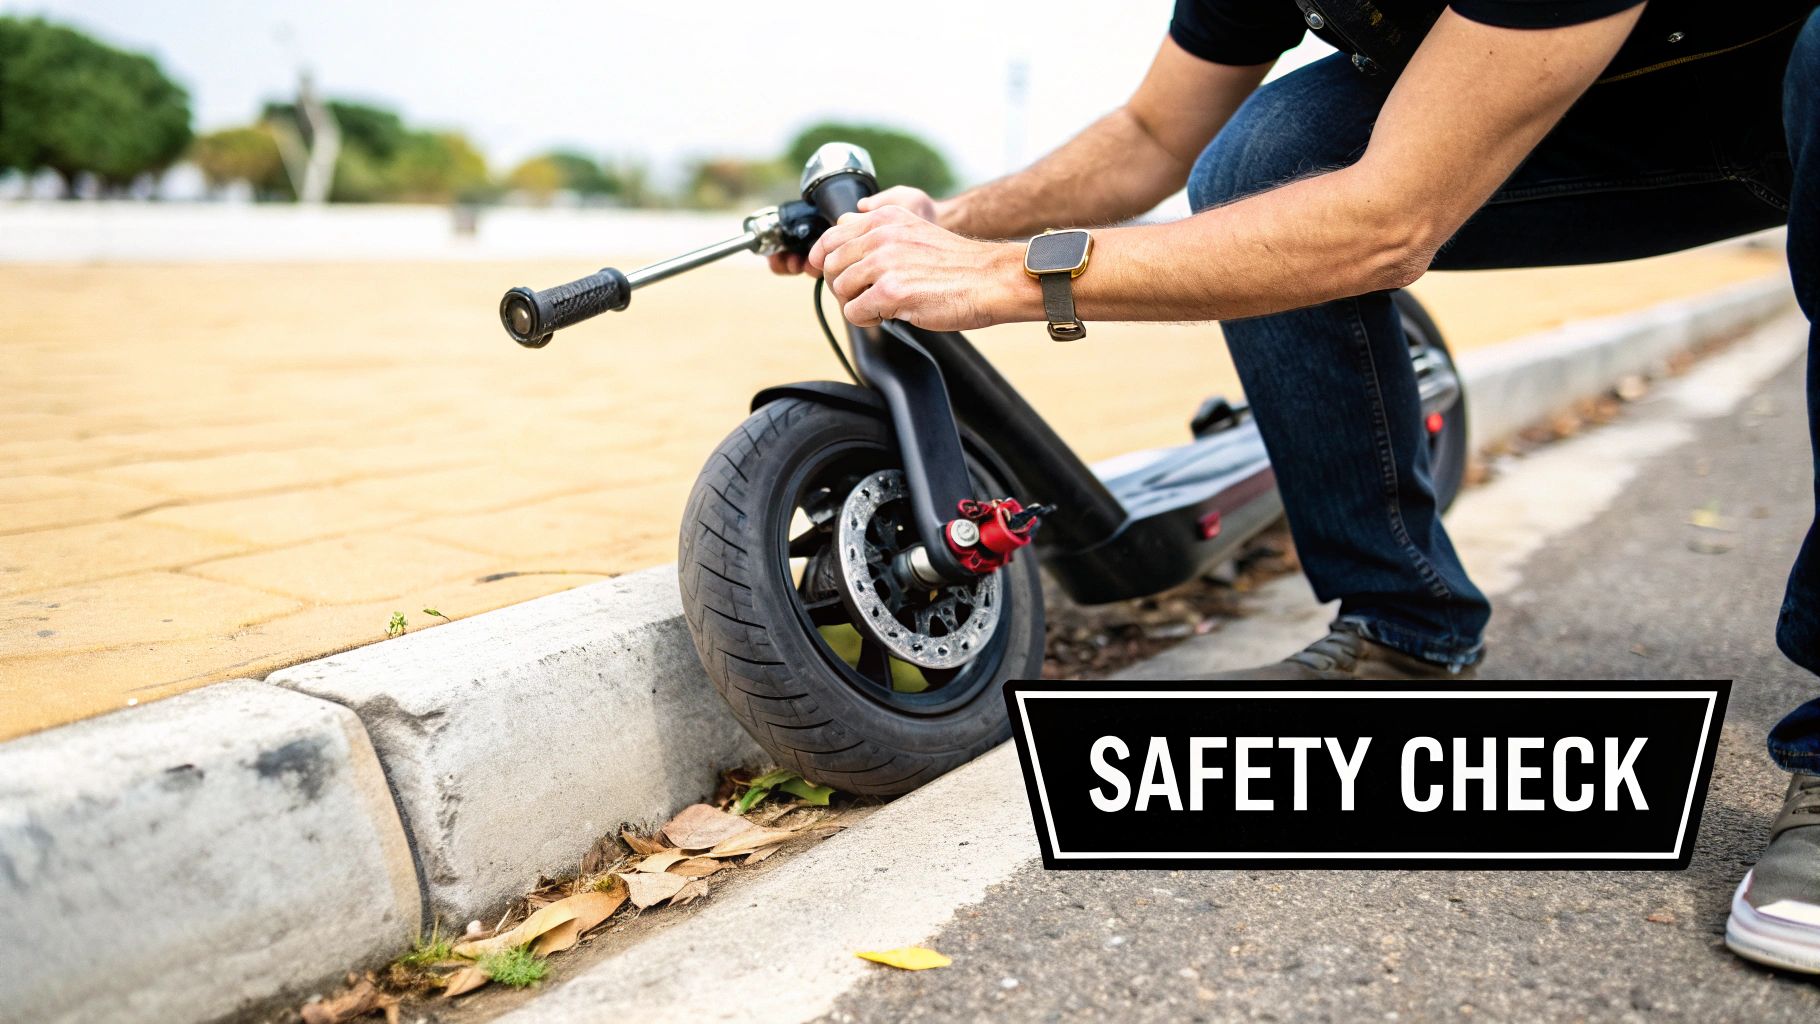
Alright, you've done the wrenching and twisting, but don't just jump on and zoom off. Honestly, this last bit is the most critical part of the whole process. It's the step that separates a decent adjustment from a genuinely safe one.
Before you take it for a real spin, a couple of quick checks are absolutely essential. This isn't fluff; it’s a non-negotiable, 60-second routine that could save you from a nasty surprise. Think of it like a pilot's pre-flight check—quick, simple, and incredibly important.
The Essential Pre-Ride Inspection
First up, eyeball your alignment. Straddle your e-bike or e-scooter and look straight down from your riding position. Do the handlebars form a perfect "T" with your front wheel? If it looks even a little crooked, you'll feel it when you ride. Loosen the stem bolts just enough to straighten it out, then cinch them back down.
Next, it's time for the "rocking test," which is a must-do if you tinkered with a threadless stem. Stand beside your ride, squeeze the front brake lever hard, and push the bike forward and back. Feel any knocking, clunking, or play around the headset? That's a tell-tale sign your top cap is too loose. You'll need to loosen the side stem bolts again, give that top cap another quarter-turn, and then re-tighten everything.
A wobbly headset is a serious red flag. It messes with your steering, makes the ride feel unstable, and can chew up the bearings inside your frame over time. Don't skip this test.
With the rocking test passed, do one final sweep of all the bolts you touched. Make sure they're all snug. This is where a torque wrench is worth its weight in gold, giving you the peace of mind that nothing is too loose or dangerously over-tightened.
Your First Spin Around the Block
Now for the moment of truth: the test ride. Let's not get carried away, though. A simple 5 to 10-minute cruise around a quiet, flat street is all you need. The goal here is to tune into how the ride feels now.
As you pedal or scoot along, run through a mental checklist:
- How's the steering? Is it crisp and predictable, or does it feel a bit sluggish or maybe too twitchy?
- What about comfort? Pay attention to your hands, wrists, shoulders, and neck. Any new aches, pains, or numbness creeping in?
- Do you feel in control? Can you easily maneuver at low speeds and make tight turns without feeling wobbly or stretched out?
This quick shakedown ride is the ultimate test. It'll tell you immediately if you've nailed the adjustment or if you need another tweak. Don't be shy about heading back to the garage to make a tiny change—sometimes just a couple of millimeters up or down is all it takes to find that sweet spot.
And of course, safety first, always. A proper fit is only half the battle, so make sure your head is protected. Our guide on choosing the best helmet for ebike riding has some great tips to keep you safe on the road.
Working Through the Kinks: Common Adjustment Hiccups
Alright, so you’ve made your adjustments, torqued down the last bolt, and hopped on for a test ride... only to find your steering feels a little wonky. Don't sweat it. This happens to everyone, and thankfully, most of these post-adjustment gremlins are super easy to exorcise.
Got a wobbly or loose-feeling headset after working on a threadless stem? Nine times out of ten, it’s just about getting the tightening order right. A loose headset is a classic sign you haven't set the bearing preload correctly. The fix is simple: loosen the side stem bolts first, then give the top cap bolt just enough of a turn to eliminate that wobble. Once it's snug, you can re-tighten the side bolts.
What about the opposite problem? If your steering feels stiff, sticky, or like it's fighting you in the turns, you've probably just cranked down on that top cap bolt a little too enthusiastically. Too much pressure on the bearings is no good. Just do the reverse: loosen the side bolts, back off the top cap bolt a quarter turn at a time until it feels smooth, and then lock everything back down.
What If You've Maxed Out and Still Need More Height?
So you've slammed the stem and moved every last spacer below it, but you're still feeling too hunched over. This is a super common problem, especially for taller riders in the US and Australian markets who are trying to get a more comfortable, upright posture on their e-MTBs. You’ve got a couple of solid options.
One route is a stem riser, which is basically an extension tube that clamps onto your steerer tube to give you that extra lift. Another path, and one that a lot of mountain bikers prefer, is to swap out the handlebar itself.
For the MTB crowd, a handlebar’s rise is everything. That’s the vertical distance from where the stem clamps to where your grips are. It turns out that high-rise bars are game-changers. Recent tests found they help keep weight on the front wheel in 80% of flat corners and slash understeer by a whopping 18%. Simply swapping a flat bar for one with a 40mm rise can give you the same lift as a big stack of spacers. With MTB participation growing by 12% annually and riser bars now on 75% of bikes in major markets, it's a popular and effective upgrade. You can geek out on all the details in this killer breakdown of handlebar rise from Enduro-MTB.com.
Honestly, troubleshooting these little issues is how you really learn what's going on with your bike's steering. Every time you fix a wobble or a creak, you get a better feel for the mechanics, and that's what turns you into a confident home mechanic.
Here are a few other common scenarios and the quick-and-dirty fixes:
- Hearing a Creak? That annoying sound is usually a bolt that's not quite tight enough or some grit that’s worked its way between parts. Take it apart, wipe everything down, and re-tighten to the proper spec.
- Bars Keep Twisting? If your handlebars won't stay aligned with the front wheel on a quill stem, the expander bolt inside needs another turn. On a threadless stem, it's your side bolts that need a bit more torque.
- Ran Out of Room to Tighten? If you lowered your stem and now the top cap just spins without tightening, it means your steerer tube is sticking out past the stem. Just pop another small spacer on top of the stem, and you'll be good to go.
Got Questions? We've Got Answers.
Even after walking through the steps, a few questions might pop up. It happens to everyone. Here are some of the most common things people ask us when they're getting their handlebars just right.
How Often Should I Be Checking My Handlebar Bolts?
Great question. You don't need to obsess over them, but it's a good idea to make it part of a quick monthly check-in, especially if you ride on bumpy city roads a lot. Just a quick wiggle and a look-see is usually enough.
The time to be extra vigilant is after a big bump, like hitting a nasty pothole or if you have a little tumble (it happens!). A sudden jolt can be just enough to knock your alignment out of whack.
Here's a pro tip: if your steering ever feels a bit loose or "off," the first place you should look is your handlebar bolts. More often than not, a quick tighten is all you need.
Can I Adjust the Handlebars on Any E-Scooter?
Sadly, no. A lot of e-scooters, particularly the ones built for straightforward commuting, come with fixed handlebars. The manufacturers do this to keep things simple and durable, which makes sense for many riders. You'll find this is common with a lot of entry-level models you might see in the US or Australian markets.
On the other hand, higher-end or performance-focused scooters often do have adjustable stems. They'll usually have a quick-release lever or a simple pin lock that makes it super easy to change the height. The absolute best way to know for sure is to check the user manual for your scooter. It’ll tell you straight up if that’s a feature you have.
What's the Difference Between Handlebar Height and Reach?
This is a fantastic question, and it's something a lot of riders get mixed up. They work together, but they control different aspects of your fit.
- Handlebar Height: Think of this as the "up and down." It dictates whether you're sitting upright (more comfortable for your back) or leaning forward in a more aggressive, aerodynamic position.
- Handlebar Reach: This is the "forward and back." It's the distance from your seat to the handlebars and determines how much you have to stretch out your arms.
Adjusting your height does have a minor effect on reach—raising the bars brings them slightly closer to you—but they are separate things. If you've got the height perfect but still feel like you're reaching too far, the fix isn't to go higher. The real solution is usually to get a shorter stem, which brings the bars closer without changing how high they are.
Ready to find a ride that fits you perfectly right out of the box? At Punk Ride LLC, we've got a massive selection of e-bikes and e-scooters from top brands like Engwe, Eleglide, and Hitway, many with the adjustable features you need to get comfortable. Explore our collection and find your perfect ride today!
Share:
A Rider's Guide to Tires for Electric Scooters
Your Guide to Electric Scooter Laws for Safe Riding