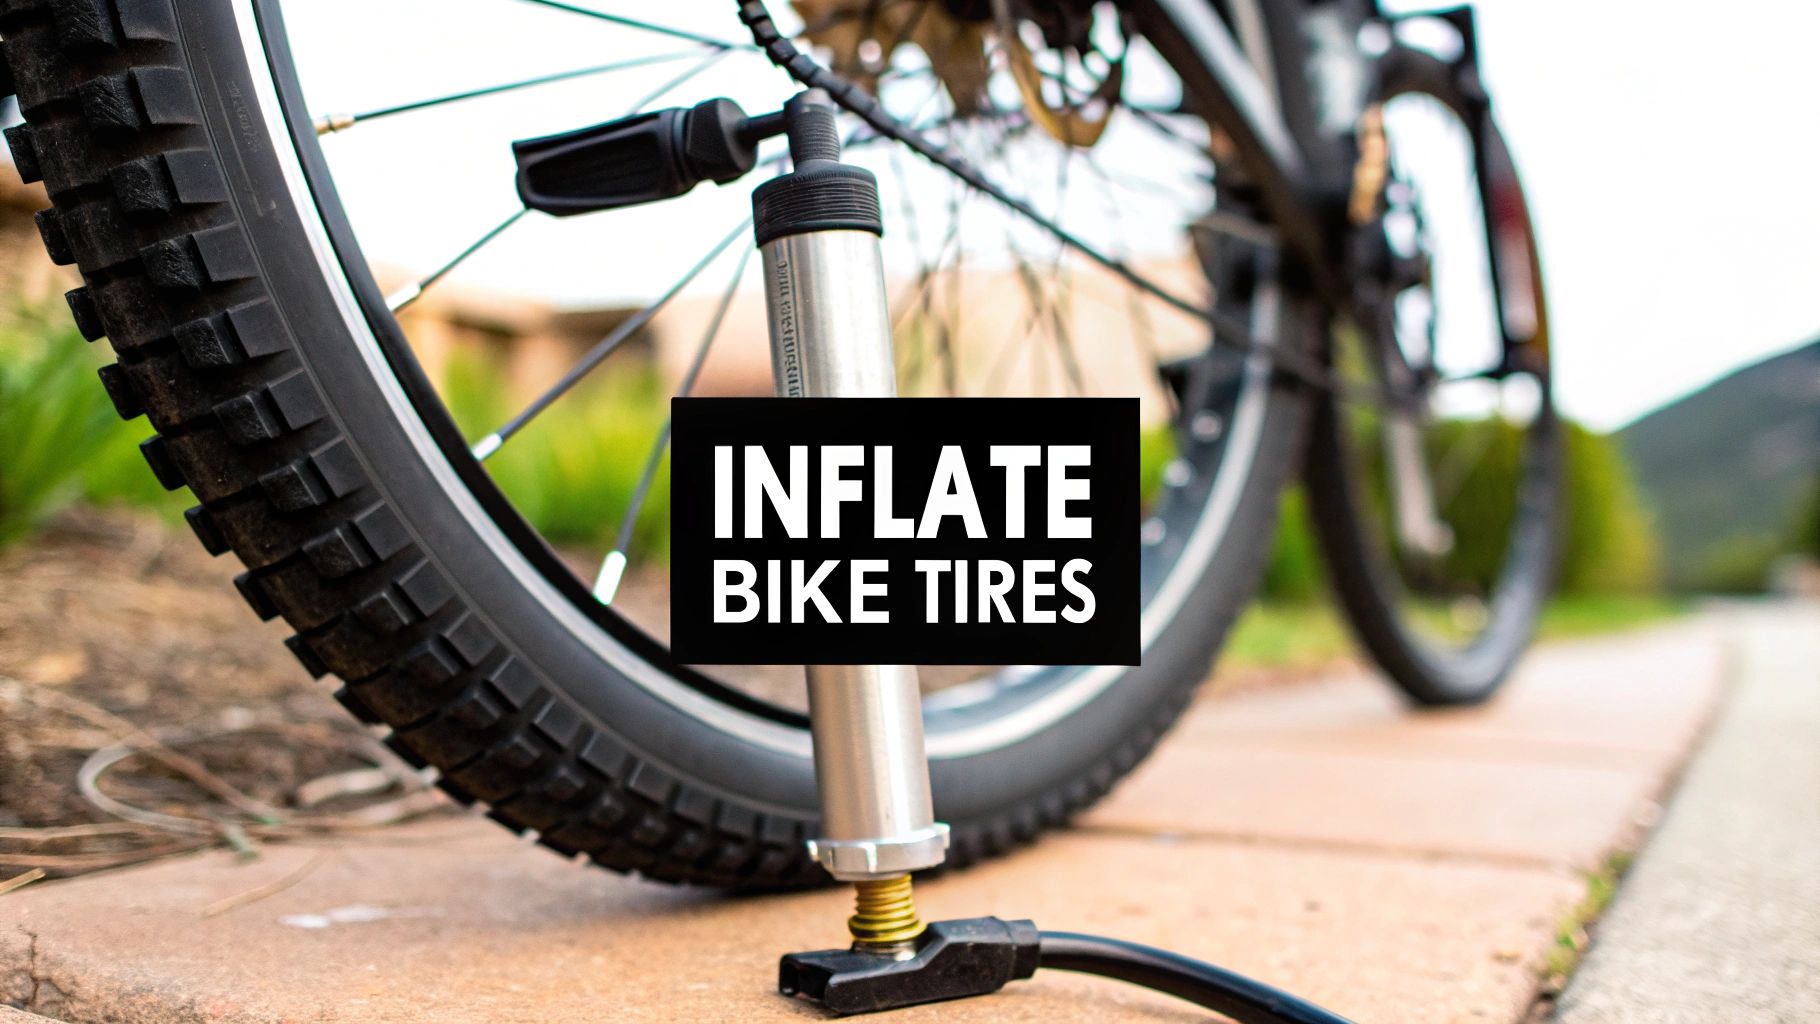
If there’s one thing you can do to completely transform your ride, it’s this: get your tire pressure right. Seriously. It’s the single most effective, and cheapest, performance boost you can get. We're not just talking about avoiding flats; we're talking about making your bike safer, faster, and more efficient.
Why The Right Tire Pressure Is Your Best Upgrade
So many riders I see, whether they're navigating the busy streets of Sydney or cruising along the coast in California, completely miss this. It’s easy to give a tire a quick squeeze, think "feels firm enough," and head out. But that's a huge mistake. A tire can feel solid to the touch and still be dangerously underinflated, which means you’re in for a sluggish, inefficient, and sketchy ride.

Think of it as your first line of defense. This quick check is what unlocks your bike's real potential and helps you sidestep all those common, annoying cycling problems. It's not just about ducking the dreaded pinch flat when you slam into a pothole—it’s about fundamentally changing your whole experience on two wheels.
The Big Three Benefits of Correct Inflation
Nailing your tire pressure pays off immediately in three major ways:
- Better Safety and Grip: Those two little patches of rubber are the only things connecting you to the ground. The right pressure gives you the perfect contact patch, meaning you get a reliable grip whether you're carving a corner on dry US asphalt or navigating slick Australian bike paths after it rains. Underinflated tires get all squirmy and weird, which is the last thing you want when you need to be in control.
- More Speed, Less Effort: Ever feel like you're riding through sand? That’s what a soft tire does. It creates a ton of rolling resistance, forcing you to pedal way harder just to keep moving. When your tires are properly inflated, they roll fast and smooth. Every bit of energy you put into the pedals actually goes into moving you forward. For e-bike and e-scooter folks, this is a game-changer for battery life and range.
- Your Tires Will Last Longer: Constantly riding on underinflated tires absolutely trashes the sidewalls. They crack and wear out way ahead of their time. Just by keeping the pressure right, you can extend the life of your tires by up to 30%.
Honestly, keeping your tires properly inflated is the most important and cost-effective maintenance you can do. It’s what separates a great ride from a miserable one.
It's a small habit with a massive impact. The global bicycle tire market was valued at around USD 8.39 billion in 2023, and that number is only going up. That’s a lot of riders relying on their rubber. Taking just five minutes to check your pressure before you ride saves you money, cuts down on waste, and guarantees every trip is the best it can be. If you're curious, you can dig into more bicycle tire market trends on Maximize Market Research.
Choosing Your Tools: Presta vs. Schrader Valves
Before you can pump up a tire, you’ve got to know what you’re working with. Take a look at that little metal stem sticking out of your wheel—it can be a bit confusing at first, but it’s actually pretty straightforward. Most bikes, e-bikes, and scooters will have one of two valve types: Schrader or Presta.
If you’ve ever filled a car tire, you’ve met a Schrader valve. It’s the wider, sturdier of the two, with a spring-loaded pin right in the middle. You'll find these on a ton of mountain bikes, hybrids, and many e-scooters simply because they're tough and easy to use.
Presta valves are the skinny ones you typically see on road bikes and more high-end mountain bikes. They’re much narrower and have a little locking nut on top that you have to unscrew before you can add or release air. They’re built to handle higher pressures, which is why they’re the go-to for performance cycling.
The Right Pump for the Job
Okay, so you've figured out your valve type. Now you need the right tool. The best pump for you really just depends on where you plan on using it.
Quick Guide to Bike Pumps
Choosing a pump can feel overwhelming with all the options out there. This quick table breaks down the most common types to help you find the perfect fit for your garage or your ride-along kit.
| Pump Type | Best For | Pros | Cons |
|---|---|---|---|
| Floor Pump | Home maintenance & pre-ride checks | Fast, efficient, built-in gauge, stable | Not portable |
| Mini-Pump | Roadside flat repairs | Lightweight, mounts to bike frame | Takes a lot of effort, no gauge |
| CO2 Inflator | Quick race-day or emergency inflation | Extremely fast, compact, lightweight | Single-use cartridges, can be costly |
Ultimately, a good floor pump is the workhorse every rider should have at home. It’s stable, gets the job done fast, and has a pressure gauge so you can dial in your PSI perfectly every time. For on-the-go emergencies, a mini-pump you can toss in a bag or mount to your frame is an absolute lifesaver. It’s a bit of a workout, but it’ll get you rolling again.
Then there are CO2 inflators. These are for the speed demons. A tiny pressurized cartridge will inflate your tire in just a few seconds, which is amazing when you're in a race or just trying to get home fast. The catch? The cartridges are one-and-done, so they’re best saved for true emergencies.
Choosing the right pump is as important as the bike itself. A reliable floor pump at home makes routine checks painless, while a portable mini-pump provides peace of mind on every ride.
The Rise of Tubeless Tires
Lately, the whole conversation around inflating tires has changed a bit, thanks to tubeless setups becoming so popular. In fact, tubeless tires now make up a whopping 47.8% of the global bicycle tire market. It’s a massive shift, and for good reason—they offer way better traction and a smoother ride. You can dive deeper into the growth of the tubeless tire market here.
The tricky part with tubeless is "seating the bead," which means getting the edge of the tire to lock into the rim. This often takes a powerful, sudden blast of air that a normal hand pump just can't deliver. That’s where specialized "booster" or "charger" pumps come in. They have a second chamber you can pressurize and then release all at once, kind of like a mini air compressor.
For anyone serious about their riding, having the right gear is non-negotiable. A great pump is easily one of the smartest investments you can make. If you're looking to round out your toolkit, check out our guide on the best electric bike accessories.
Your Hands-On Guide to Perfect Inflation
Alright, enough with the theory. Let's get our hands dirty and put some air in those tires. Honestly, once you do this a couple of times, it becomes a quick, mindless check before every ride. It's a fundamental skill, and we'll walk through it so it becomes second nature.
First up, you need to know your target. Grab your bike and look at the sidewall of the tire—you'll see a range of numbers printed right on the rubber. Look for the digits followed by "PSI" (pounds per square inch) or "BAR." That's the manufacturer's sweet spot, the safe zone you should be aiming for. If you're new to the whole bike setup game, a comprehensive guide to bicycle assembly is a great resource that covers everything from the ground up, including what to look for with tires and valves.
This is the basic flow: find the valve, grab the right pump, and get it on there. It’s that simple.
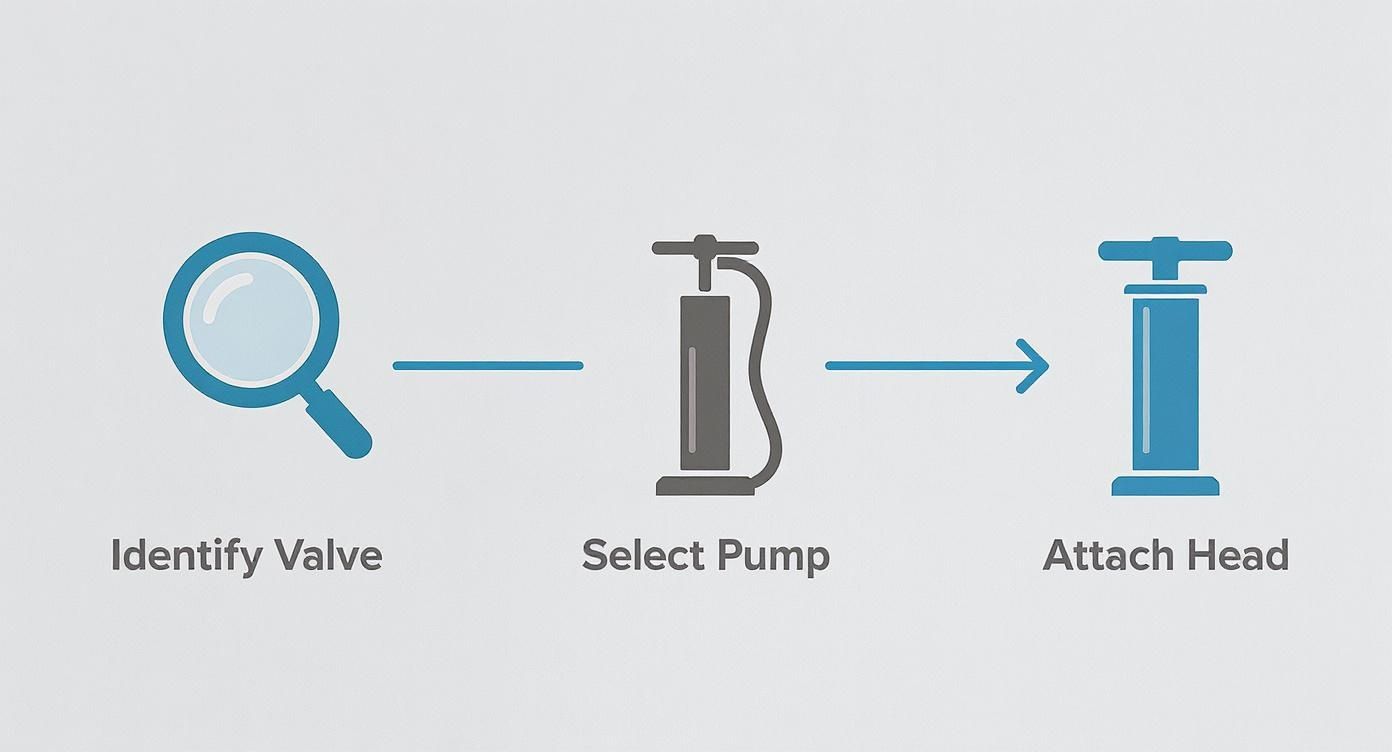
Breaking it down visually helps show you just need the right tool and a good connection before you even start pumping.
Attaching the Pump Correctly
Getting a solid seal between the pump head and the valve is where most people trip up. If it's not on right, you'll hear that frustrating hiss of air escaping as fast as you pump it in. Or worse, you could accidentally bend or snap the delicate valve core. No fun.
For Presta Valves:
- First, unscrew that little locknut at the very tip. Just twist it until it stops; don't take it all the way off.
- Next, give the tip a quick tap with your finger. You should hear a short "psst!" of air. This is key—it "breaks the seal" and makes sure the valve isn't stuck closed.
- Now, press the pump head on firmly and flip the locking lever up to clamp it down.
For Schrader Valves:
- This one's easier. Just unscrew the plastic dust cap.
- Push the pump head on squarely. You'll hear a brief hiss of air escape, but keep pushing until it stops, then flip the lever to lock it in place.
With a floor pump, this next part is a breeze. Put your feet on the pump's base for stability. Use your body weight to push the handle down with smooth, full strokes—don't just use your arms, or you'll get tired fast. Keep an eye on that gauge and stop once you hit your target PSI.
Using CO2 Cartridges for a Quick Fix
Sometimes, you just need air now, especially when you're stuck on the side of a trail. This is where a CO2 inflator comes in. It's the fastest way to get back on your e-scooter or bike after a flat, turning a potential disaster into a minor pit stop.
But that speed comes at a price. CO2 molecules are tiny and escape through the rubber of an inner tube much faster than regular air. Think of a CO2 fill as a temporary patch to get you home. Once you're back, you should let all the CO2 out and re-inflate your tire with a regular pump.
A CO2 cartridge is an incredible tool for emergencies, but it's not a long-term solution. Think of it as a get-out-of-jail-free card, not a replacement for your trusty floor pump.
Here’s the safe way to use one:
- Thread the cartridge into the inflator head until it's snug.
- Press the head onto your tire's valve, just like you would a pump.
- Slowly twist the cartridge or press the release button to let the gas flow. Be warned: the cartridge gets extremely cold as the gas expands. Always use gloves or the foam sleeve it came with to avoid a nasty freeze burn on your hands.
Getting these techniques down means you're ready for anything, from a simple pre-ride top-up in your garage to a surprise flat on a weekend adventure.
Finding Your Perfect Tire Pressure
See that PSI range printed on your tire’s sidewall? Think of it as a helpful starting point, not the final word. The real secret to a great ride isn't just pumping up your tires—it's learning how to fine-tune that pressure for you, your specific bike, and the terrain you're hitting that day.
Those numbers on the tire are the manufacturer's safe operating limits. They have to account for everyone, from a lightweight rider to a heavier one. But your body weight, the gear you're hauling, where you're riding, and even the weather all play a huge part in finding your personal sweet spot.
Dialing in the Pressure for You and Your Ride
The single biggest factor is your total weight—that’s you, your bike, and anything you've packed for the journey. A heavier rider simply needs more air to support the load and avoid those dreaded pinch flats. On the flip side, a lighter rider can run lower pressure, which results in a much smoother, grippier experience.
This is especially true for e-bikes and e-scooters, which are heavier from the get-go. If you want to dive deeper, check out our guide on understanding the electric bike weight limit and how it affects everything.
Next up, where are you riding? A cyclist flying down a smooth American road might want a firm 90 PSI for pure speed. But take that same bike to a gravel path in the Australian bush, and you’d want to drop that pressure way down to soak up the bumps and stay in control.
The perfect tire pressure isn't a single number. It's a moving target you adjust for every ride. Lower pressure gives you more grip and comfort on rough stuff, while higher pressure means less rolling resistance on smooth pavement.
A Few Pointers for E-Rides
Getting the pressure just right is even more crucial for electric bike and scooter owners. That extra weight from the battery and motor puts a lot more demand on your tires. In fact, optimal pressure is your best friend for getting the most out of your battery, since properly inflated tires roll much more easily and use less power.
Here’s how I think about it:
- City Commuting: If you're sticking to paved roads and bike paths, aim for the higher end of your tire's recommended PSI range. This cuts down on rolling resistance and helps you squeeze every last mile out of your battery charge.
- Mixed Terrain or Gravel: Riding through parks, on dirt paths, or on beat-up roads? Try dropping your pressure by 10-15 PSI. You'll get a bigger contact patch on the ground, which means more traction and a much less jarring ride.
- Wet Conditions: When things get slick, dropping your pressure by just a few PSI can make a world of difference. It boosts your grip and gives you way more confidence when taking corners.
Suggested Tire Pressure (PSI) By Bike Type
Here's a quick cheat sheet to get you started. Remember, these are general guidelines. The best pressure is always what feels right for you, so don't be afraid to experiment. And always, always stay within the minimum and maximum PSI printed on your tire's sidewall.
| Bike Type | Paved Surfaces (Road/Path) | Mixed/Gravel Surfaces | Off-Road/Trail |
|---|---|---|---|
| Road Bike | 80-120 PSI | 60-80 PSI | N/A |
| Hybrid/Commuter | 50-70 PSI | 40-60 PSI | N/A |
| Mountain Bike | 35-50 PSI | 25-40 PSI | 20-35 PSI |
| Electric Bike (Hybrid) | 55-75 PSI | 45-65 PSI | N/A |
| Electric Scooter | 45-60 PSI | 40-50 PSI | N/A |
Once you start thinking beyond the numbers on the sidewall and consider these real-world factors, you can dial in your tire pressure for a faster, safer, and way more comfortable ride every single time.
Solving Common Inflation Problems
Okay, so you’ve got your pump and you know your target PSI, but something’s not working. You hear that dreaded hissing sound as soon as you connect the pump, or maybe the tire just isn't holding air at all. Don't sweat it. This happens to every single rider, and it’s usually an easy fix.
Let's walk through the most common headaches that can stop a ride in its tracks and how to solve them.

More often than not, the solution is simpler than you’d think. A little patience and knowing what to look for can turn a moment of frustration into a quick fix.
Diagnosing Leaks and Pump Issues
Hearing air escape while you're trying to pump is probably the number one issue people run into. The first thing to check is always the connection between your pump head and the valve stem.
If you’re hearing a leak right at the seal, try these quick steps:
- Reseat the Pump Head: Pull the pump head off completely and start over. Give it a firm, straight push onto the valve before you flip the locking lever. Sometimes a slightly crooked connection is all it takes to cause a leak.
- Check the Valve Core: That tiny locknut on a Presta valve can get bent if you’re not careful. On both Presta and Schrader valves, the core itself can sometimes work its way loose. A valve core tool is best, but you can gently snug it up with a pair of needle-nose pliers in a pinch.
- Inspect the Pump Gasket: Look inside your pump head. That little rubber gasket can get dirty or wear out over time. Wiping it clean might do the trick, but if it looks cracked or worn down, it’s time to replace it.
Of course, sometimes the problem isn't the pump—it's a slow leak. You pump up your tire perfectly, but the next morning it’s soft again. This almost always means you have a tiny puncture somewhere. For a deep dive, our guide on https://www.punkride.com/blogs/news-advice/ebike-tire-repair will show you exactly how to find and patch those pesky slow leaks.
When a Tubeless Tire Won't Cooperate
Tubeless tires are a game-changer, but getting the bead to "seat"—that satisfying pop as it snaps into the rim—can be a real pain. If you're pumping like mad and the tire just won't inflate, you're not getting a good initial seal.
The secret to seating a tubeless tire is a massive, fast blast of air. This initial rush forces the tire beads out against the rim. Your standard floor pump often just can't move enough air quickly enough to do the job.
This is where a special "booster" or "charger" pump comes in handy, though an air compressor works great too. A classic pro-tip is to remove the valve core before inflating. This allows way more air to rush in, seating the bead easily. Once it pops into place, just reinstall the core and inflate to your final pressure.
Being ready for these little hiccups is half the battle. I always recommend carrying an essential tire repair kit in your bag. Having patches, levers, and a reliable way to inflate on the go gives you the confidence to fix just about anything and get right back on the road.
Even after you get the hang of pumping up your tires, a few questions always seem to hang in the air. Let's dig into some of the most common ones we hear from riders everywhere, from Australia to the US, so you can handle your bike maintenance like a pro.
How Often Should I Check My Tire Pressure?
Honestly? The best habit you can get into is checking your pressure before every single ride. It sounds like a lot, but it takes just a few seconds and makes a huge difference. All tires lose air over time, it's just a matter of how fast.
Your skinny, high-pressure road bike tires? They might need a little air every couple of days. But the beefier tires on your e-bike or mountain bike can probably go a week or more without much fuss. A quick check with a gauge is your best friend for a great, safe ride every time.
Does the Weather Actually Affect My Tire Pressure?
It absolutely does! This is a big one for anyone living in places with dramatic seasons, whether you're in the US Midwest or the Australian Outback. It’s simple physics: air expands when it’s hot and contracts when it’s cold.
So, on a blistering summer day, the pressure inside your tire can actually creep up. On the flip side, if you're heading out for a chilly morning ride in Melbourne, you’ll probably find your tires feel much softer than they did yesterday. It's always smart to double-check and adjust your PSI when the temperature swings.
Think about it: if you pump up your tires in a warm garage and then roll out into freezing weather, your PSI is going to drop. It’s one of those little details that has a surprisingly big impact on how your bike handles.
Can I Put Too Much Air in My Tire?
You sure can, and it's a really bad idea. Pushing past the maximum PSI printed right there on the tire’s sidewall is asking for trouble. In a worst-case scenario, the tire can literally blow right off the rim, which is a recipe for a nasty crash.
Always, always use a pump with a gauge you can trust. Stick to the numbers the manufacturer gives you—they put them there for a reason. Your safety.
Is It Okay to Use a Gas Station Air Compressor?
Technically, yes, but you have to be extremely careful. While it's tempting, especially if you have a Schrader valve, those compressors are built to fill massive car tires. They can blast a huge amount of air into a skinny bike tire in a split second.
It’s incredibly easy to overinflate your tire and damage it, or worse. If you're in a pinch and have no other choice, use it in tiny, quick bursts and check the pressure constantly. A dedicated bike pump is always the safer bet.
Ready to make every ride smoother and safer? At Punk Ride LLC, we've got the electric bikes and scooters that redefine city travel, from top brands like ENGWE, DUOTTS, and AOVO. Find your perfect ride and experience the difference today at https://www.punkride.com.
Share:
Best Helmet for Ebike: Ultimate Safety & Tech Guide
electric scooter with seat for adults: The ultimate guide