Getting a flat is a rite of passage for pretty much every electric scooter rider. But a puncture isn't the only reason you should be changing a scooter tire. Knowing when it's time for a swap can save you from a long, miserable walk home and, more importantly, keep you safe. Trust me, being proactive beats reacting to a flat in the middle of your commute every single time.
When to Change Your Scooter Tire
It’s all too easy to just hop on and ride, completely forgetting about your tires until something goes wrong. But those two little patches of rubber are your only connection to the pavement. Worn-out tires can seriously mess with your scooter's handling, braking, and stability, turning a simple puddle into a potential accident.
Making a quick tire inspection part of your routine is one of the smartest things you can do as a scooter owner. We're not just looking for punctures here; we're trying to spot trouble before it leaves you stranded. This is especially true if you rely on your Segway, Hiboy, or Gotrax for your daily travels.
Signs of a Worn-Out Tire
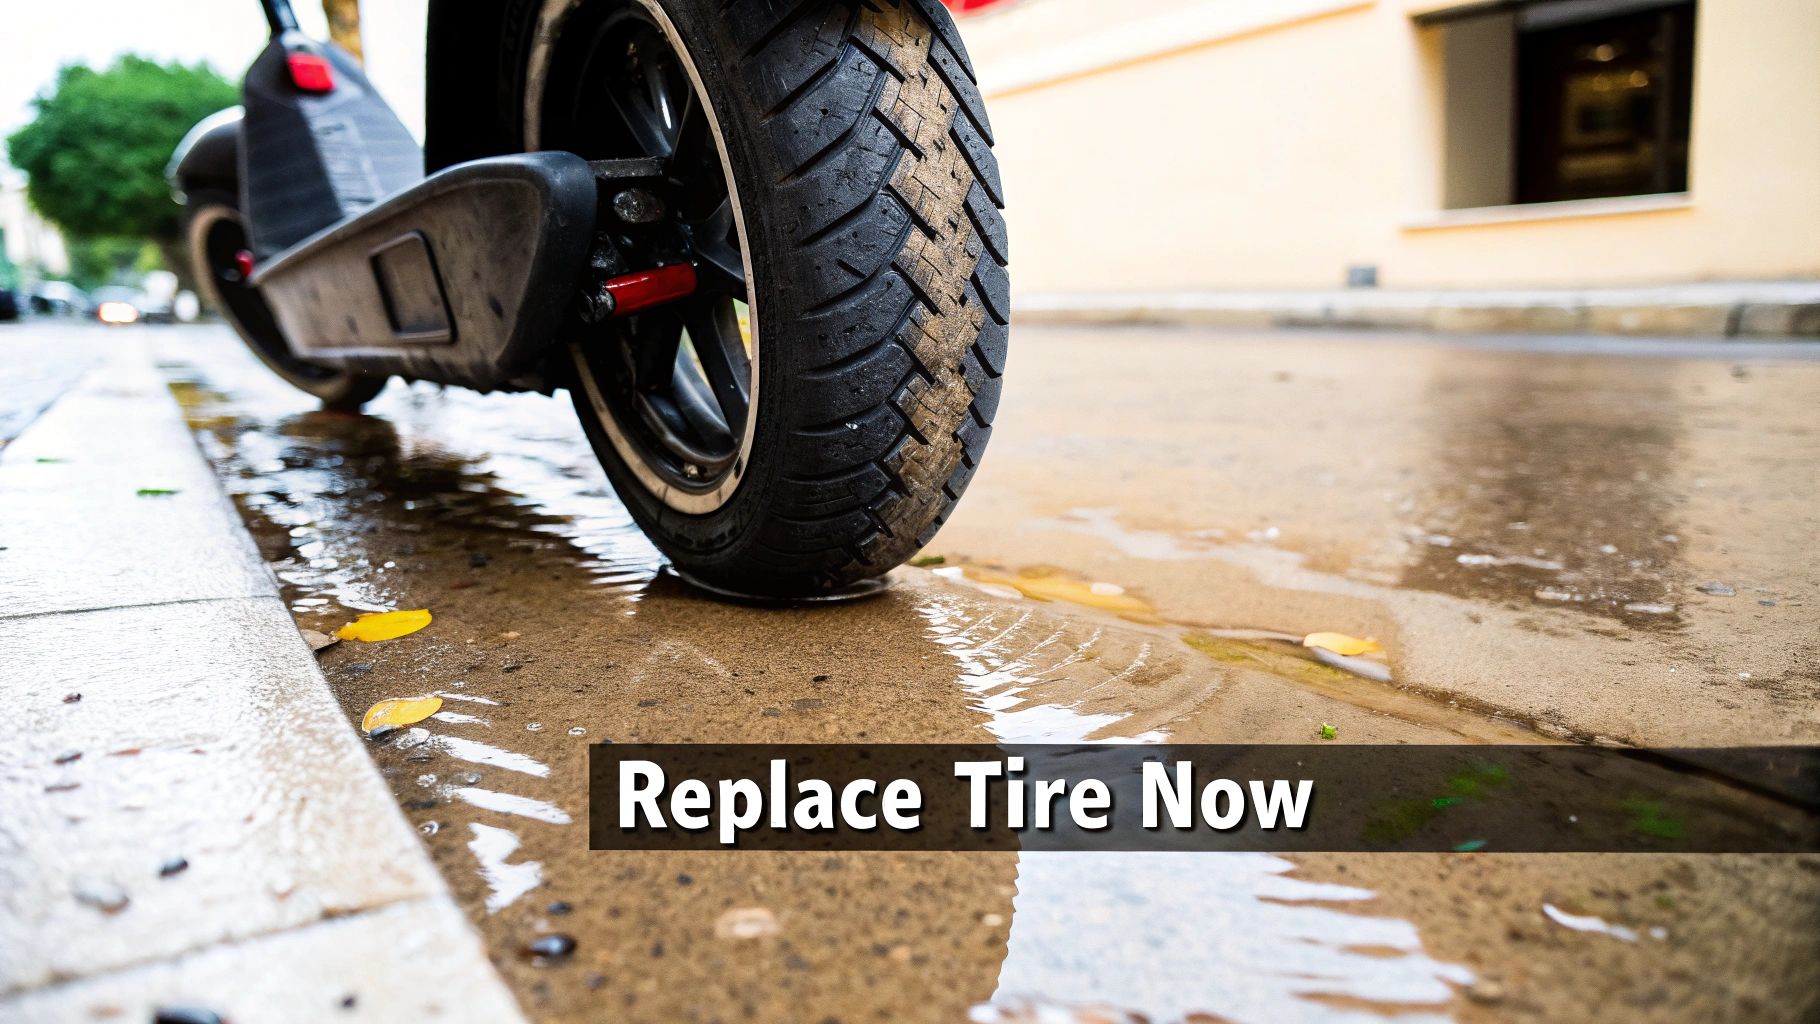
The most obvious red flag is a bald tread. If your tire is starting to look more like a slick racing tire than the grippy, grooved one you started with, your traction is shot. This gets incredibly dangerous on wet roads, as the tire can no longer channel water away, which is a perfect recipe for hydroplaning.
Another thing to watch for is little cracks and splits, especially along the sidewalls. This is called dry rot, and it's a clear sign the rubber is getting old, brittle, and weak. A tire with dry rot is basically a blowout waiting to happen because its structural integrity is gone.
Here’s a quick rundown of other warning signs:
- Always Losing Air: If you find yourself constantly pumping up a tire, you've probably got a slow leak or a dodgy valve stem.
- Threads Showing: See any fabric or wire poking through the rubber? That tire is way beyond its expiration date. Stop riding on it immediately.
- Weird Lumps or Bulges: Any strange deformity on the tire's surface points to internal damage. It's not safe to ride on.
A worn tire doesn't just put you at risk of a flat; it actively makes your scooter perform worse. You'll probably notice your battery draining faster because the motor has to work harder, and the ride itself will feel less stable, especially when you're taking corners.
Tire Wear Checklist Is It Time for a Replacement?
Sometimes, you just need a quick, no-nonsense way to check if your tires are good to go. I've put together this simple table to help you make the call. Run through these checks every couple of weeks, or before any long ride.
| Indicator | What to Look For | Action Required |
|---|---|---|
| Tread Depth | The grooves are shallow or the tire surface is smooth and bald. | Replace Immediately. Your grip is severely compromised, especially in wet conditions. |
| Cracks & Splits | Small, web-like cracks on the sidewalls or in the tread grooves (dry rot). | Replace Immediately. The tire's rubber is brittle and could fail suddenly. |
| Punctures | Frequent flats or having to add air every few days. | Investigate & Replace. You likely have a slow puncture or a bad valve. Best to replace both tube and tire. |
| Visible Damage | You can see the underlying fabric casing or wire threads through the rubber. | Stop Riding & Replace. The tire is structurally unsafe and has worn through completely. |
| Bulges or Deformities | Unusual lumps, bumps, or bubbles on any part of the tire. | Stop Riding & Replace. This indicates internal structural failure; the tire is at high risk of a blowout. |
| Age | The tire is over 2-3 years old, even if it looks okay. | Consider Replacement. Rubber degrades over time, becoming harder and less grippy. |
Keeping this checklist in mind will help you stay ahead of any potential tire trouble and keep your rides smooth and safe.
Proactive Replacement and Costs
Thinking of tire replacement as regular maintenance, rather than an emergency fix, is the way to go. Applying some basic preventive maintenance strategies not only keeps you safer but can also save you from more expensive repairs down the road. A fresh set of quality rubber can make your scooter feel brand new. You can explore different tires for electric scooters to find the perfect match for your model and the way you ride.
Remember, this is a normal, recurring cost of owning a scooter. It's a massive market for a reason—industry estimates value the global replacement two-wheeler tire market between USD 11.3 billion and USD 19.8 billion. That just shows how common and necessary this job is for riders all over the world.
Getting the Right Tools for the Job
Trust me, trying to change a scooter tire without the right gear is a one-way ticket to a frustrating afternoon. You’ll waste a ton of time, probably scratch up your rim, and might just throw in the towel completely. Before you even touch a single nut, let's make sure your toolkit is ready.
Having the right stuff on hand turns this job from a massive struggle into a straightforward task. This isn't about building a pro-level workshop; it's just about a few key items that make the whole process doable for just about anyone.
The Non-Negotiables
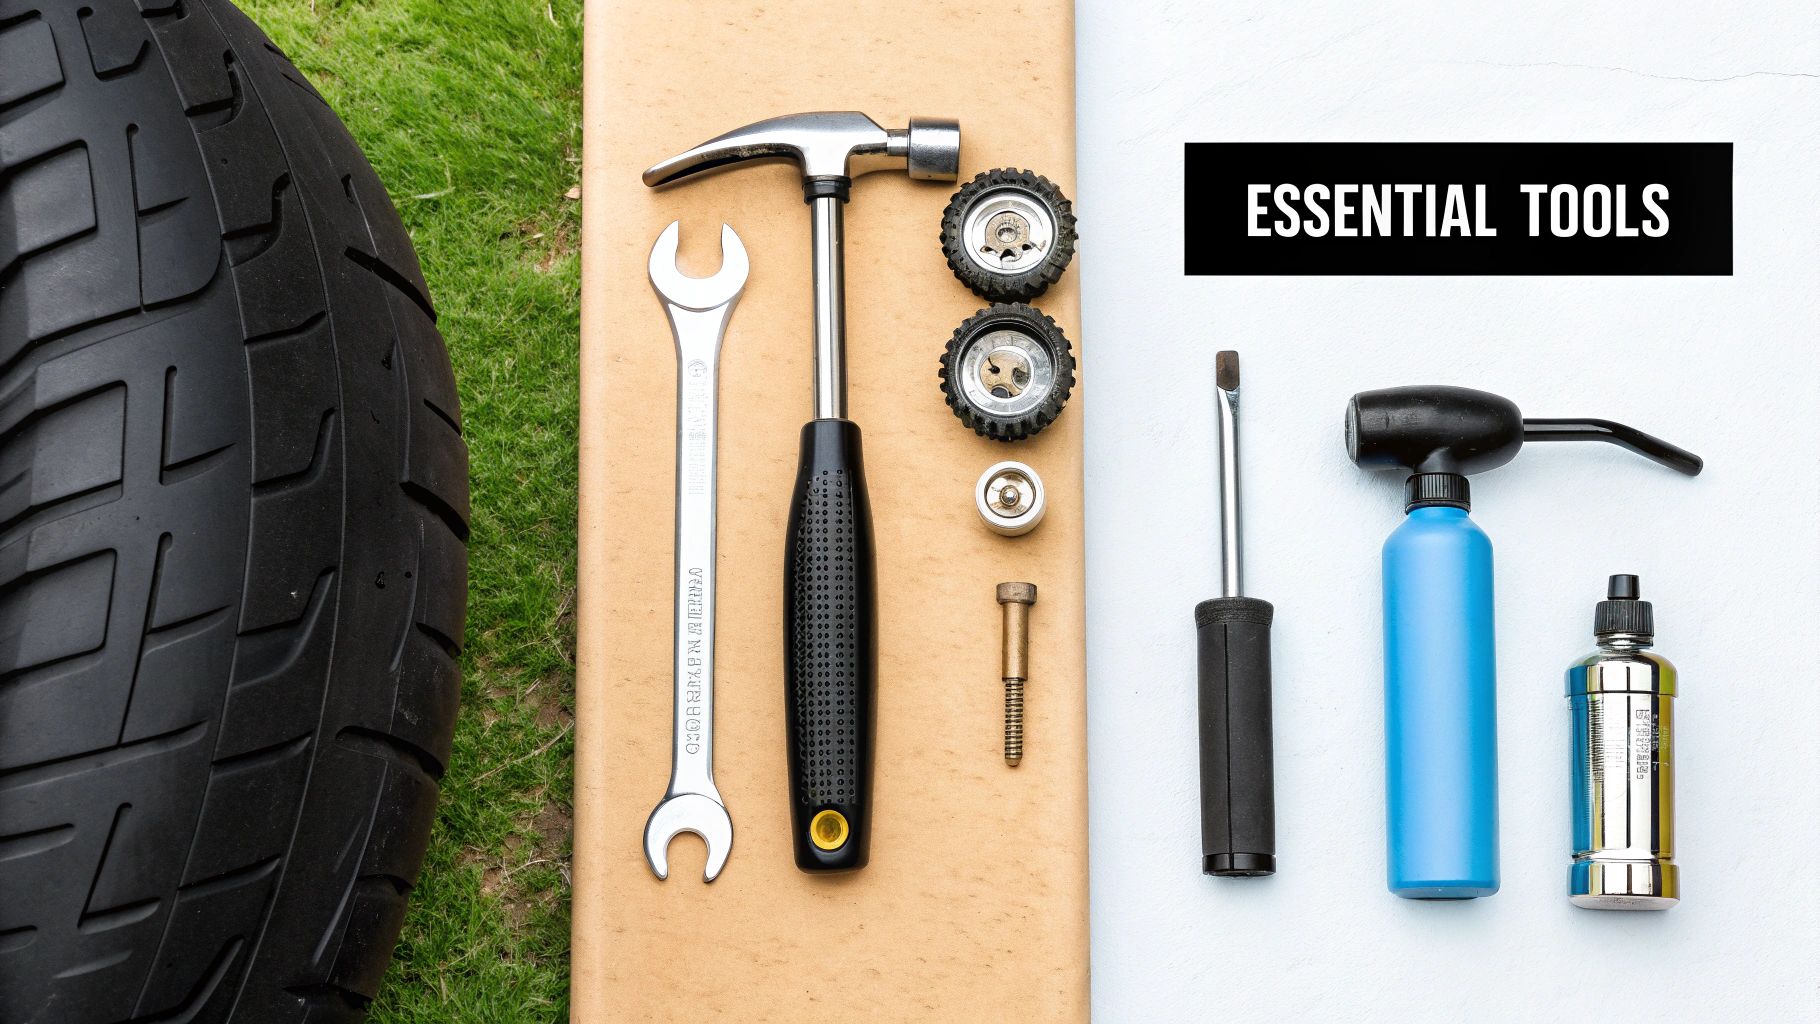
First up, you absolutely need a set of solid metal tire levers. Don't even think about using those flimsy plastic ones for bicycles—they will snap against the tough bead of a scooter tire. You need the muscle of metal to get the tire off the rim without everything bending and breaking.
Next, you'll need the right wrench or socket for your axle nuts. Most scooters you see around the US, like the popular Apollo or Hiboy models, have a specific size, usually somewhere between 15mm and 19mm. A good socket wrench set is your best friend here. It gives you the leverage to crack open stubborn nuts without rounding off the edges.
And finally, a decent pump with a pressure gauge is a must-have. Don't guess your tire pressure. If it's too low, you’re asking for a pinch flat. Too high, and you could damage the tire or even the rim itself.
Here’s a quick checklist of the essentials:
- Metal Tire Levers: Get at least two, but three makes the job even easier.
- Socket Wrench Set: Make sure you have the exact size for your scooter’s axle nuts.
- Pump with Pressure Gauge: A floor pump will save your back compared to a small hand pump.
- Wrenches or Allen Keys: You'll likely need these for removing brake calipers or plastic hub covers.
Tools That Make Life Easier
Once you've got the basics covered, a couple of extra items can make the job feel a lot less like a wrestling match. For example, a valve core tool is a tiny gadget that’s worth its weight in gold. It lets you fully deflate the inner tube in seconds, which makes getting it out of the tire a breeze.
A simple spray bottle filled with soapy water is another game-changer. A quick spritz around the tire's bead helps it slide off the rim and, just as importantly, pop back on without a fight. If you want to see these tricks in action, our guide on how to repair a scooter tire dives deeper into these techniques.
Here's a personal pro-tip: grab a small block of wood or a couple of books. You can prop up the scooter's deck on it while you're working, keeping it stable so it doesn't tip over and get scratched.
Alright, let's get that old scooter tire off.
With your tools laid out, it's time to get your hands dirty. Removing the old rubber is where the real work begins, but don't worry—it’s more about having the right technique than just using brute force. I'll walk you through it so you can get the tire off without turning the garage into a wrestling ring.
The first thing to know is that there's a big difference between working on a front wheel and a rear wheel. The front is usually a piece of cake. But the rear wheel on most e-scooters is where the hub motor lives, and that adds one crucial first step that a lot of online guides just gloss over.
That All-Important Motor Cable
Before you even dream of putting a wrench on a rear wheel nut, you have to disconnect the motor cable. This cable is the scooter's lifeline. If you damage it, you’re looking at a much bigger and more expensive headache than a simple flat tire.
You'll see the cable running from the hub, usually along the frame, and connecting to the controller tucked away inside the scooter's deck.
- Find the Connection: Follow that thick cable coming out of the axle. It will lead you to a connection point, often hidden by a plastic cover or nestled near the deck.
- Disconnect Carefully: Unplug the connector. It might have a little clip or a screw-on collar holding it tight. Whatever you do, don't pull on the wires themselves. Always get a firm grip on the plastic connector.
- Snap a Quick Photo: Some connectors have tiny arrows or notches to help you line them up later. I always take a quick picture with my phone before I unplug it. It’s a simple trick that saves a lot of guesswork when you’re putting everything back together.
Once that motor is safely disconnected, you're clear to start taking the wheel off the frame. If you're working on a front wheel, you can just skip this and jump right to the axle nuts.
Getting the wheel off the scooter is the first major hurdle. A lot of people get stuck here because they're afraid of breaking something. Just be slow and methodical, especially with that motor cable, and the rest of the job gets a whole lot easier.
Loosening the Nuts and Freeing the Wheel
Okay, let's get that wheel off. You'll find a big axle nut on each side of the hub, sometimes hiding under a plastic cap. Pop those off and use your socket wrench to loosen the nuts. Remember the old saying: righty-tighty, lefty-loosey.
These nuts can be on there incredibly tight from the factory, so you might need to put a little muscle into it to get them to budge. Once they're loose, you'll probably have some washers or special anti-rotation hardware to slide off. Keep all these little pieces in a magnetic tray or a cup—they have a knack for disappearing.
With the nuts and washers off, the wheel should drop right out of the frame. You might have to wiggle the brake caliper a bit to get enough clearance. Just let it hang; there’s no need to disconnect the brake line.
Breaking the Bead and Prying the Tire Off
I won't lie, this is usually the toughest part of the job. The bead is the inner edge of the tire that locks onto the rim to create an airtight seal. On tubeless tires especially, that seal can be brutally stubborn.
First, you need to let all the air out. Use your valve core tool to remove the core—you'll hear a big "whoosh" as the air escapes. Now, you’ve got to break that bead's grip on the rim. The easiest way I've found is to lay the wheel flat and carefully stand on the tire's sidewall (not the metal rim!) to push it down and away from the edge. Work your way around the whole tire until you feel the bead pop into the deeper channel in the center of the wheel.
Once the bead is broken, it's time to grab your tire levers.
- Wedge the spoon end of your first lever between the tire and the rim.
- Hook it under the bead and then pry it back, using the axle as a leverage point. You're trying to lift a small section of the tire up and over the edge of the rim.
- Now, stick your second lever in a few inches away and do the same thing. Once you have two sections pried up, the first lever will usually stay put on its own.
- Just keep leapfrogging your levers around the rim until one whole side of the tire is off. Then, flip the wheel over and do the exact same thing for the other side.
This definitely takes some elbow grease, but a little soapy water sprayed on the bead and rim makes a world of difference. It acts as a lubricant and helps everything slide off so much more easily.
Installing the New Scooter Tire
Getting the new rubber onto the rim can feel just as tough as wrestling the old one off, but a few pro tricks make all the difference. With the old, busted tire out of the way, you’re on the home stretch. Let’s get this done without the usual scraped knuckles and frustration.
First things first, give your wheel rim a quick but thorough cleaning. You’ll want to wipe away any old grime, bits of rubber, or leftover sealant. A clean surface is your best friend for getting a perfect seal, especially with tubeless tires, and it stops grit from sneaking in and causing another puncture down the road.
Prepping the New Tire and Getting It on the Rim
Alright, grab your new tire. Before you even think about putting it on, take a close look at the sidewall. Many modern scooter tires are directional, which just means they're designed to roll one way for the best grip and to channel water away. You should see a small arrow molded into the rubber—make sure that sucker is pointing forward, in the direction the wheel spins when you’re riding. Mess this up, and your scooter might feel a bit sketchy in the rain.
To get a better sense of how this all goes back together, this graphic reverses the steps we used for removal.

As the visual shows, installation is just the reverse: connect, tighten, and secure. Simple as that.
Remember our secret weapon from removal? Soapy water. It works wonders here, too. Give the inside lip (the bead) of the new tire and the rim a light spritz. This lubrication makes it so much easier to slide the tire into place. Start by muscling one side of the tire into the rim's center channel with your hands. Once that first side is in, you're ready for the trickier part—getting the second bead on.
The Big Difference: Inner Tubes vs. Tubeless
What you do next completely depends on what kind of tire you have. The technique for a classic inner tube setup is worlds apart from sealing a tubeless tire.
- If You're Using an Inner Tube: Before you do anything else, pump just a tiny bit of air into the new tube—enough for it to hold its shape. We call this the 'slight inflation' trick, and trust me, it’s a game-changer. A slightly firm tube is way less likely to get twisted or pinched by your tire levers, which is the #1 cause of those maddening pinch flats that happen right after you finish the job.
- If You're Going Tubeless: Your main goal is a perfect, airtight seal. After you get the first bead on, double-check that your valve stem is tight. When you start working the second bead on, you’ll need a powerful blast of air to "seat" the tire, forcing the beads to snap into the rim. An air compressor is best, but a good floor pump can sometimes get it done.
With your tube prepped or your tubeless valve ready, grab your tire levers again. Carefully work the second bead over the rim, taking small bites at a time. Go slow. Patience here will save you from accidentally damaging your brand-new tire or pinching the tube.
The Final Stretch: Reinstalling and Airing Up
Once the tire is fully on the rim, it's time to get the wheel back on your scooter. This is just the reverse of how you took it off. Slide the wheel back into the frame, making sure the brake disc or drum lines up correctly. Pop your washers and axle nuts back on and tighten them down securely. If you were working on a rear wheel with a hub motor, now's the time to carefully plug that motor cable back in.
Now for the last, and most critical, step: inflation. Use a pump with a gauge you can trust and fill the tire to the correct PSI (pounds per square inch). You'll find this number printed right on the sidewall of the tire. Don't guess! Proper inflation is everything—it affects your safety, your scooter's performance, and how long your new tire will last. If you need a refresher, the Punk Ride team put together a handy guide on inflating tires correctly.
Of course, how often you have to do this depends on where you ride and how hard you ride. It’s no surprise that as more people rely on scooters for everything from commuting to deliveries, tires are wearing out faster than ever.
Pro Tips and Common Mistakes to Avoid
Alright, you've muscled the old tire off and wrestled the new one on. That's the hard part done. But now we get to the stuff that really separates a clean, successful job from a frustrating mess that sends you back to square one. I’m talking about the little tricks and common traps that can make or break the whole experience.
One of the best pieces of advice I ever got was to let nature do some of the work for you. If you’re fighting a brand-new, stiff tire (especially a solid one), just leave it out in the sun for an hour before you even think about putting it on. The warmth makes the rubber way more pliable and forgiving. It sounds almost too simple, but it can genuinely turn a 30-minute wrestling match into a 5-minute task.
Tricks of the Trade
Another game-changer, particularly for those ridiculously stubborn tires, is what folks call the 'zip tie method.' After you get the first side of the tire (the bead) onto the rim, grab a few heavy-duty zip ties. Cinch them tightly around the tire, squeezing it into the center channel of the rim. This pre-shapes the tire and gives you just enough slack to pop that final, stubborn section of the second bead over the edge with your levers. It’s a genius move.
Here are a few other pro-level tips I swear by:
- Protect Your Rims: Get a set of plastic rim protectors. They clip right onto the edge and stop your metal tire levers from scratching up the paint. A small thing that keeps your scooter looking sharp.
- Inflate Bit by Bit: Don't just blast air into the tire. Pump in just a few PSI to start, then stop. Spin the wheel and look closely to make sure the tire is seating evenly on both sides of the rim. If it looks good, then go ahead and pump it up to the recommended pressure.
- Baby Powder is Your Friend: For tires with inner tubes, a light dusting of baby powder inside the tire before you put the tube in is a classic trick. It helps prevent the tube from sticking, twisting, or getting pinched.
The core skills you're using here—careful disassembly, fitting a new part, and putting it all back together—are universal. You'll find similar challenges when repairing other mechanical components on all sorts of machines.
Common Mistakes That Will Ruin Your Day
Now for the fun part: let's talk about all the ways this can go wrong. If you can avoid these common mistakes, you’ll save yourself a world of headache.
The absolute number one, most infuriating mistake is pinching the inner tube. It happens when you accidentally clamp a bit of the tube under the tire bead or catch it with your lever as you're prying the last section on. You'll finish the job, feel a sense of accomplishment, start pumping, and then hear that sad little psssssssss as all your hard work deflates before your eyes. Always, always double-check that the tube is tucked completely inside the tire.
Another classic blunder is a misaligned valve stem. Before you get that last bit of tire onto the rim, make sure the valve is poking straight out of its hole, not leaning at a weird angle. An angled stem is under constant stress and is a guaranteed future leak.
Finally, don’t go full Hulk-mode when you're tightening everything back up. Over-cranking the axle nuts can completely destroy your wheel bearings, which turns this simple job into a much bigger, more expensive repair. The nuts should be snug and secure, but you don't need a giant breaker bar. A firm, controlled tightening is all it takes to be safe. It's a universal problem for scooter riders everywhere, from Australia to the massive Asia-Pacific markets where scooter tire consumption is at its peak. You can learn more about the global two-wheeler tire market to see just how big the industry is.
Got Questions? We've Got Answers.
Even with the best guide, you're bound to have a question or two when you've got a scooter in pieces and grease on your hands. It happens to everyone. We get these questions all the time at Punk Ride, so we've put together the answers to the most common ones to help you get back on the road faster.
So, How Long Is This Actually Going to Take?
Let's be real: your first time changing a scooter tire is probably going to be a bit of a struggle. Plan for about an hour, maybe a little more, and don't get frustrated. It’s a learning curve.
Once you’ve got the hang of it and understand your scooter’s little quirks, you'll fly through it. Most experienced riders can knock out a tire swap in 20-30 minutes.
Can't I Just Slap a Patch on the Inner Tube?
You can, but we wouldn't bet on it long-term. A patch kit is fantastic for a temporary, get-you-home fix, but that's about it. The high pressure in a small scooter tire puts a ton of stress on patches, and they almost always fail sooner rather than later.
For a repair you can actually trust, just replace the inner tube. It's cheap, and the peace of mind is priceless.
Think of a patch as first aid, not a long-term cure. It’ll get you out of a jam, but a new tube is what keeps you riding without worry.
Why Is This New Tire Impossible to Get On?!
Ah, the classic struggle. New tires, especially the solid or tubeless types, are notoriously stiff straight from the factory. The rubber is rigid and hasn't had a chance to stretch. Don't fight it with brute force; work smart.
Here are the tricks that actually work:
- Warm it up: Seriously, let the tire bake in the sun for an hour. The heat makes the rubber way more flexible and easier to work with.
- Lube it up: A little soapy water on the tire bead and the rim is a game-changer. It reduces friction and helps everything slide into place.
- Use the channel: Make sure you're pushing the tire bead down into the deepest part of the rim (the center channel). This gives you the slack you need to pop the last bit of the tire over the edge.
Hopefully, that clears things up and gives you the confidence to finish the job like a pro.
Ready to ride with confidence? Explore the best electric scooters and bikes from top brands like Segway, Hiboy, and Apollo at Punk Ride. Find your perfect urban companion today.
Share:
Your Guide to Electric Scooter Laws for Safe Riding
Finding the Best Helmet for a Scooter in the US and Australia