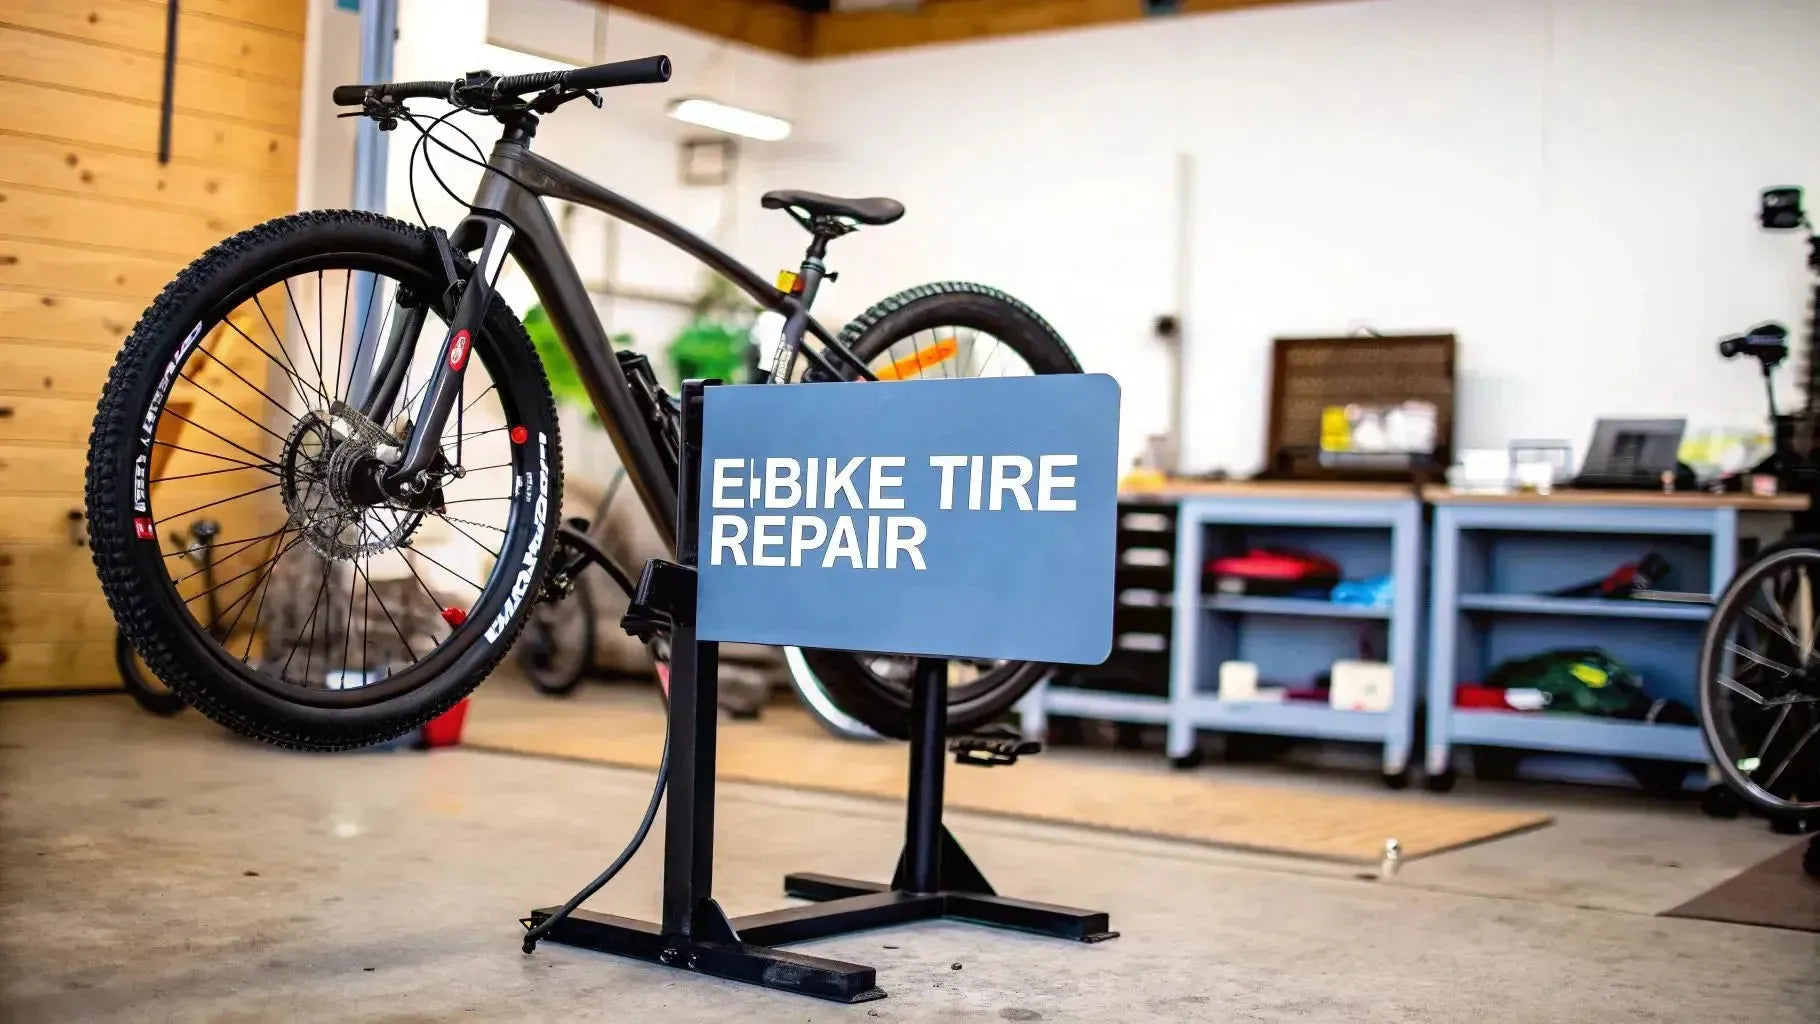
Getting a flat tyre on an e-bike can feel like a total buzzkill, but honestly, it's just a minor hiccup if you're prepared. The secret isn't some magical skill—it's having the right tools on hand, specifically chosen for the beefier nature of electric bikes. A little prep turns a ride-ending disaster into a quick ten-minute pit stop.
Your E-Bike Tyre Repair Toolkit Essentials
Nothing kills the vibe faster than that dreaded psssssst sound of a puncture. When you're on a heavier e-bike, especially one with a hub motor, the thought of fixing a flat can feel a lot more intimidating. But trust me, with a well-thought-out toolkit, you'll be rolling again in no time.
It's not just you, either. More people are riding e-bikes than ever before. The global e-bike maintenance market was already worth USD 553.5 million in 2023 and is expected to explode to USD 1.42 billion by 2030. That tells you one thing: a lot of riders are on the road, and learning to handle your own basic repairs keeps you from waiting in line at the shop.
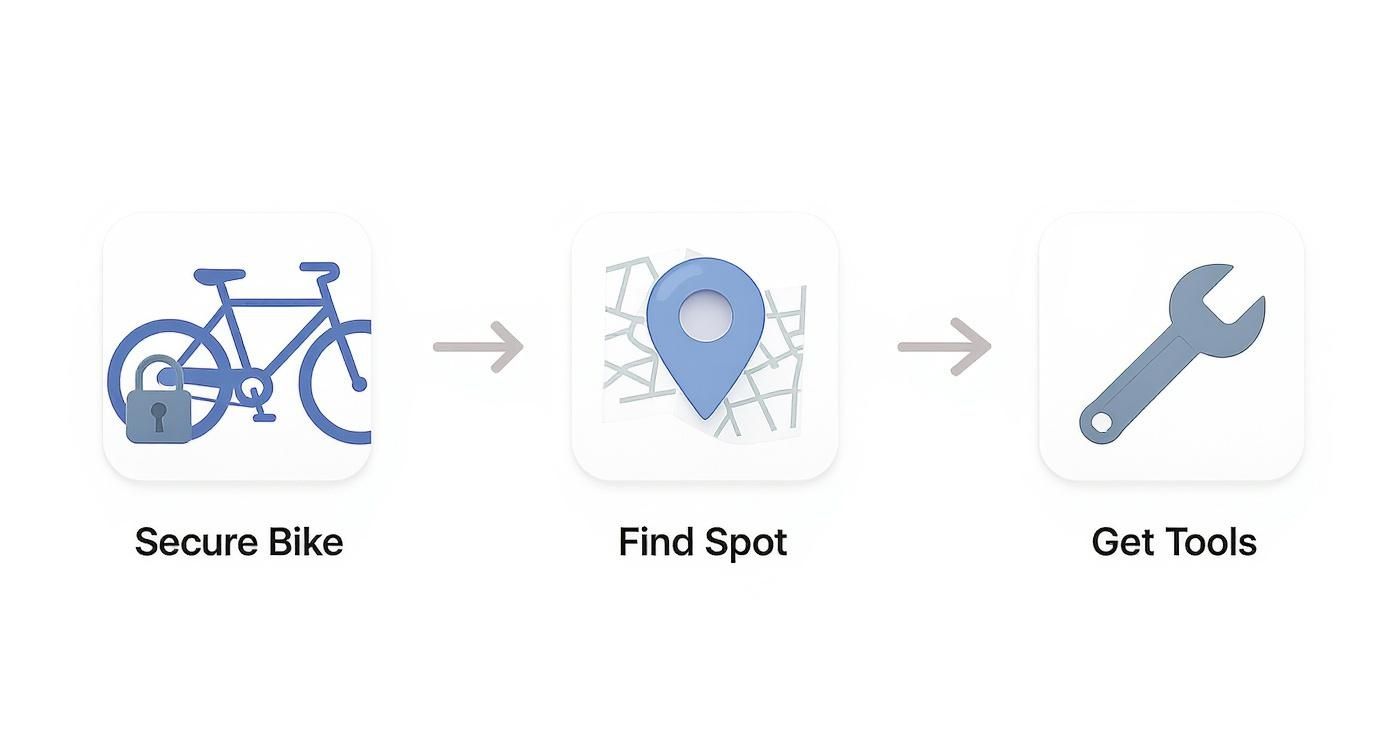
First Things First: Pre-Repair Safety Checks
Before you even think about grabbing a tyre lever, your number one priority is safety. An e-bike is a heavy machine, and the last thing you want is for it to topple over while you're working on it.
- Get Out of the Way: Pull your bike completely off the road or cycle lane. Find a flat, stable spot where you have plenty of room to work without worrying about traffic.
- Stabilise Your Ride: If you don't have a solid kickstand, gently lay the bike down on its non-drivetrain side. That's the side without the chain and gears. This protects the most delicate (and expensive) parts.
- Kill the Power: This is a big one. Always, always, always power down the entire e-bike system. You don't want the motor to kick on accidentally while your hands are near the wheel.
Building Your Go-To Toolkit
The simple truth is that the flimsy tools you might use on a featherlight road bike just won't cut it here. E-bikes are built tough, and your tools need to be, too. Those cheap plastic tyre levers? They'll likely snap clean in half against a stubborn e-bike tyre.
I see this all the time: people assume any old bike pump will work. But for an e-bike, hitting the exact right tyre pressure is crucial for performance and battery life. That's why a pump with a reliable, built-in pressure gauge isn't just a nice-to-have; it's a must-have.
Having the right gear makes all the difference between a frustrating ordeal and a quick fix. Here's a look at what you should carry.
Your Essential E-Bike Flat Tyre Toolkit
| Tool | Basic Option | Recommended for E-Bikes | Why It Matters |
|---|---|---|---|
| Tyre Levers | Thin plastic levers | Heavy-duty composite or metal-core levers | E-bike tyres have tougher sidewalls and a tighter bead, requiring much more force to remove. |
| Inflation | Mini-pump without a gauge | Mini-pump with a built-in pressure gauge | Precise pressure (in Bar or PSI) is critical for an e-bike's range, handling, and preventing future flats. |
| Puncture Repair | Glueless patch kit | Spare inner tube (correct size) | A spare tube is a faster, more reliable roadside fix than messing with patches. |
| Spanners | Basic bike multi-tool | Multi-tool with a 15mm spanner or a dedicated adjustable spanner | Hub motors often use 15mm axle nuts that a standard multi-tool might not have. |
Once you've got these core items, you're in a great position. You can always round out your setup with other helpful gear. To see what else can make your rides smoother, you can explore some of the best electric bike accessories to build out a truly complete kit.
Taking Your E-Bike Wheel Off Like a Pro
Let’s be honest, taking a wheel off an e-bike—especially a rear one with a hub motor—can feel intimidating. You've got extra weight, wires, and it just seems more complicated than a regular bike. But trust me, once you do it once, you'll see it's totally manageable. It just requires a little patience and a methodical approach.
Before you grab a single tool, a bit of prep goes a long way. Think about where you're working, how you'll hold the bike steady, and getting your tools ready first. It makes the whole process smoother.
Following these initial steps is key. It keeps you safe and saves you from a world of frustration later.
Unplugging the Hub Motor
That motor cable is what spooks most people, but it’s made to be disconnected. Just trace the cable from the hub motor along the frame (usually the chainstay), and you'll find the connection point. It's a sturdy, weatherproof plug.
Most of these connectors have little arrows printed on them. Line those up, and it should pull straight apart. Never, ever twist it. Yanking or twisting is a surefire way to bend the pins inside and create a much bigger problem.
Here’s a trick I learned the hard way: take a picture with your phone before you unplug anything. Get a clear shot of how the cable runs and the order of any washers or nuts on the axle. This photo will be your best friend when it's time to put everything back together.
Minding the Brakes
Nearly all e-bikes have disc brakes these days, and they need a little attention when the wheel is off.
- Hydraulic Brakes: If you have these, whatever you do, don't squeeze the brake lever with the wheel out. It’ll cause the pistons to push the pads together, and you’ll have a heck of a time prying them apart without a proper tool. The easy solution? Stick a brake pad spacer (or even a clean, folded piece of cardboard) between the pads.
- Mechanical Brakes: You have a little more wiggle room here, but it’s still a good habit to leave the brake lever alone.
Loosening the Wheel
Okay, motor unplugged and brakes secured, it's time for the main event. For a rear hub motor, you’ll probably need a 15mm spanner for the big axle nuts on either side of the wheel. Just loosen them until you have enough room to slide the wheel down and out of the dropouts.
Be ready for the heft. A hub motor wheel is surprisingly heavy. Keep one hand on the tyre to support it while you loosen the final nut with your other hand. This stops it from clunking to the ground unexpectedly.
If you’re just working on a front wheel without a motor, things are much easier. It's usually a quick-release skewer or smaller axle nuts. The only thing to remember is to support the bike's front fork so it doesn’t dive onto the pavement when the wheel comes off. A little care here makes the entire ebike tire repair job way less of a headache.
Finding and Fixing the Puncture Like a Pro
Alright, you've got the wheel off the bike and onto your workbench (or a reasonably clean patch of grass). Now the real detective work begins. Your mission is to hunt down that sneaky culprit that flattened your tyre and figure out the best way to get rolling again. This part is less about muscle and more about being methodical.
First things first, you need to liberate the inner tube. Grab your tyre levers and gently pry one side of the tyre bead up and over the rim. Once you get a small section free, the rest usually follows with a bit of persuasion. Just be careful not to pinch the tube with the levers—that’s a classic rookie mistake that’ll have you starting all over again.
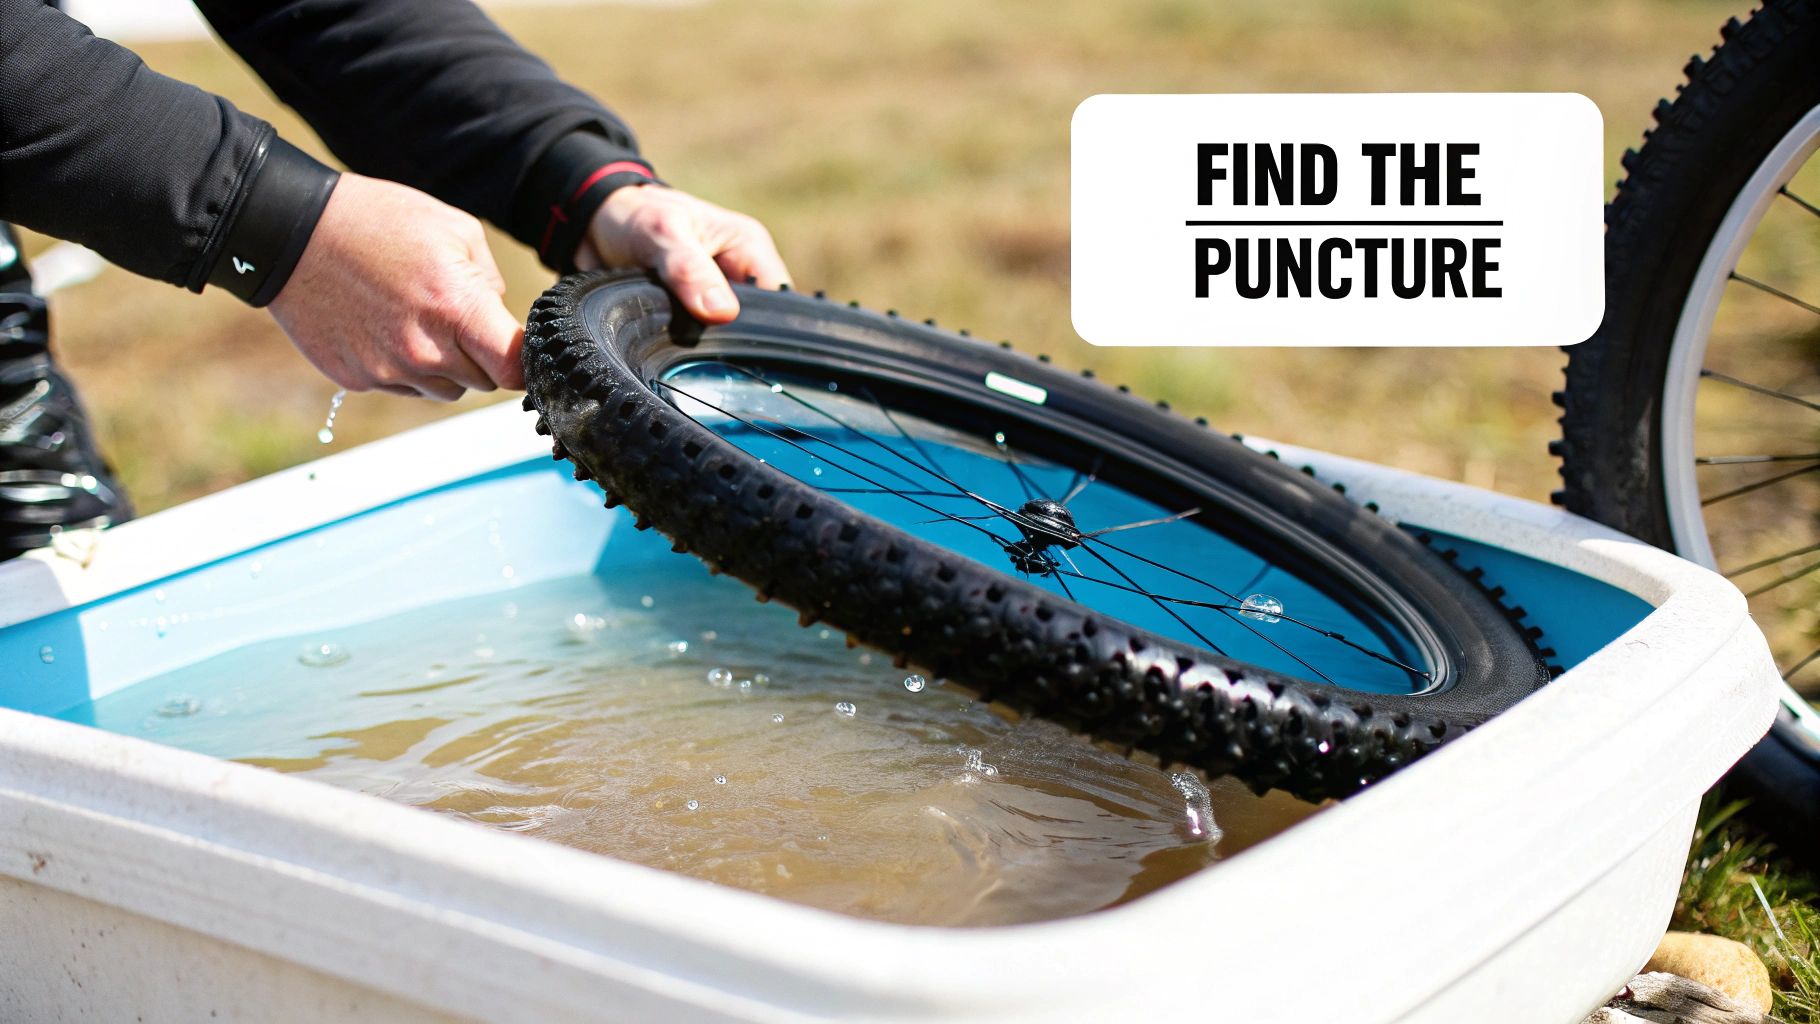
The Hunt for the Hole
With the tube out, it's time to find that leak. Pump a little air into it, just enough so it holds its shape but isn't firm. This bit of pressure is the key to spotting the hole.
I've relied on a few old-school techniques over the years:
- The Dunk Test: This is the most foolproof method by far. Submerge sections of the inflated tube in a bucket of water. If you're out on the trail, a big puddle works in a pinch! Look for a stream of tiny bubbles fizzing out—that's your puncture.
- Feel & Listen: No water? No problem. Bring the tube up close to your face and rotate it slowly. Listen for the faint hiss of escaping air. You can often feel the tiny breeze on sensitive skin, like your lips or cheek.
- The Quick Scan: Sometimes, you just get lucky. You might be able to see the hole, especially if it’s a bigger gash or a "snake bite" flat caused by hitting a curb too hard.
Once you find the hole in the tube, your work isn't done. This is the step everyone forgets: find out what caused it in the first place. Carefully run your fingers along the inside of the tyre casing. Feel for anything sharp—glass shards, thorns, little bits of wire. If you skip this, your brand-new tube will go flat the second you inflate it.
Patch It or Pitch It: The Big Decision
So, you've found the hole and yanked the offender out of the tyre. Now what? You have a choice to make for your e-bike tyre repair: patch the tube or just swap in a new one?
A patch kit is a fantastic, lightweight thing to keep in your saddlebag. The process is simple: rough up the area around the hole with the little metal scuffer, spread a thin layer of vulcanising glue, wait for it to get tacky, and then press the patch on firmly. It's a solid fix when you do it right.
But, let's be honest. When you're on the side of the road, just wanting to get home, swapping in a fresh inner tube is almost always faster and more reliable. It takes the guesswork out of a potentially leaky patch and gets you back on your bike in minutes. This is exactly why most of us carry a spare tube, not just a patch kit. For more complex fixes, especially on the tyre itself, our guide on electric scooter tire replacement has some tips that can definitely carry over.
While most e-bikes you see are still running traditional inner tubes, the game is changing. Tyre technology is always moving forward, especially with the rise of tubeless setups. In fact, the electric bike tubeless tyre market is expected to grow to over USD 2.5 billion by the end of 2024. These systems use a liquid sealant to automatically plug small punctures, but they require a totally different set of skills for bigger problems. It's a shift that both riders and bike shops are having to adapt to. You can dig into more details about the growing e-bike tubeless tire market on Marketreportanalytics.com.
Getting Your Tyre and Wheel Back in Action
Alright, you’ve wrestled with the puncture and won. The hard part is over. Now, let’s get everything back together. It's tempting to rush this last step, but trust me, taking your time here is crucial. A sloppy reassembly is the fastest way to get a second flat before you even get out the door.
Before you even touch the rim, grab your new (or patched) inner tube and give it just a tiny bit of air. I’m talking one or two pumps—just enough to give it a round shape but still be super pliable. This little trick is a total game-changer.
Why? Because it keeps the tube from twisting up inside the tyre or, worse, getting snagged under the tyre's edge (the bead) as you pop it on. It’s a tiny step that prevents a massive headache.
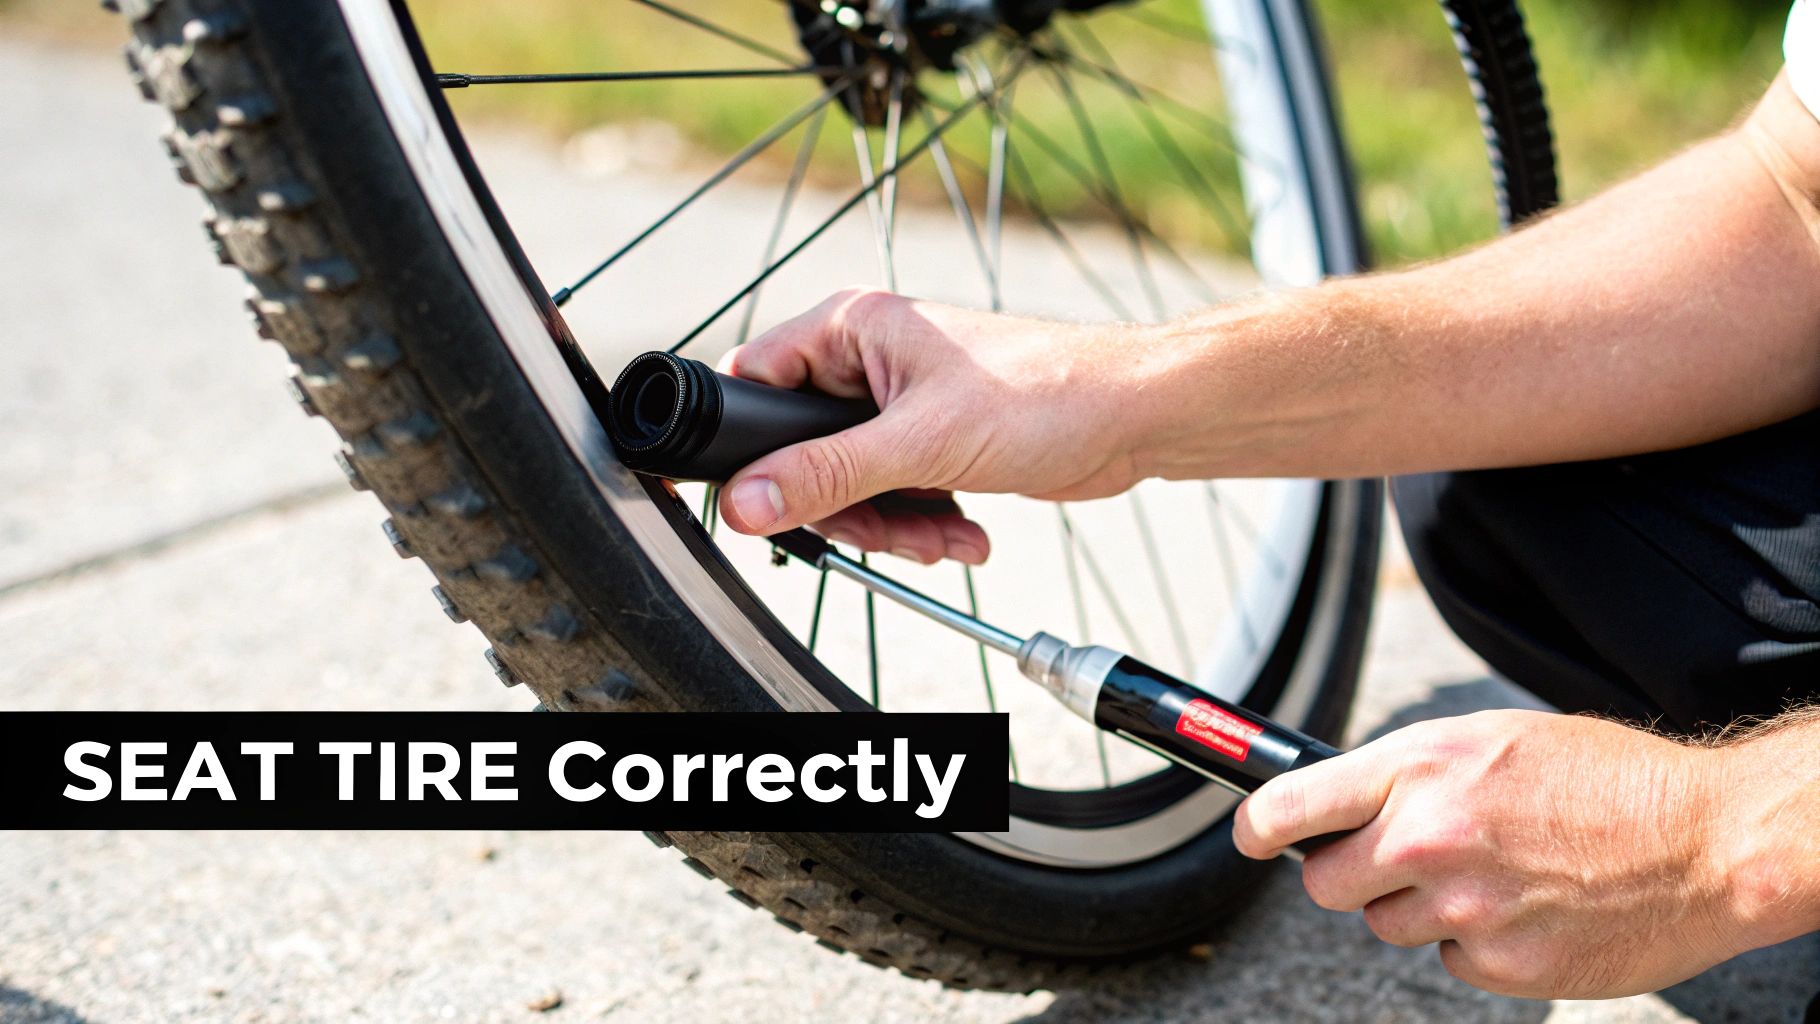
Seating the Tyre Without Pinching the Tube
With your slightly inflated tube, start by tucking it evenly inside the tyre. Find the valve hole on your rim and poke the valve stem through first—this acts as your anchor. Now, you can start working one side of the tyre bead onto the rim. It should pop on fairly easily.
Once one side is on, make sure the tube is nestled down inside the tyre cavity, sitting nicely in the rim bed. Then, start working the second bead onto the rim. I find it’s easiest to start opposite the valve and use the palms of your hands to work your way around, pushing the bead up and over the rim.
You'll eventually get to a final, stubborn section near the valve. Whatever you do, resist the temptation to grab a tyre lever to force it on. Using a lever here is the #1 cause of pinch flats—you’ll just put a hole in the very tube you’re trying to install.
Instead, let all the air out of the tube. This will give you just enough slack to roll that last bit of bead over the rim using only your thumbs.
Crucial Pre-Inflation Check: Before you reach for the pump, go around the entire wheel on both sides and push the tyre bead away from the rim. Peek into the gap and make absolutely sure you can't see the inner tube. If any part of it is trapped under the bead, it's guaranteed to pop when you inflate it.
Remounting the Wheel on Your E-Bike
With the tyre properly seated, you're ready to get the wheel back on the bike. This is where that photo you took earlier becomes your best friend, especially if you're dealing with a rear hub motor.
-
Slide the Wheel Back In: Gently guide the wheel axle back into the frame’s dropouts. Double-check that any special hardware, like torque arm washers, are in the correct position and orientation. Your photo will confirm this.
-
Reconnect the Motor Cable: Find the arrows on the motor cable connector and line them up. Push the two ends together until you hear or feel a solid click. Give it a light tug to make sure it's secure.
-
Tighten the Axle Nuts: Get the axle nuts on by hand first, ensuring the wheel is sitting straight and centered in the frame. Then, grab your spanner and tighten them down securely. You want them snug, but don’t go full-on beast mode and strip the threads.
-
Final Brake Check: Squeeze the brake lever a few times to help the brake pads reset themselves against the rotor. Finally, lift the wheel off the ground and give it a good spin. It should rotate freely with no rubbing or scraping sounds. If you hear anything, you may need to make a minor brake adjustment.
Getting It All Aired Up and Road-Ready
Just because the wheel is back on doesn’t mean the job is finished. Honestly, this next part—getting the inflation just right—is one of the most important steps for your e-bike's performance, safety, and even your battery life.
E-bikes are heavy beasts. Riding around on under-inflated tyres is a surefire way to get sluggish handling and, yep, another flat tyre.
Think of tyre pressure as the secret sauce for your ride. Too low, and the tyre feels squishy and unstable in corners. You also risk getting a "pinch flat," which is when the tube gets violently squeezed between the rim and the road. Ouch. Go too high, and your ride becomes brutally harsh, transmitting every single crack and pebble straight up your spine.
Finding That Sweet Spot
Thankfully, this isn't a guessing game. Take a close look at the sidewall of your tyre. The manufacturer has conveniently printed the recommended pressure range right on there, usually in both Bar and PSI (pounds per square inch).
With all the extra weight from the motor and battery, you'll almost always want to run your tyres toward the higher end of that recommended range. Our guide on managing your electric bike weight limit dives deeper into how your total load impacts everything. A good floor pump with a built-in gauge is non-negotiable here; it's the only way to know you're hitting the right number.
I see it all the time: people just give the tyre a quick squeeze with their thumb and call it good. On an e-bike, being off by just 10-15 PSI can make a huge difference, noticeably zapping your battery range because the motor has to fight against all that extra rolling resistance.
The demand for solid e-bike parts is exploding for a reason. The entire bicycle tyre market, which includes e-bike tyres, was valued at around USD 8.32 billion in 2024 and is expected to climb to USD 13.56 billion by 2032. That's a lot of riders depending on their bikes, which makes getting this stuff right more crucial than ever. You can learn more about the bicycle tire market on futuremarketinsights.com.
The Final Once-Over Safety Sweep
Okay, the tyre is aired up. You're so close! Before you jump on and ride off, take 60 seconds to run through this quick final check. It ensures your repair is not just done, but done right.
-
Give It a Spin: Lift the wheel you worked on off the ground and give it a good, fast spin. You're looking for a smooth rotation with no weird rubbing sounds against the brake pads or the frame.
-
Test Your Brakes: Squeeze the brake lever for that wheel a few times. It should feel firm and solid, not soft or spongy. Make sure the brakes grab and stop the wheel effectively.
-
Check Your Connections: If you worked on the rear wheel, give the motor cable a gentle tug to be sure it's plugged in all the way. Then, double-check that your axle nuts are properly tightened or that the quick-release lever is clamped down securely.
This little ritual takes less than a minute, but it gives you the confidence that your e-bike is safe and truly ready to hit the road again.
Got Questions About E-Bike Tyre Repair?
Even with a good guide, you're bound to have a few questions rattling around. Let's dig into some of the things riders ask me about all the time.
Are E-Bike Tyres A Nightmare To Fix?
Honestly? No, but there’s a small catch. The actual job of patching or swapping a tube is exactly the same as on any regular bike.
The extra hurdle comes from the wheel itself, especially if you have a hub motor. Those wheels are seriously heavy, and you have to be mindful when disconnecting the motor's power cable. But once you’ve done it a single time, that bit of intimidation completely disappears. It’s a skill every e-bike owner can—and should—learn.
What’s The Right Tyre Pressure For An E-Bike?
This is a big one. Always, always start by looking at the sidewall of your tyre. The manufacturer prints the recommended pressure range right there, usually in Bar and PSI.
E-bikes need more air than regular bikes because of all that extra weight from the battery and motor. Riding on soft tyres is a recipe for disaster; it absolutely kills your battery range, makes the bike feel sluggish, and is the number one cause of pinch flats.
Make it a habit to check your tyre pressure at least once a week. Your bike will thank you.
Can I Just Use Regular Inner Tubes And Patch Kits?
Yep, you sure can. There's no special e-bike magic here. Any standard inner tube will work perfectly, as long as it’s the right size for your tyre's diameter and width.
The same goes for patch kits. The glue and rubber patches work the same way regardless of the bike. While you might see some brands selling "heavy-duty" or "e-bike specific" tubes, a good quality standard tube is all you really need to get back on the road.
You know what they say: an ounce of prevention is worth a pound of cure. The best way to deal with flats is to avoid them in the first place. Keep your tyres properly inflated, choose tyres with good puncture protection, and think about adding some tyre sealant to your tubes. That stuff can plug a small hole before you even notice you lost air.
Ready to ride without worry? Punk Ride LLC offers a curated selection of top-tier electric bikes and scooters built for the demands of the modern rider. Explore our collection and find your perfect urban companion today at https://www.punkride.com.
Share:
How to Make an Electric Bike Faster: Quick Upgrades
Unpacking Electric Vehicle Maintenance Costs