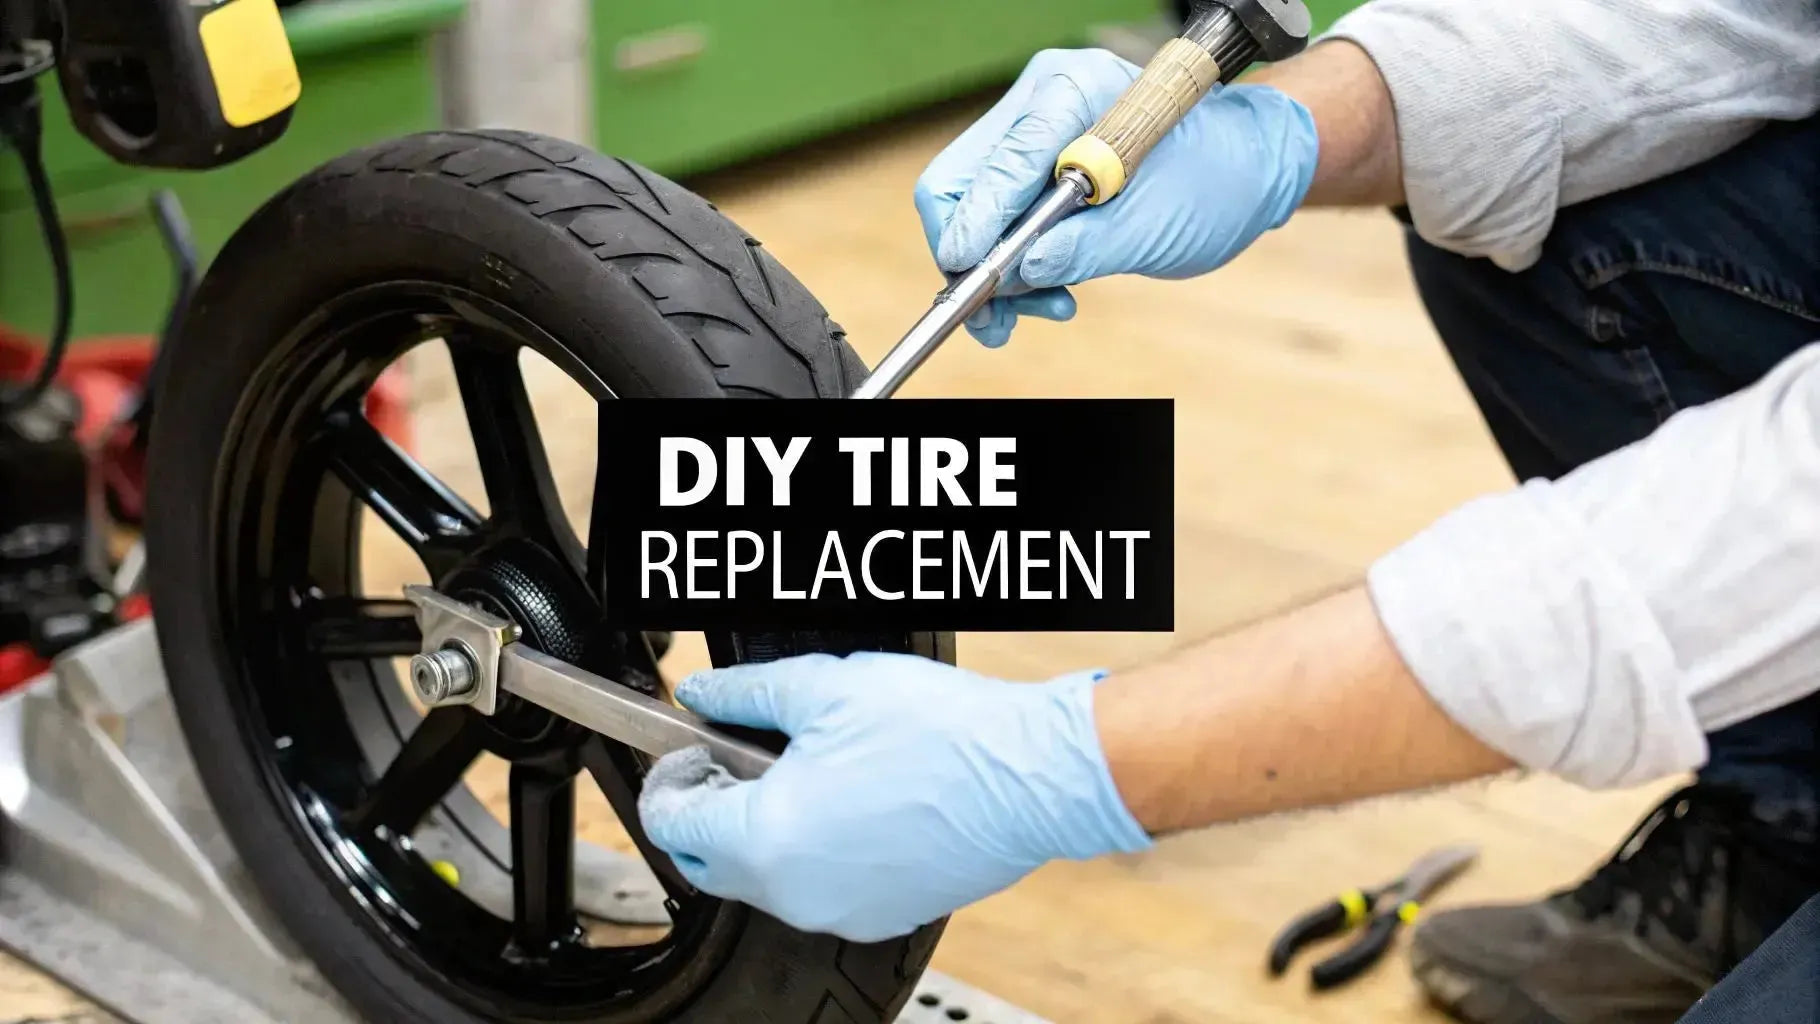
Sooner or later, it happens to every electric scooter rider: the dreaded flat tire. It's a bummer, for sure, but it doesn't have to ruin your day or your week. The first thing you need to figure out is what kind of tire you're dealing with—is it an air-filled (pneumatic) tire or a solid one? This one little detail changes everything about the repair job.
So You've Got a Flat Tire, Now What?
You know that wobbly, sluggish feeling when your scooter just isn't riding right? Yep, that's a flat. Now you've got a choice: roll up your sleeves and DIY it, or hand it over to a pro. Honestly, the right call depends on your tire type and how much you enjoy a good old-fashioned hands-on project.
Think of this as more than just a repair—it's a chance to fine-tune your ride. If you're constantly getting flats from rough city streets, this might be the perfect time to switch from pneumatic to solid tires. But if you can't live without that cushy, cloud-like ride, you'll want to stick with air-filled.
Pneumatic vs. Solid Tires: The Great Debate
Before you even think about buying a replacement, you've got to know the difference between the two main types. They each have their own pros and cons that will directly impact how your scooter feels on the pavement.
-
Pneumatic (Air-Filled) Tires: This is what most scooters come with right out of the box. They're fantastic for soaking up bumps and giving you a smooth, comfortable ride. The big catch? They can get punctured by glass, nails, or any other sharp debris you might roll over.
-
Solid Tires: As the name implies, these are completely airless. That means they are 100% puncture-proof, which is a huge relief for many riders. The trade-off is a much harsher ride. You'll feel every single crack and pebble in the road, and they don't grip quite as well as pneumatic tires.
To make it even easier, here’s a quick breakdown to help you decide.
Solid vs Pneumatic Tire Showdown
Here's a quick comparison to help you choose the right replacement tire for your needs, weighing comfort against maintenance.
| Feature | Solid Tires | Pneumatic (Air-Filled) Tires |
|---|---|---|
| Ride Comfort | Harsher ride, you'll feel bumps | Superior shock absorption, very smooth |
| Maintenance | Zero; they are puncture-proof | Requires regular air pressure checks |
| Puncture Risk | None | Vulnerable to flats |
| Grip & Traction | Generally lower | Excellent, especially in wet conditions |
| Installation | Can be very difficult | Easier to install and replace |
Ultimately, the choice is yours. Go with solid tires for a maintenance-free but bumpy ride, or stick with pneumatic tires for that smooth feel, even if it means dealing with the occasional flat.
This whole debate isn't just happening in your garage; it's part of a massive industry shift. The kick scooter tire market was valued at around USD 40 million in 2024 and is expected to rocket to USD 100 million by 2033. This growth is fueled by people like us choosing greener ways to get around town, with personal electric vehicle use jumping by nearly 30% in some U.S. cities from 2020 to 2022. If you're a data nerd, you can dive deeper into this growing market trend on Verified Market Reports.
Gathering the Right Tools for the Job
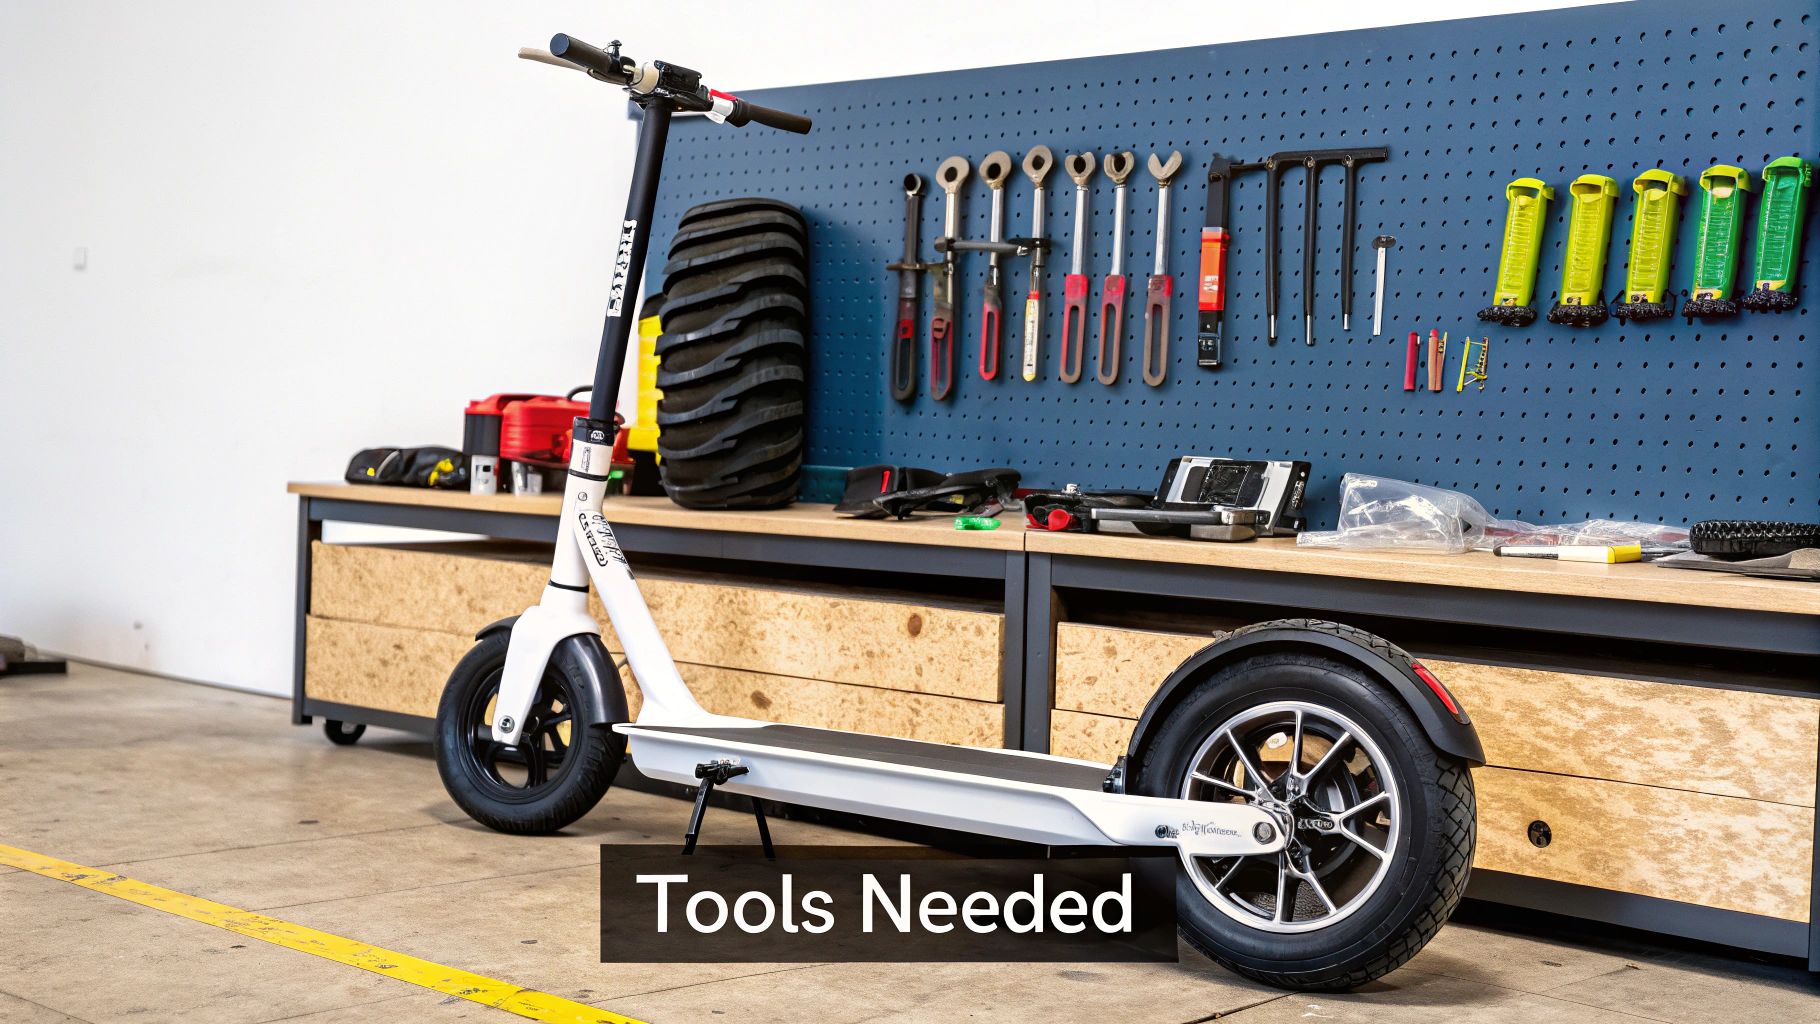
Trust me, trying to swap an electric scooter tire without the right gear is a one-way ticket to a frustrating afternoon. You can save yourself a massive headache by getting everything you need laid out and ready before you even think about loosening a single nut.
The absolute must-haves are a solid set of metal tire levers, sometimes called tire spoons. Don’t even bother with plastic bicycle levers; they’ll just snap under the pressure of a stiff scooter tire. You'll also need a wrench or Allen key set that fits your scooter’s axle nuts. Keep in mind that sizes can vary between models in the US and Australia, so double-check what you need.
The Essential Toolkit
Beyond those basics, a few other items will make the job go from a chore to something manageable. This is the stuff that prevents you from scratching your rim or just giving up halfway through.
- Valve Core Remover: This little tool is a lifesaver. It lets you completely and quickly deflate a pneumatic tire, which makes a world of difference.
- Soapy Water Solution: Seriously, a simple spray bottle with dish soap and water is your best friend here. It acts as a lubricant to help the old tire slip off and, more importantly, the new one slide on.
- Sturdy Zip Ties: If you've ever heard of the "zip-tie method," this is what you need. Squeezing the tire with a few zip ties makes it way easier to lever onto the rim.
- Gloves: A good pair of work gloves will save your hands from grease and give you a much better grip when you’re wrestling with the tire.
Pro tip: Your workspace is just as important as your tools. Lay down an old yoga mat or a soft cloth to work on. It'll stop you from scratching up your scooter's frame.
Sourcing Your Tools Affordably
You don't need to break the bank. You can find affordable kits with most of these tools online from retailers that ship across the US and Australia. Your local hardware or automotive shop, like a Bunnings in Australia or a Home Depot in the US, is also a great bet for finding beefy tire levers and wrench sets.
Remember, buying the right tools once makes every future tire change that much easier.
Removing the Old Scooter Tire
Alright, let's get our hands dirty. Honestly, wrestling the old, worn-out tire off the rim is usually the toughest part of this whole job. But don't worry, with a bit of patience and the right technique, you'll get it done. We'll start by getting the wheel off the scooter, then tackle the tire itself.
First up, detaching the wheel. If you're working on the front, it's pretty simple—just a matter of loosening the axle nuts. The rear wheel, especially on scooters with a hub motor, is a bit trickier. You'll see a motor cable connecting the wheel to the scooter's frame. Be gentle here. Unplug it carefully, and I highly recommend snapping a quick photo on your phone first. It’s a lifesaver when you’re trying to remember how it all plugs back in later.
Breaking the Bead and Prying Off the Tire
With the wheel free, the real battle begins: breaking the tire's bead. This is the inner edge of the tire that creates an airtight seal against the rim, and man, can it be stubborn.
This image shows you the kind of leverage you'll need to pry the tire off.
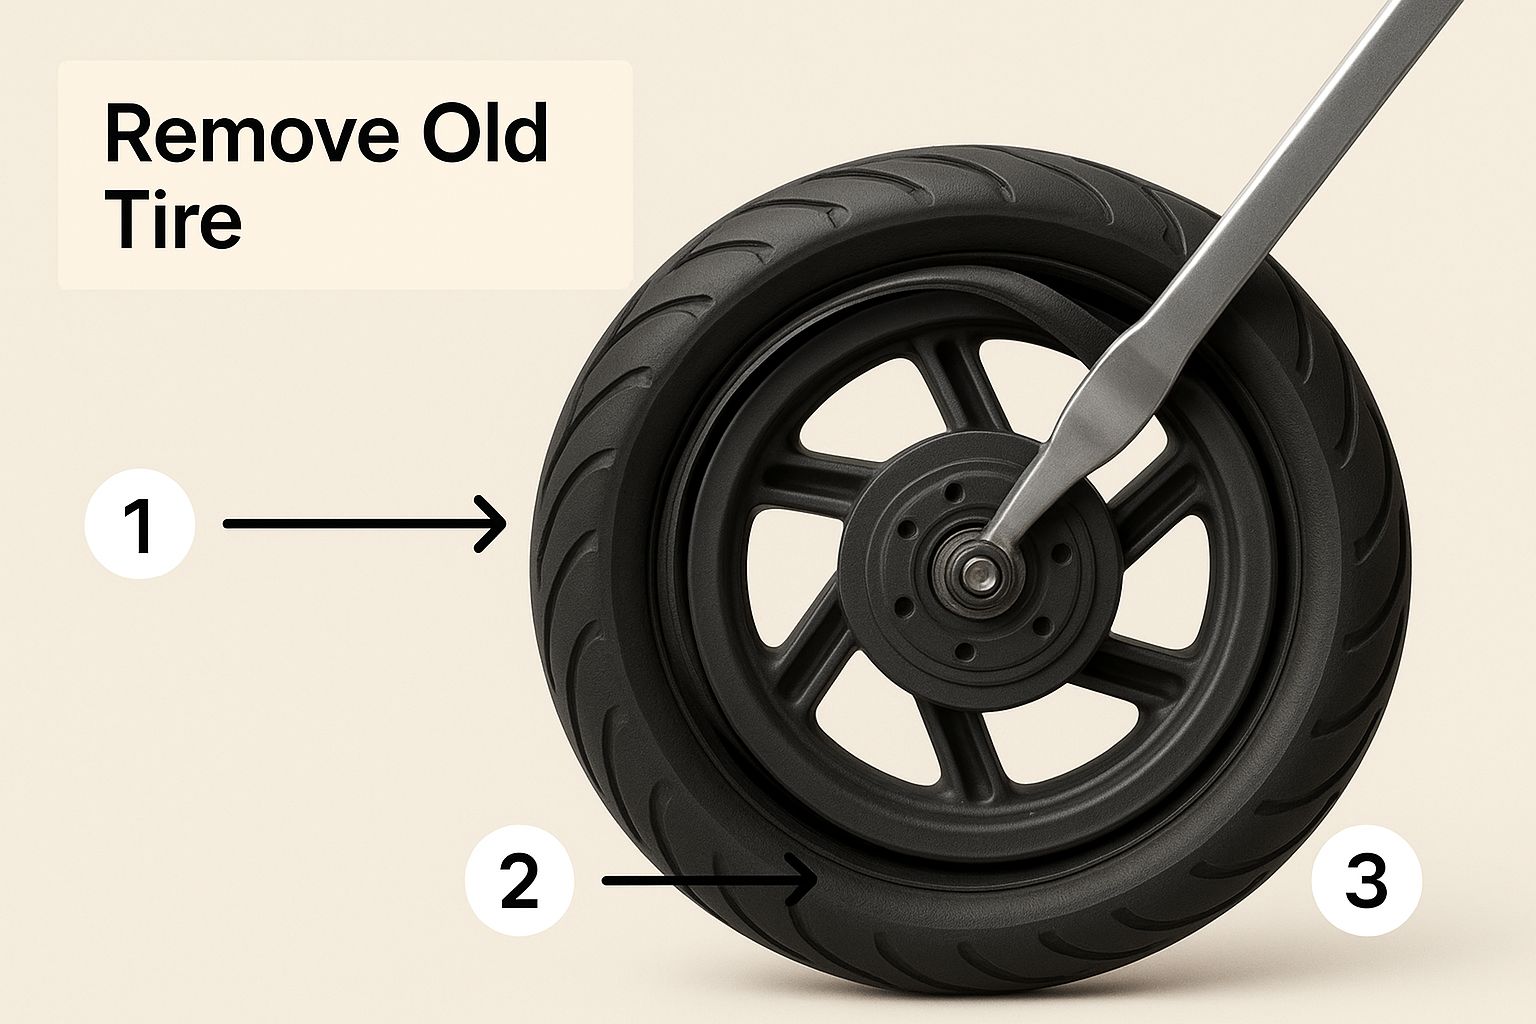
The big lesson here is that it's all about technique, not just brute force. Using your tools smartly will save you a lot of sweat and prevent you from damaging the rim.
Before you do anything else, make sure the tire is completely flat. Use that valve core remover to let every last bit of air out. Now, place the wheel on the ground and stand on the tire with your feet on opposite sides, right up against the rim. Start "walking" around it, using your body weight to pop the bead away from the rim. It might take a bit of effort, but you'll feel it when it gives.
Once the bead is broken, grab your tire levers.
I see so many people just trying to muscle the tire off. Big mistake. The trick is to hook one lever under the tire's bead and then rest the lever against the axle for support. This creates a pivot point and gives you the leverage you need to pop the tire over the rim without a huge struggle.
Wedge one lever under the bead and pry a small section up and over the edge of the rim. Pin that lever down (with your knee or hand) and then use your second lever a few inches away to do the same thing. Just keep leapfrogging the levers around the wheel until one whole side of the tire is off. The second side is a piece of cake after that.
Learning this skill is becoming more and more common for riders everywhere. It’s all part of a massive trend—the global two-wheeler tire market was expected to reach US$14.9 billion by 2025. A huge chunk of that growth comes from the e-scooter boom, particularly in North America and the Asia-Pacific region, where cities are embracing micro-mobility. You can dig into more insights about this expanding market and its projected 8.3% annual growth.
Time to Install the New Scooter Tire
Alright, you got the old tire off. Now for the fun part—wrestling the new one on. This can feel just as tough as the removal, but don't worry, you've got this. The game plan changes quite a bit depending on whether you're dealing with a solid or a standard air-filled (pneumatic) tire.
Let's start with solid tires. These things are notoriously stubborn. Trying to mount one at room temperature is a recipe for frustration and sore hands. The secret? Heat. You need to make that dense rubber pliable enough to stretch over the rim.
I've found the best way is to submerge the tire in a pot of boiling water for a solid 10-15 minutes. Some folks swear by the microwave method, heating it in short 30-second bursts for about three minutes total. Just be super careful—that tire is going to be incredibly hot when it comes out.
Working with Pneumatic and Inner Tube Tires
If you're sticking with traditional air-filled tires, your main enemy is the dreaded "pinch flat." This happens when you accidentally trap the inner tube between the tire and the metal rim during installation, popping it before you even get a chance to ride. It's a classic mistake.
Here’s a pro tip to avoid it: pump just a little bit of air into the new inner tube before you put it in the tire. Give it just enough shape so it’s not a floppy mess. This helps it sit properly and keeps it from getting caught on the rim's sharp edges.
- First, get one side of the new tire onto the rim. A little soapy water will make it glide on much easier.
- Next, slide the partially inflated inner tube in, making sure to carefully poke the valve stem through the hole in the rim first.
- Finally, use your tire levers to ease the second side of the tire onto the rim. Go slow and be mindful of where that inner tube is.
Pay attention to the directional arrow on the tire’s sidewall before you even start. Mounting it backward is a common mistake that messes up your grip and how the tire sheds water. It’s a small detail that makes a huge difference in safety and performance.
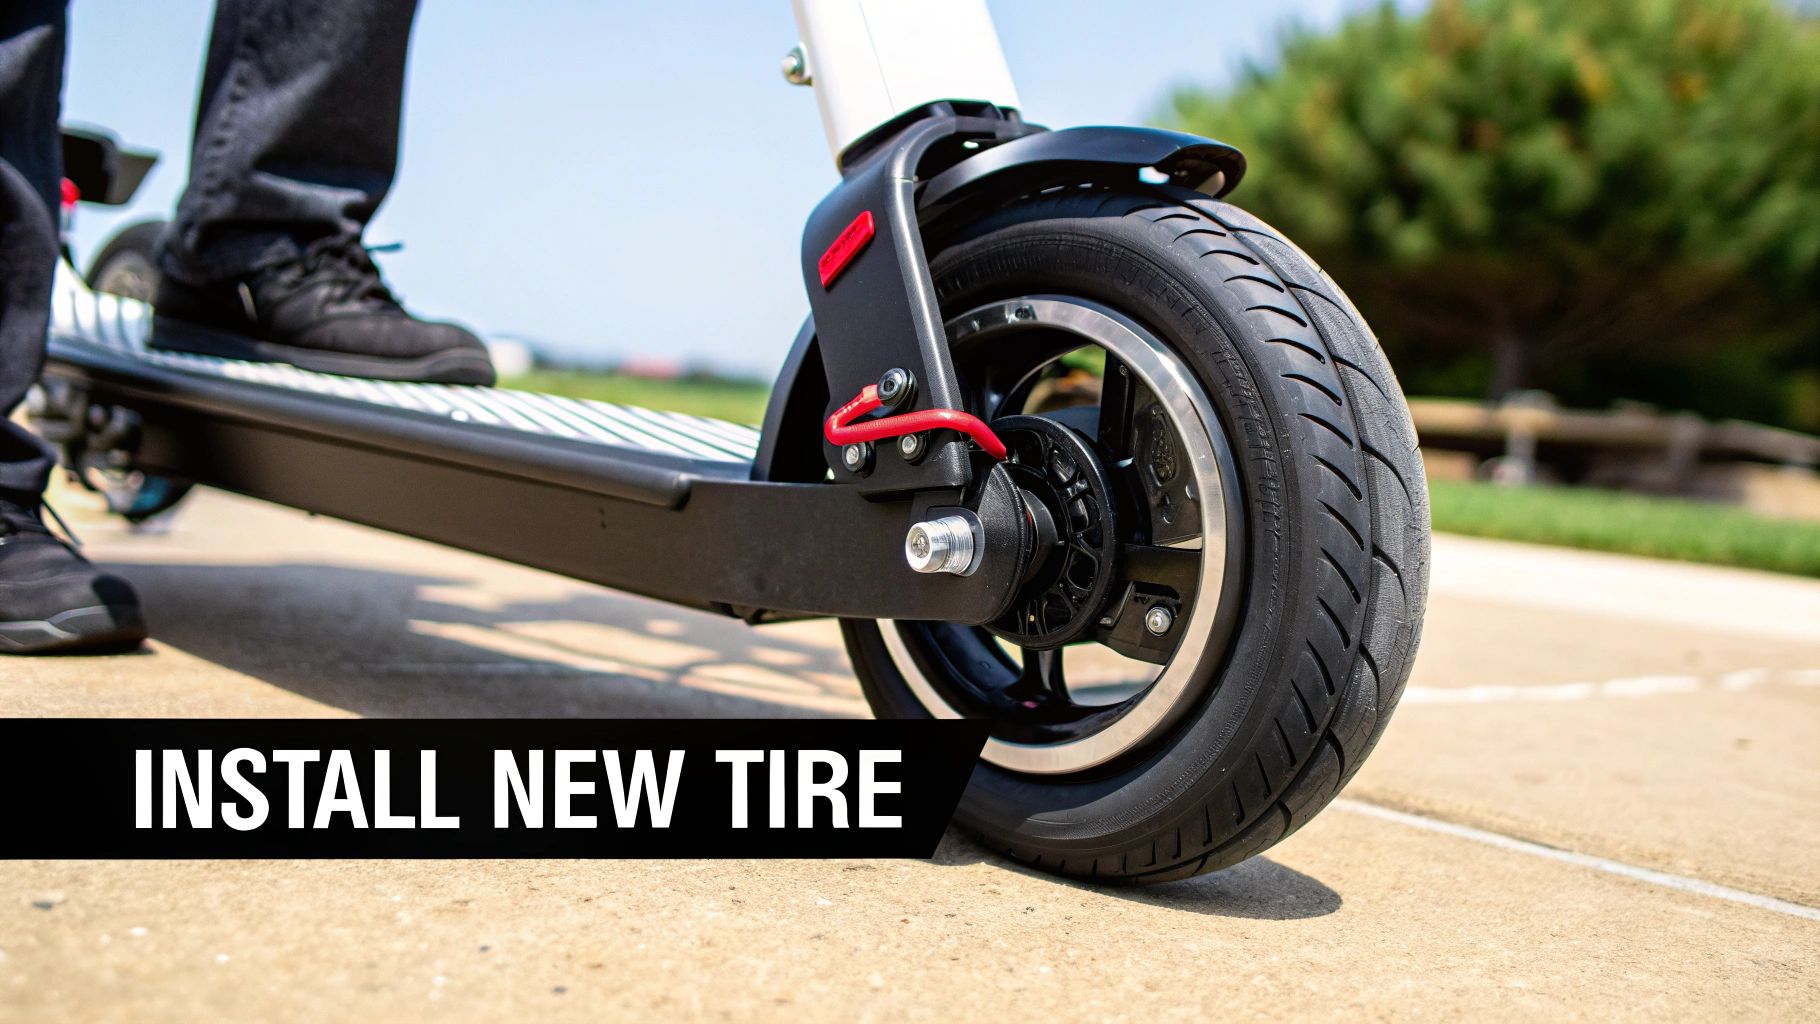
Seating the Tire and Making Final Checks
Once the tire is on, the job isn't quite done. You need to "seat the bead," which means making sure the tire is locked evenly into the rim on both sides.
Start inflating the tire and listen for one or two loud "pops"—that’s the sound of the bead snapping securely into place. It can be a little startling, but it's a good sign!
Now, look closely at the sidewall. You should see a thin guide line running around the tire, just above the rim. This line should be an equal distance from the rim all the way around. If you see it dipping down in one spot, the tire isn't seated right. You'll need to let the air out, shift the tire around, and try again.
Getting your tires on right is a huge part of scooter maintenance, but it's only half the battle. Riding smart is just as important. For a refresher on staying safe out there, take a look at our guide on how to ride an electric scooter.
The Final Lap: Checks, Balances, and What Not to Do
Alright, you've wrestled the new tire onto the rim. Victory is close, but don't spike the football just yet. This last part is all about the details—the little things that separate a pro job from a one-way ticket back to the workbench.
If you've installed a pneumatic tire, getting the inflation right is everything. Grab your pump and check the tire's sidewall for the recommended PSI range. I usually aim for a happy medium right in the middle of that range.
Want a pro tip for spotting slow leaks? Mix a little soap and water in a spray bottle. Give the valve stem and the bead (where the tire meets the rim) a good spritz. If you see bubbles forming, you've got a leak that needs fixing before you go anywhere.
Don't Let These Rookie Mistakes Trip You Up
Even seasoned pros can get tripped up by simple oversights. Once you've got the wheel back on the scooter, give it a good spin. Is it moving freely, or do you hear that dreaded shhhk-shhhk-shhhk of the brake pads rubbing? It's super common to need a minor brake adjustment to get everything lined up perfectly again.
Here are the top three face-palm moments I see all the time. Steer clear of these:
- The Dreaded Inner Tube Pinch: This one is a classic. You fight to get the tire on, only to find you've punctured the brand-new tube in the process. It’s the absolute worst, so be gentle and use your tire levers carefully.
- Ignoring the Directional Arrow: Yep, most tires have a little arrow on the sidewall. Putting it on backward messes with your traction and how the tire sheds water. Not great for safety.
- Loosey-Goosey Axle Nuts: Those axle nuts need to be tight. Not "crank it 'til it breaks" tight, but properly torqued. A loose wheel can wobble, or worse, come right off.
A great tire change isn't done when the rubber is on the rim. It's done when every bolt is tight, the wheel spins true, and you know it's 100% safe to ride. Don't rush these final steps.
This kind of hands-on maintenance is becoming a must-have skill. Think about it: the rise of e-scooters in cities across the United States and Australia is undeniable as more people try to beat city traffic and find eco-friendly transport. All those new riders mean a ton of worn-out tires, making this knowledge more valuable than ever. You can read up on the trends in the two-wheeler tire market to see just how fast it's growing.
Now that your scooter is back in action, the last thing you want is for it to disappear. We've got a whole guide on the best ways to keep it secure, so check out our tips on how to lock your electric scooter.
Got Questions About Your Scooter Tires? Let's Talk.
Changing an electric scooter tire for the first time can feel a little daunting. Let's tackle some of the most common questions that pop up so you can get back on the road with confidence.
How Can I Tell It's Time for New Tires?
The most obvious sign is a flat tire, of course, but you really don't want to wait until that happens. The best way to stay ahead of trouble is to give your tires a quick look-over before you ride.
You'll know it's time for a change when you notice:
- The tread is visibly worn down, or worse, completely bald in some areas.
- You see any cracks, strange bulges, or deep cuts along the sidewall.
- Your air-filled tires just can't seem to hold pressure, even after you've checked for punctures.
A good set of tires should typically get you between 1,000 to 3,000 miles (that's about 1,600 to 4,800 kilometers), but that can change a lot depending on how and where you ride.
Can I Just Slap Any Tire on My Scooter?
I wish it were that simple, but definitely not. You have to match the new tire's size to the numbers printed on the sidewall of your current tire. If you can't read it, check your scooter's manual.
Sticking to the right size isn't just a suggestion—using the wrong one can throw off your scooter's handling and make it unsafe to ride.
Pro Tip: If you're wrestling with a particularly stubborn tire, especially a solid one, don't be afraid to call for backup. A local bike or scooter shop can get it done quickly, saving you a ton of time and frustration.
Ready to get rolling again? For some of the best electric scooters and all the parts you'll need, you should definitely see the awesome selection over at Punk Ride LLC. You can browse their full collection at https://www.punkride.com.
Article created using Outrank
Share:
How to Lock Electric Scooter Safely | Expert Tips
How to Compare Electric Scooter Models