


You're halfway through a Monday commute when your electric scooter starts feeling slow and vague. Steering takes more effort, the ride feels wobbly over patched asphalt, and the motor seems to be working harder than usual. At the next stop, you squeeze the tire and it feels soft. That small pressure loss can change the entire ride.
Scooter tire pressure isn't a set-and-forget number. The correct setting depends on the scooter's tire size, the rider's weight, luggage, temperature, and how much load sits over each wheel. The manufacturer's specification remains the starting point, but real-world setup often means working within a suitable PSI range rather than chasing one universal number.
Why Scooter Tire Pressure Matters More Than You Think
A pneumatic tire is part of the scooter's suspension, steering, braking, and energy system. When it loses air, more rubber deforms against the road. That increases rolling resistance, makes acceleration feel dull, and can reduce the scooter's practical range. Underinflation also makes the tire more vulnerable when it hits a pothole, curb, or sharp road edge.

The opposite problem is just as real. An overinflated tire feels harsh over rough urban surfaces, offers a smaller contact patch, and can reduce grip. On wet streets, that loss of compliance matters because the tire has less ability to follow small imperfections in the road.
The ride tells you something, but it can't give you a PSI reading
Experienced riders often notice pressure problems before checking a gauge. A low front tire may make the handlebar feel heavy or imprecise. A low rear tire can make the scooter feel sluggish under acceleration, particularly when the motor and rider's weight are concentrated at the back.
A pressure gauge still matters. A hand-squeeze test is too subjective, especially with small scooter tires and stiff sidewalls. Two tires can feel similarly firm by hand while having meaningfully different readings.
Practical rule: Treat the gauge as the measurement tool and your ride feel as a warning signal, not as a replacement for measurement.
Most pneumatic scooter guidance clusters around 40 to 50 PSI, although broader recommendations from 35 to 55 PSI appear across tire types, rider weights, and scooter models, as documented in this electric scooter tire pressure guide. The safest habit is to check the tire sidewall and manual first, then adjust within the manufacturer's limits.
A few minutes with a pump and gauge can improve comfort, handling, braking confidence, and tire protection more effectively than many accessory upgrades. For wider safety habits, keep this electric scooter safety guide alongside your maintenance routine.
Finding Your Ideal PSI by Tire Size and Rider Weight
Start with the number printed on your tire sidewall or listed in the scooter manual. That specification is the authority for your particular tire construction, valve, and wheel design. General ranges are useful when you're checking a replacement tire or trying to understand how load changes the setup, but they shouldn't override the manufacturer's limit.
Tire diameter changes the pressure conversation. Common guidance places 8-inch tires around 38 to 41 PSI, 10-inch tires around 41 to 45 PSI, and 11-inch tires around 50 to 55 PSI, with the exact setting affected by load and model, as outlined in this tire pressure reference.
Use the table as a starting point
| Tire Size | Rider Weight, Light 50 to 70 kg | Rider Weight, Medium 70 to 90 kg | Rider Weight, Heavy 90 to 100+ kg |
|---|---|---|---|
| 8 inch | 35 to 40 PSI front, 40 to 50 PSI rear | 40 to 45 PSI front, 45 to 55 PSI rear | 45 to 50 PSI front, 50 to 60 PSI rear |
| 10 inch | 38 to 41 PSI front, 40 to 45 PSI rear | 41 to 45 PSI front, 45 to 50 PSI rear | 45 to 50 PSI front, 50 to 60 PSI rear |
| 11 inch | 40 to 45 PSI front, 45 to 50 PSI rear | 45 to 50 PSI front, 50 to 55 PSI rear | 50 to 55 PSI front, 60 to 65 PSI rear |
The load-based examples in the table reflect published guidance that increases pressure as rider mass rises, with heavier riders commonly needing about 2 to 5 PSI or more above lighter-load settings. The same guidance gives examples ranging from 35 to 40 PSI front and 40 to 50 PSI rear for riders around 50 to 70 kg, up to 50 to 55 PSI front and 60 to 65 PSI rear above 100 kg. See the electric scooter tire pressure guide by rider weight for the load-based reasoning.
A heavier rider shouldn't inflate to the highest number available. More pressure can help prevent pinch flats and rim strikes, but excessive pressure reduces the contact patch and can make the scooter less planted. If you're comparing air-filled and solid designs, this explanation of pneumatic versus solid tires for scooters clarifies why only pneumatic tires require regular PSI adjustment.
Check whether the sidewall shows a recommended pressure or a maximum pressure. Those aren't interchangeable. The manual may also specify different front and rear settings, especially on scooters with a rear motor or a high load rating. For broader tire selection and fitment guidance, consult this guide to tires for electric scooters.
How to Check and Adjust Tire Pressure Correctly
Check pressure when the tires are cold, ideally before riding. Heat from road friction and tire flex temporarily changes the reading, so checking immediately after a commute can lead you to release air that the tire needs once it cools. Cold means the scooter has been sitting long enough to return close to ambient temperature.

A reliable check takes only a few steps
- Find the correct specification. Read the sidewall and manual before attaching the pump. If they differ, pause and confirm which value applies to the installed tire.
- Remove the valve cap carefully. Small scooter valves can be awkward to reach, particularly on compact wheels. A valve extension or angled adapter can make the connection easier without bending the stem.
- Take a gauge reading. Press a digital or analog gauge firmly onto the valve. Record the reading before adding air, rather than pumping by feel.
- Inflate in short bursts. Add air gradually and check again. This avoids overshooting the target and gives you control when using a compact hand pump or compressor.
- Top up after disconnecting. Some pump heads release a small amount of air during removal. Don't compensate by guessing a higher target. Disconnect cleanly, measure again, and add only what's needed.
A hand squeeze can reveal a badly deflated tire, but it can't distinguish a precise working pressure. Keep a small digital gauge in your riding bag, or use a bicycle pump with an integrated gauge. For riders considering a portable inflator, this resource lets you compare car jump starter prices in Elk Grove, although scooter compatibility, valve access, and pressure control should still guide the purchase.
Gauge habit: Measure first, inflate gradually, then measure again after the pump head comes off.
Inspect the tire while the valve cap is removed. Look for embedded glass, cuts, bulges, exposed fabric, or a valve stem that moves excessively. A tire that repeatedly loses pressure needs investigation, not repeated inflation.
What Happens When Your Pressure Is Wrong

A scooter can feel fine at the start of a ride, then become sluggish after carrying a heavy bag or crossing rough streets. That change often points to tire pressure, not a failing motor. Underinflation increases tire flex and rolling resistance, so the scooter needs more energy to maintain the same pace. Steering also feels less precise, especially while cornering or accelerating.
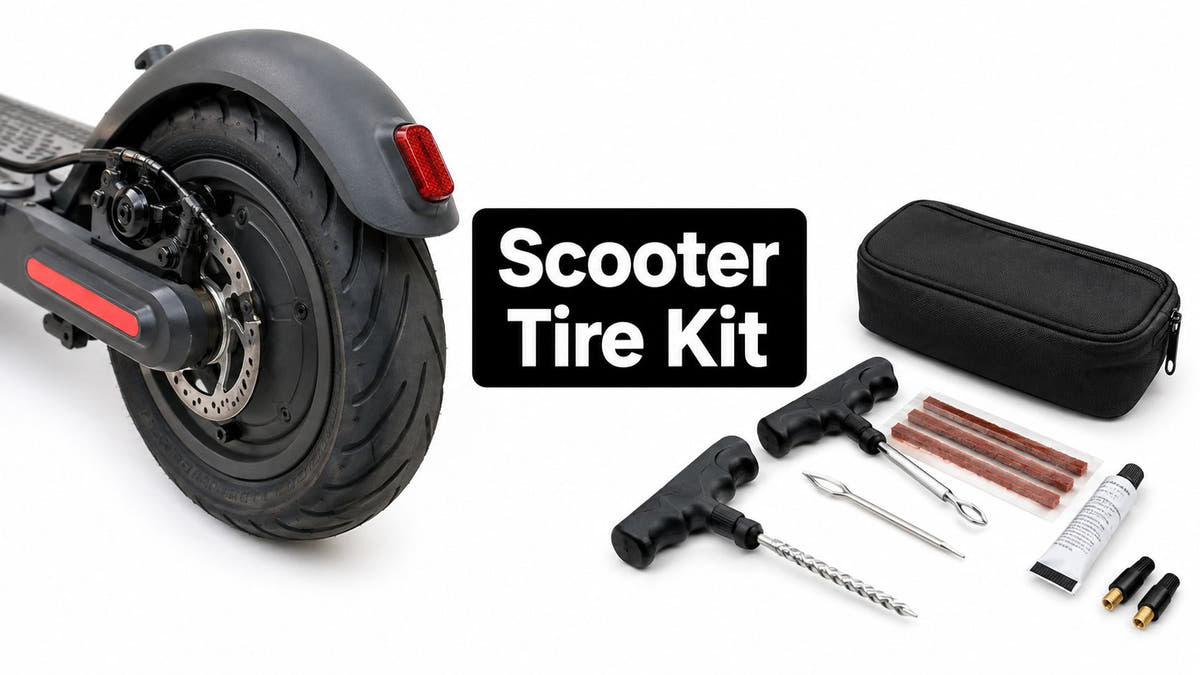
The safety cost is greater when the road has potholes or sharp curbs. A soft tire compresses farther under the combined weight of the rider and scooter, allowing the rim to pinch the tube or strike the road. The result can be pinch flats and rim damage. A tire that repeatedly loses pressure deserves inspection and repair, not another blind top-up. Keep this scooter tire repair guide available when damage is suspected.
Braking performance also depends on the pressure setup. A peer-reviewed e-scooter hard-braking study recorded average braking deceleration of 3.69 m/s², with a standard deviation of 0.12 m/s², at a nominal pressure of 2.4 bar, about 34.8 PSI. The findings in this peer-reviewed braking study show why pressure belongs on the safety checklist, alongside tire condition and brake adjustment.
Overinflation creates a different set of problems
Overinflation makes the scooter feel quick and sharp, but the smaller contact patch can reduce grip on painted lines, loose debris, and wet pavement. The tire also absorbs fewer small bumps, sending more vibration through the bars and deck.
Excess pressure leaves less room for heat, impact, and tire damage. On rough streets, it can increase the chance of a failure, while doing nothing to correct an overloaded scooter or unsuitable tire.
Use ride feel as a prompt to measure, never as a substitute for a gauge. A wobbly, slow-rolling scooter suggests checking for low pressure. A harsh, skittish ride suggests checking for too much air. Compare both tires, account for rider load and conditions, and adjust only within the manufacturer's approved range.
Adjusting Pressure for Real Riding Scenarios
The right scooter tire pressure depends on the ride in front of you. Smooth pavement, a loaded backpack, wet roads, and a heavier rider each change how the tires respond. Treat the manufacturer's approved range as the boundary, then choose a suitable point within it for the rider, load, weather, and tire position.
Solo commuting
Start with the manual or sidewall recommendation for ordinary city riding. If the manufacturer permits different settings, the rear may need a modestly higher pressure because it carries more of the rider, motor, and luggage load. Some scooters specify the same pressure for both tires, and that instruction takes priority.
Use pressure changes to tune handling, not to compensate for a tire that is worn, damaged, or unsuitable for the load.
Wet weather
Wet pavement favors a compliant contact patch over a hard, highly inflated feel. If the approved range allows room, moving slightly toward its lower end can help the tire follow the road and maintain grip on slick surfaces. Keep the change modest, measure when the tires are cold, and return to the usual setting when conditions become dry.
Lower pressure may feel more planted, but it can also make steering less crisp and increase rolling resistance. The goal is controlled grip, not the softest possible tire.
Bags, cargo, and heavier riders
A backpack, groceries, or a rear-mounted load shifts more work toward the rear tire. Increase pressure only within the approved range, and watch how the rear tire behaves during acceleration, cornering, and bumps. Heavier riders may need a higher setting than lighter riders because added support helps the tire carry the load, while too much pressure reduces contact and grip.
Passenger use requires extra caution. Ride tandem only if the scooter is specifically designed and rated for it. If it is, follow the manufacturer's total-load and pressure guidance instead of applying a generic increase.

The visual shows scenario examples, not universal settings. A city scooter with a printed sidewall limit may not suit the same pressure as a larger performance model. Confirm the scooter and tire specifications before copying any example.
This short demonstration shows the equipment and valve technique in action:
Building a Tire Maintenance Routine That Sticks
A fixed PSI schedule is only a starting point. Daily commuters should check pressure weekly, while occasional riders can begin with a two-week interval. Check sooner after major temperature changes, heavy loads, or demanding rides. Air slowly passes through rubber, so pressure can fall without an obvious puncture.
Cold mornings may produce a lower reading than warm conditions. Hot pavement and riding heat can raise it temporarily. Measure both tires at ambient temperature whenever possible, then make small adjustments. Recheck front and rear separately, since rider weight and cargo do not load them equally.
A routine that sticks
- Before the commute: Check both tires with a gauge and compare the readings with the sidewall or manual.
- During inspection: Look for tread wear, sidewall cracks, cuts, bulges, and embedded debris.
- After a pressure loss: Find the cause before normal riding. Repeated flats or rapid loss may point to a puncture, valve problem, or damaged rim.
- Before longer rides: Confirm cold pressure and check that valve caps are fitted.
- At replacement time: Replace tires with serious tread wear, sidewall damage, or recurring flats, even if they temporarily hold air.
Keep the gauge beside the pump so checking takes less effort. Store the scooter away from extreme heat, cold, and sharp objects that can damage the tires. Pair pressure checks with charging or pre-ride preparation, but adjust for the day's load and weather instead of following yesterday's setting blindly.
Punk Ride LLC offers electric scooters, e-bikes, replacement-related guidance, and urban mobility products. Riders can review its scooter and e-bike range, then make a cold-pressure check part of the next ride preparation.
Share:
E Bike Front Rack Types, Load Limits, and Fit Guide
Bicycle Chain Cleaning That Makes Your Ride Last