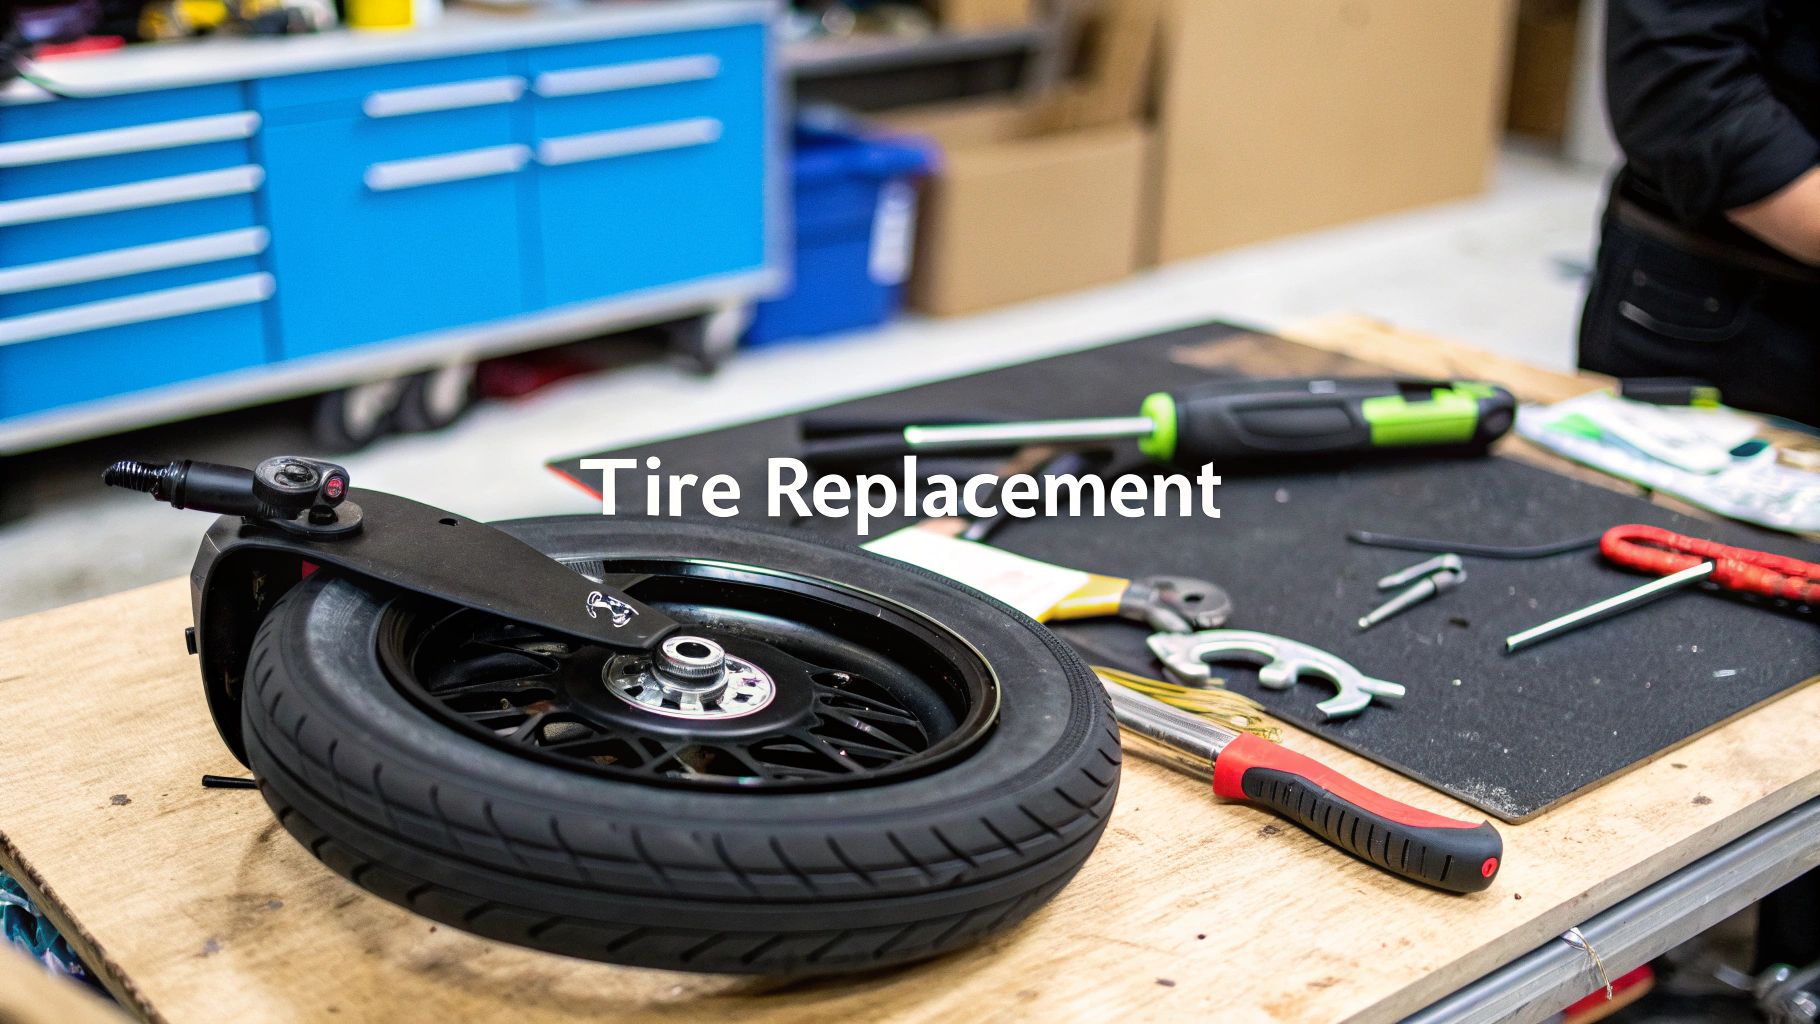
It starts with that dreaded wobble. One minute you're zipping along, and the next, you feel the whole scooter start to squirm underneath you. A flat tire is just part of the deal when you ride, but it doesn't have to kill your day or force you into an expensive trip to the repair shop. A scooter tire replacement is something you can absolutely handle yourself, and I'm here to walk you through it.
That Sinking Feeling When Your Scooter Tire Goes Flat
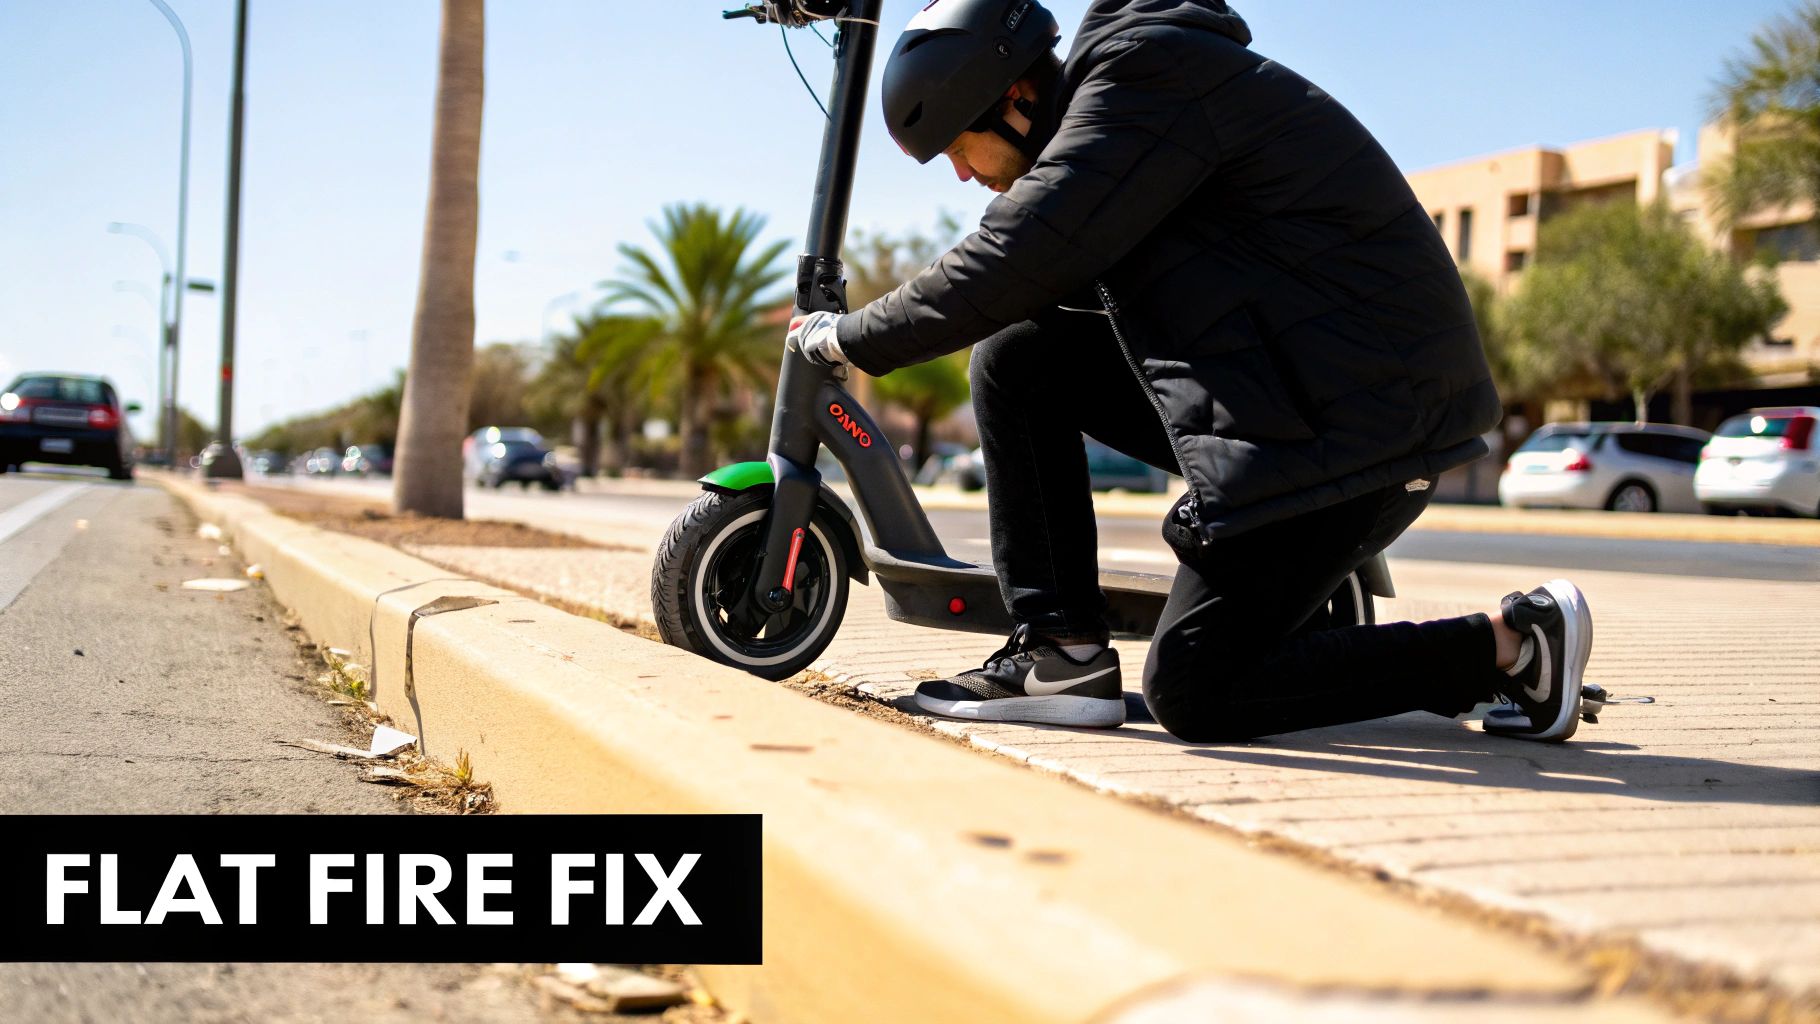
It happens to all of us. Whether you're dodging traffic on the Gold Coast or cruising down a boardwalk in Miami, that sudden loss of control and the awful grinding sound of a metal rim on pavement is a moment every rider knows. But don't immediately start worrying about how much a shop is going to charge you. With some patience and the right know-how, you've got this.
Think of this guide as your personal workshop manual, built from years of wrestling with stubborn tires in my own garage. We’ll cut through the overly technical stuff and get right down to what works.
What We'll Cover In This Guide
Consider this a conversation with a fellow rider who's made all the mistakes so you don't have to. We're going to break down the entire job from start to finish, giving you the confidence to get your hands dirty.
Here’s a sneak peek at what’s inside:
- Figuring Out Your Tire Type: Are you dealing with a tubeless setup or a classic inner tube? This is the first and most important thing to know, as it changes the entire game plan.
- The Must-Have Tools: You don't need a pro-level mechanic's bay. I’ll show you the essential tools you'll actually need and a few clever workarounds using things you probably already own.
- Tricks of the Trade: We'll cover the real-world techniques that make this job so much easier, like how to break the bead on a tire that doesn't want to budge or how to avoid the dreaded pinch-flat when installing a new tube.
- Common Pitfalls and How to Avoid Them: Learning from my screw-ups is a lot less painful than making your own. I’ll point out the common traps that can turn a quick fix into an all-day ordeal.
The goal here isn't just to swap a tire. It's to do it right and do it efficiently so you can ride away with total confidence. Nailing your first DIY scooter tire replacement is a great feeling, and it'll save you a decent chunk of time and cash.
Whether this is your very first flat or you’re just looking to sharpen your skills, you’re in the right place. This is more than a list of steps; it's a complete guide to becoming your own scooter mechanic. And while we’re focused on full replacement here, it's also worth knowing how to repair a scooter tire for smaller punctures.
Alright, let's get those tools out.
Choosing Your New Tire and Gathering Your Tools
Alright, let's get into it. Before you even think about picking up a wrench, a successful tire change starts with a little prep work. This is where you decide what kind of ride you want going forward and make sure you have everything you need to get the job done without wanting to throw your scooter across the garage.
The first big question is what tire you're going to put on. You're basically at a fork in the road: do you stick with the cushy ride of a standard air-filled tire, or do you go for a bulletproof, solid tire and never worry about flats again? There’s no single right answer—it really boils down to what you value most as a rider.
Pneumatic vs. Solid Tires: The Great Debate
Most scooters come with air-filled, or pneumatic tires, and for good reason. They give you a much smoother ride by soaking up all the little bumps and cracks in the road. This also means you get better grip, which is a huge plus, especially when it’s wet out. The obvious downside, and probably why you're here, is that they can get a puncture.
On the other hand, solid tires are the brute-force solution to flats. They're typically made of solid rubber, so there's literally nothing to pop. But there's a trade-off. The ride is a lot harsher, and you'll feel every single pebble. Traction isn't quite as good, and man, they can be a real pain to install.
So, how do you choose? Here’s a quick rundown to help you figure out what's best for you.
Pneumatic vs Solid Scooter Tires
| Feature | Pneumatic (Air-Filled) Tires | Solid (Puncture-Proof) Tires |
|---|---|---|
| Ride Comfort | Excellent, absorbs bumps well | Harsh, feels every imperfection |
| Puncture Risk | High, can go flat easily | Zero, completely puncture-proof |
| Traction/Grip | Very good, especially in wet | Fair, can be slippery on wet surfaces |
| Installation | Easier, more forgiving | Difficult, requires significant force |
| Maintenance | Requires regular pressure checks | None, install and forget |
Ultimately, it’s a personal call. If a comfortable, grippy ride is your top priority and you can live with the risk of a flat, stick with pneumatic. But if you’re a daily commuter who just can't afford to be sidelined by a puncture again, a solid tire is a totally valid upgrade.
Want to go deeper? We've got a whole guide on the different types of tires for electric scooters that breaks it all down.
Your Essential Toolkit for the Job
Once you've got your tire picked out, it's time to round up your tools. Having the right gear on hand is the difference between a 30-minute job and an all-day struggle. You don’t need a pro-level workshop, but a few things are absolutely essential.
Here’s a no-nonsense checklist of what you'll need:
- Tire Levers: Get at least two, but three is better. Make sure they're sturdy metal or a strong composite made for small tires. The plastic ones for bicycles will just snap. Trust me on this one.
- Wrenches or a Socket Set: You'll need these to get the wheel nuts off. The size depends on your scooter model, so double-check before you start. An adjustable wrench can work, but a proper socket is way less likely to strip the nuts.
- Soapy Water Solution: This is your secret weapon. Just a bit of dish soap in a spray bottle of water makes a fantastic lubricant for getting the old tire off and the new one on.
- Valve Core Remover (Optional but recommended): This little gadget makes it super easy to completely deflate the tire by pulling out the tiny valve core. It’s a huge time-saver.
- A Reliable Pump: If you're going with a pneumatic tire, you'll need a good pump with a pressure gauge to get it inflated to the correct PSI.
Depending on your scooter’s specific setup, you might also need gear like a universal scissor jack adapter or a compatible lug wrench to make life easier.
The demand for these parts is only growing. The scooter tire market was valued at an impressive USD 13,750 million in 2024 and is expected to rocket to USD 26,500 million by 2032. This explosive growth means more options and better tech for riders like us.
Getting Your Hands Dirty: The Tire-Swapping Process
Alright, you've got your new tire and your tools are all lined up. Now for the fun part. This is where the rubber literally meets the road, and we’re going to walk through the entire replacement, step by step. Don’t sweat it; the key here is to work smart, not hard.
Getting the prep right is half the battle. A little organization now saves a ton of headaches later.
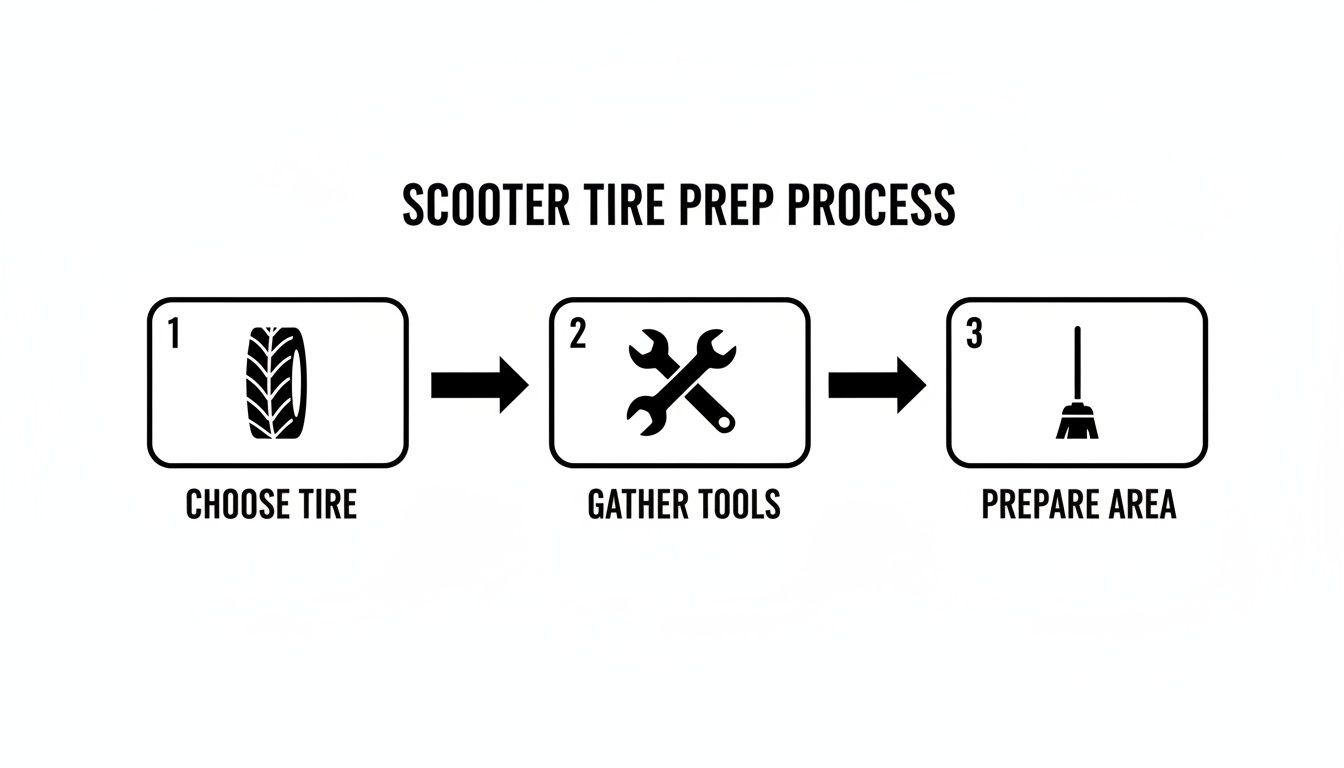
This little roadmap—pick the tire, grab the tools, and clear a workspace—is your ticket to a smooth and successful swap.
First Up: Getting the Wheel Off the Scooter
Before you can do anything else, that wheel has to come off. This part can look a little intimidating, especially if it’s the motor wheel, but it's really just a few nuts and bolts.
First, make sure your scooter is completely powered off and stable. You don’t want it rolling away mid-procedure. A dedicated stand is great, but honestly, flipping it upside down on a soft mat or a piece of cardboard works just as well.
If you’re tackling the rear wheel (which houses the hub motor on most scooters like the popular Xiaomi or Segway-Ninebot models), you’ll see that thick motor cable coming right out of the axle. Be extremely gentle with this cable. If there’s a connector nearby, carefully unplug it. If not, just make sure you have plenty of slack so you’re not yanking on it.
Grab your wrench or socket set and start loosening the big axle nuts on either side of the wheel. They're often cranked on tight from the factory, so you might have to put some muscle into it. Once the nuts are off, you may need to give the wheel a good wiggle to pop it out of the frame.
Pay close attention to any washers or spacers. My advice? Snap a quick photo with your phone. It’s a lifesaver for remembering the exact order they go back in.
The Main Event: Wrestling the Old Tire Off
With the wheel free, it’s time to get that old tire off the rim. Let's be real, this can be the most frustrating part of the whole job, but a bit of good technique makes all the difference.
Start by letting all the air out. Every last bit. If you have a valve core remover, use it to pull the core—the air will rush out in a second. No tool? No problem. Just press the little pin in the middle of the valve until it’s completely silent and flat.
Now you have to "break the bead." The bead is the inner edge of the tire that seals tight against the rim, and it can be seriously stubborn. Sometimes you can break it free by squeezing the tire with your hands, but you’ll probably need more oomph. A tried-and-true trick is to lay the wheel flat on the ground and carefully step on the tire’s sidewall, working your way around until you hear that satisfying pop of the bead breaking loose.
Once both sides are free, grab your tire levers and that spray bottle of soapy water. Give the area between the tire and the rim a good spray.
My Two Cents: Seriously, don't skip the soapy water. It's the secret sauce. It acts as a lubricant and makes the tire slide off with so much less effort. You'll save yourself from a world of frustration and avoid scratching up your rim.
Now, wedge one tire lever under the bead and pry a section up and over the rim's edge. Hook that lever on a spoke if you can. Take your second lever a few inches away and do the same thing. Just keep working your way around the rim, and pretty soon, the whole tire will pop right off.
Putting It All Together: Installing the New Tire or Tube
Getting the new tire on is pretty much the reverse, but there are a couple of key things to watch for. If you're also installing a new inner tube, here’s a pro tip: inflate it just enough to give it a little shape. This simple step helps prevent it from getting pinched or twisted inside the tire.
Before you start, check the sidewall of the new tire for a directional arrow. Many scooter tires have a tread designed to work best when rolling in a specific direction. You want to make sure that arrow is pointing forward when the wheel is back on the scooter.
Lube up the bead of the new tire and the rim with your soapy water again. Start by pushing one side of the tire completely onto the rim. If you're using an inner tube, this is when you'll feed it into the tire, making sure to line up the valve stem perfectly with the hole in the rim.
Getting that second side on is where the technique comes in again. Use your hands to push the bead down into the deep center channel of the rim as you go. This gives you the slack you need to get the last, most stubborn section on. Use your tire levers for that final push, but be incredibly careful not to pinch the inner tube if you're using one. A pinched tube is a ruined tube.
Time for Some Air: Inflating and Seating the Bead
With the new tire mounted, it's time to add air. As you pump, you're listening for one or two loud POPS. That’s the sound of the tire bead snapping securely into place against the rim, creating that crucial airtight seal. You often need a fast, strong burst of air to make this happen, which is why an air compressor is perfect for the job. A good floor pump can get it done too, you just have to pump hard and fast.
Inflate the tire all the way to the maximum PSI listed on the sidewall. This high pressure is what forces the bead to seat correctly. Once you've heard the pop and you can see that the tire is seated evenly all the way around, you can let the air back out to your normal, preferred riding pressure.
The Home Stretch: Reassembly and Final Checks
You’re almost there! Now you just have to put it all back together.
Slide the wheel back into the scooter’s frame, double-checking your photo to get all the washers and spacers in the right order. If you unplugged the motor cable, reconnect it, making sure it's secure and not pinched.
Tighten the axle nuts down firmly, alternating from side to side to keep the wheel perfectly centered. Give the wheel a spin by hand. Does it rotate freely? Does it rub against the brake or the frame? If you had to mess with the brakes, make sure they still work properly.
Before you hop on for a victory lap, run through a quick safety checklist:
- Tire Pressure: Is it set to your preferred PSI?
- Brakes: Do they engage smoothly and firmly?
- Nuts & Bolts: Is everything properly tightened?
I always recommend a slow, careful test ride in a safe, flat area. Listen for any weird noises and feel for any wobbles. If everything feels solid, you’re good to go. You've officially conquered the scooter tire change
Insider Tips for a Frustration-Free Installation
Getting the new tire on is one thing; doing it without wanting to throw the whole scooter across the garage is another. After years of swapping out tires, you definitely pick up a few tricks that make the whole process smoother. These are the "wish-I'd-known-that-sooner" tips that separate a frustrating afternoon from a truly satisfying DIY win.
The biggest battle is usually with the tire itself. A brand-new tire, especially a solid one, can be incredibly stiff and stubborn right out of the box. Fighting with cold, rigid rubber is just a recipe for scraped knuckles and a whole lot of colorful language.
A simple but game-changing trick is to gently warm the tire before you even start. You can leave it out in the sun for an hour, or even use a hairdryer on a low setting to make it more pliable. This little bit of warmth makes the rubber so much more cooperative and easier to stretch over the rim.
Taming the Tire with Simple Hacks
Even with a warmed-up tire, getting that last section over the rim can feel downright impossible. This is where a couple of well-placed zip ties become your best friend. Seriously. They act like an extra set of hands, holding the tire bead in place as you work your way around.
Here’s how it works:
- Once you have one side of the tire on the rim, get the bead of the second side started.
- As you work the tire on, use strong zip ties to bind the part you've already seated to the center of the rim.
- This stops the tire from popping back off on the other side as you apply pressure with your levers. Just remember to snip them off when you're done!
This technique is a lifesaver, especially if you're working alone. It takes the wrestling match out of the equation and lets you focus your leverage where it actually counts.
The most soul-crushing mistake you can make is pinching your brand-new inner tube during installation. You go through all that work, inflate it, and hear that sad little hiss of a fresh puncture. Always inflate the tube slightly before putting it inside the tire—just enough to give it shape. This helps it avoid getting twisted or pinched.
Paying Attention to the Details
Not all scooters are built the same, and small differences between brands can really trip you up. A Xiaomi M365 might have a slightly different brake caliper placement than a Segway-Ninebot model, for instance. Always take a quick photo of your setup before you take anything apart. It’s a five-second step that can save you a ton of guesswork during reassembly.
Another critical detail is tire alignment. Look closely at the sidewall of your new tire; many have a small arrow indicating the rotational direction. Installing it backward can mess with your grip and how the tire wears over time. The tread is designed to channel water and grab the pavement most effectively when it's rolling the right way.
This is especially important now that scooter tire tech is advancing so quickly. The market is seeing a surge in specialized tires with better performance. Manufacturers are developing tires with enhanced wear resistance and puncture-proofing for the daily commute, and getting the most out of them means installing them correctly. You can read more about these developments in two-wheeler tires.
Taking the time to get these little details right makes a huge difference. It ensures your scooter tire replacement not only fixes the flat but actually improves your ride's safety and performance for miles to come.
Keeping Your New Tíres Rolling for Miles
Alright, you did it—the new tire is on. But don't just ride off into the sunset yet. Your work isn't quite finished.
Now it's all about making sure that hard work actually pays off for the long haul. A few simple maintenance habits are what separate a lasting repair from another frustrating flat just a few weeks from now.
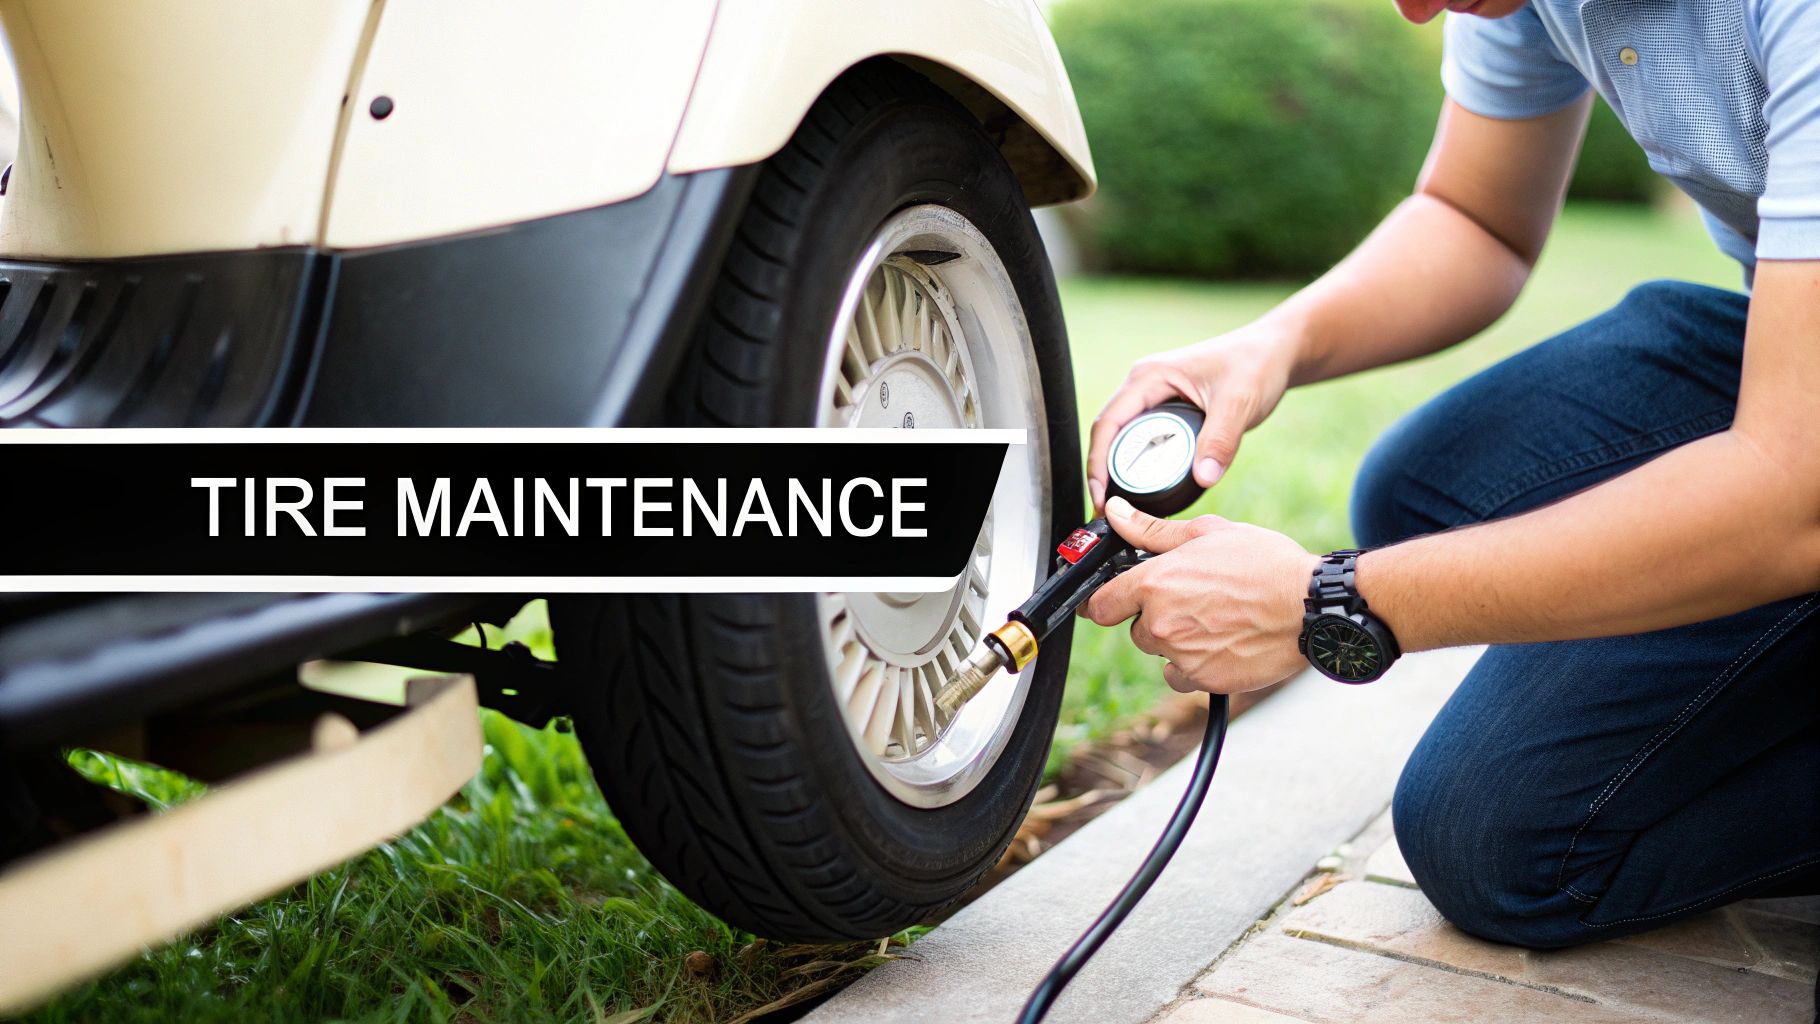
The Power of Proper Pressure
If you take only one piece of advice away from this, make it this one: check your tire pressure regularly. Seriously. For any pneumatic tire, this is completely non-negotiable.
Properly inflated tires are your absolute best defense against punctures. They're firm enough to deflect sharp objects instead of letting them poke through. Under-inflated tires, on the other hand, are just asking for trouble. They flex way too much, making them a magnet for pinch flats and increasing rolling resistance. That extra drag forces your motor to work harder, and you'll definitely notice the hit to your battery range.
A weekly pressure check is a five-minute job that can save you hours of repair work down the line. It's the cheapest and most effective insurance you can get against future flats.
Investing in a good portable tire air pump is a smart move. Keep it in your backpack, and you can top up your air on the go, making sure every ride is on perfectly inflated tires. If you need a refresher, we've got a great guide on the basics of inflating bike and scooter tires.
Should You Add Tire Sealant?
Another thing worth considering is tire sealant, which a lot of riders just call "slime." It's a liquid you inject into your inner tube or tubeless tire that can automatically plug small punctures the moment they happen.
But is it for you? It really depends on where you ride.
- City Commuters: If your daily route involves navigating debris-filled streets in places like New York or Sydney, sealant can be a total lifesaver. It’ll plug those tiny holes from glass shards before you even know they're there.
- Casual Riders: For those sticking to clean, smooth bike paths, sealant might be overkill. It adds a bit of weight and can make a real mess the next time you have to change a tire.
Be Mindful of Your Terrain
Finally, a little situational awareness goes a ridiculously long way. Just actively looking ahead and avoiding broken glass, deep potholes, and sharp curbs will dramatically extend the life of your tires. Every harsh impact is a potential pinch flat waiting to ruin your day.
This proactive approach is more important than ever. With the global e-scooter market booming, especially in the US and Australia where personal electric transport is a huge focus, the demand for durable, low-rolling-resistance tires is skyrocketing. As more of us rely on scooters, smart maintenance becomes key.
By combining proper inflation with a mindful riding style, you can make sure that new tire keeps you rolling smoothly for a long, long time.
Got Questions About Changing Scooter Tires?
We’ve heard them all. Changing a scooter tire for the first time can feel a little intimidating, and it's totally normal to have questions pop up along the way. To save you some time and frustration, here are the straight-up answers to the things people ask us most.
How Often Do I Really Need to Replace My Tires?
Honestly, there isn't a hard and fast rule. It really boils down to how you ride, where you ride, and what kind of tires you have. The best thing you can do is give your tires a quick once-over at least once a month.
You're looking for the classic signs of a tired tire:
- The tread is disappearing, looking more smooth than grippy.
- You spot little cracks or signs of dry rot on the sidewalls.
- The tire is always low on air, even when you can't find a puncture.
For most people, a set of tires will last somewhere between 1,000 to 3,000 miles. But if your daily commute involves navigating cracked pavement and dodging road debris, you'll be swapping them out a lot sooner. Don't push it—your safety's riding on it.
Can I Just Use a Regular Bike Pump?
Yep, you absolutely can. Almost all electric scooters use a Schrader valve, which is the same one you'll find on car tires. That means any standard bike or car pump will do the trick.
The real headache isn't the pump itself, but the scooter's tiny wheel. Getting the pump head on there without busting your knuckles can be a challenge. My advice? Get a pump with a flexible hose extension; it makes life so much easier. The most important part, though, is making sure your pump has a pressure gauge. You have to hit the specific PSI printed on the tire's sidewall, and guessing is just asking for a pinch flat.
Are Solid Tires a Good Idea or a Big Mistake?
Ah, the great debate: solid vs. air-filled. It's a classic battle between convenience and comfort. On one hand, solid tires are incredible because they are 100% puncture-proof. The peace of mind that comes with knowing you'll never get a flat is a huge selling point.
But that reliability comes with some serious trade-offs. The ride is going to be a lot rougher since you're losing the natural suspension of an air-filled tire. They can also have less grip, especially on wet roads, and their extra weight might even ding your battery range a bit.
So, what's the verdict? If you ride in an area littered with glass and nails and absolutely hate the idea of fixing a flat, go for solid tires. If a smooth ride and better performance are what you're after, stick with high-quality pneumatic tires and get comfortable with the repair process.
Why Won't This New Tire Seat on the Rim?
This is probably the single most frustrating part of the whole job. You've fought to get the tire on, and now it just won't "pop" into place. Nine times out of ten, it’s one of two culprits: not enough lube or not enough air pressure, fast enough.
First, don't be shy with the soapy water. Slather it all over the tire bead and the inside of the rim—this is what helps it slide where it needs to go. Second, you need a powerful, quick blast of air to force the bead into the rim channel. A dinky little hand pump probably won't cut it. An air compressor is the best tool for the job, but you can often get it done with a good floor pump if you pump like you mean it. Keep going until you hear one or two loud, satisfying POPS. Then you can let the air out and reinflate to your normal riding pressure.
Ready to find the perfect tires or gear for your electric scooter? Punk Ride has a massive selection of high-quality parts and accessories from top brands to keep you rolling.
Find your next upgrade at https://www.punkride.com.
Share:
Ebike Hydraulic Brakes Your Ultimate Guide to Stopping Power
Best Electric Scooters Under 1000: best electric scooters under 1000 for 2026