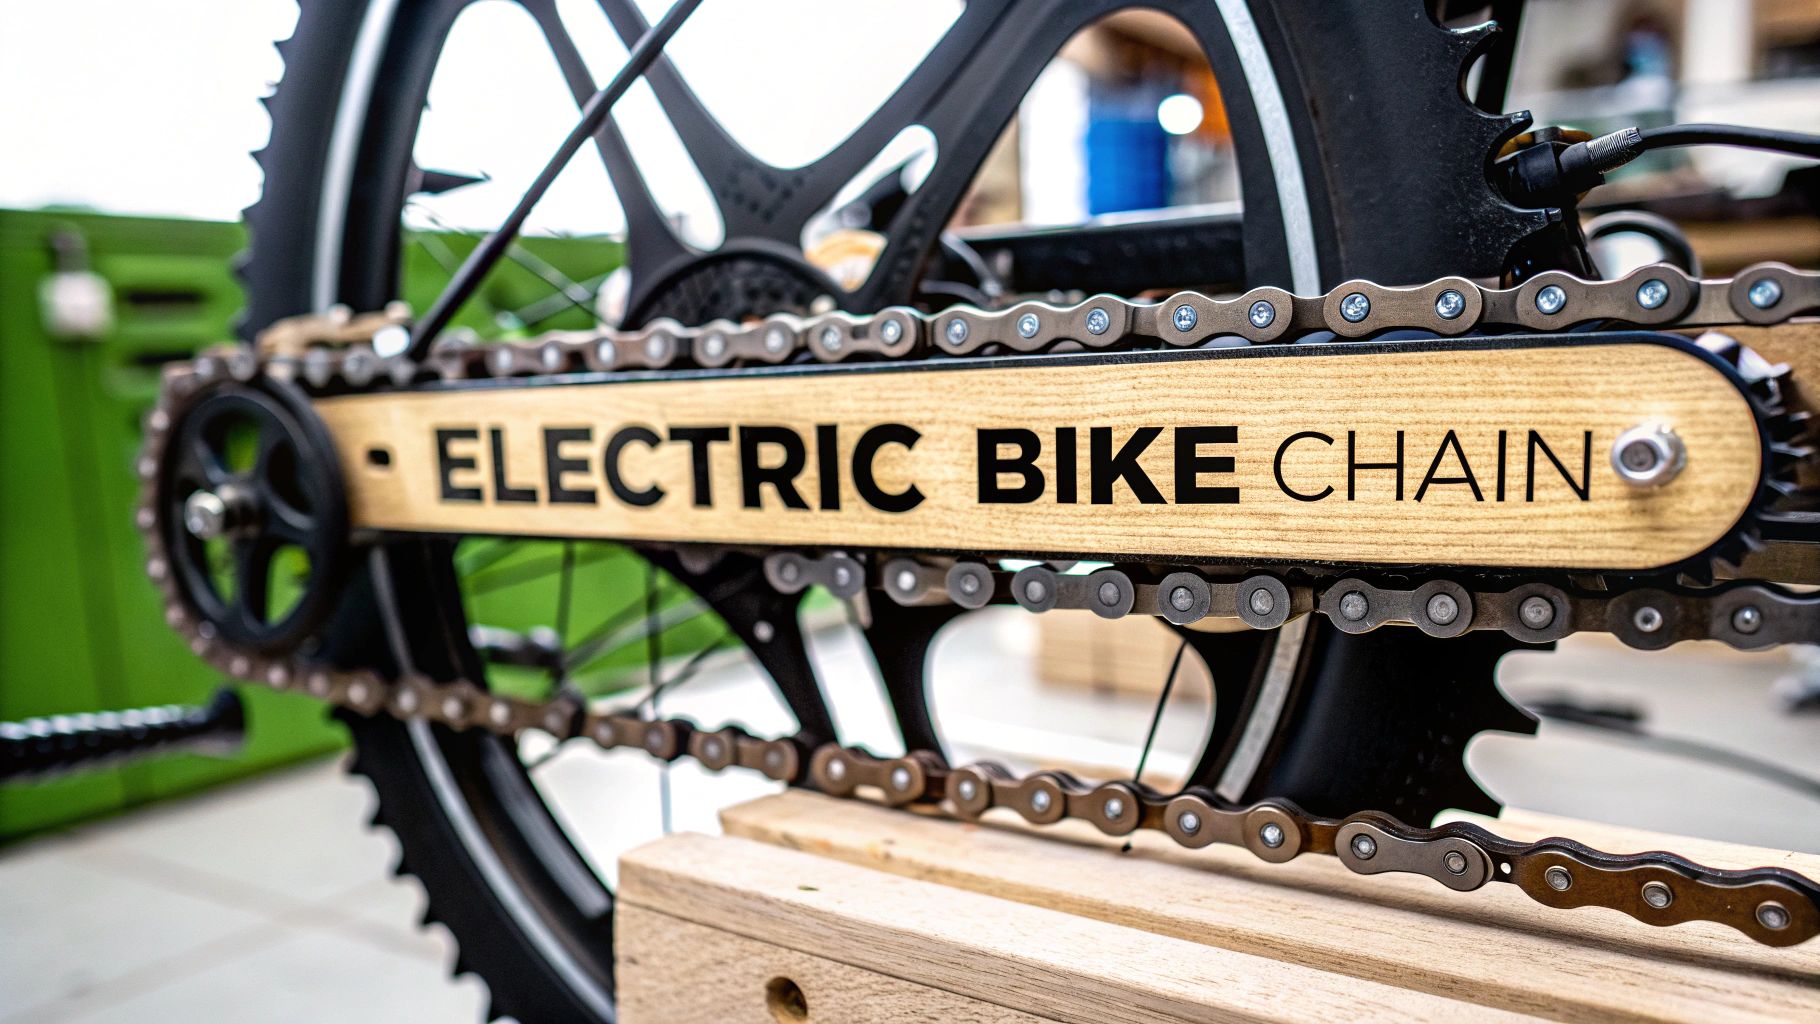
V jadre je reťaz elektrického bicykla silným komponentom, postaveným od základu tak, aby zvládol vážnu silu elektrického motora. Môže vyzerať veľmi podobne ako reťaz na bežnom bicykli, ale je to úplne iný tvor, navrhnutý s odolnejšími materiálmi a robustnejšou konštrukciou. Toto zosilnenie je kľúčové pre zvládnutie vysokého krútiaceho momentu, ktorý motor e-bicykla vyvíja, čím sa zabraňuje príliš rýchlemu opotrebovaniu pohonu.
Tichý hrdina pohonu vášho e-bicykla
Predstavte si svoj reťaz ako kľúčový most spájajúci vašu vlastnú silu nôh s nárazom motora. Môže vyzerať jednoducho, ale tento reťaz je tichým hrdinom vášho pohonu, ktorý potichu premieňa obrovské sily na hladkú, spoľahlivú jazdu, ktorú milujete.
Štandardný bicyklový reťaz je ako šprintérska tretra – ľahký, obratný a navrhnutý pre výbuchy ľudskej sily. Reťaz e-bicykla? To je skôr ako pracovná obuv s oceľovou špičkou. Obe vás poháňajú, ale reťaz e-bicykla je špeciálne vyrobená, aby vydržala neúnavný, silný ťah motora, jazdu za jazdou.
Kľúčové rozdiely medzi reťazou e-bicykla a štandardnou reťazou bicykla
Tu je rýchle zhrnutie porovnávajúce základné vlastnosti reťazí pre elektrické bicykle a štandardné bicykle, aby sa zdôraznili ich jedinečné dizajny a účely.
| Funkcia | Štandardný reťaz bicykla | Reťaz pre elektrický bicykel |
|---|---|---|
| Pevnosť materiálu | Štandardné oceľové zliatiny pre ľudský výkon | Vysokopevnostné, kalené oceľové zliatiny |
| Dizajn čapov | Štandardné nitovanie | Hrubšie, často s rozšírenými alebo zaklincovanými čapmi |
| Kapacita krútiaceho momentu | Nižšia, navrhnutá pre výkon človeka | Vyššia, navrhnutá pre krútiaci moment motora + človeka |
| Odolnosť a opotrebenie | Kratšia životnosť pri zaťažení e-bicyklom | Dlhšia životnosť, lepšia odolnosť proti natiahnutiu |
| Hmotnosť | Ľahšie | Ťažšie a robustnejšie |
| Cena | Vo všeobecnosti lacnejšie | Zvyčajne drahšie kvôli použitým materiálom |
Ako vidíte, práve zosilnené materiály a konštrukcia ich naozaj odlišujú, zabezpečujúc, že zvládnu jedinečné požiadavky elektrického pohonu.
Viac než len reťaz
Tento rozdiel nie je len drobný detail; je absolútne zásadný pre to, ako váš e-bicykel funguje a ako dlho vydrží. Explózia popularity e-bicyklov vytvorila úplne nový trh pre tieto superodolné komponenty. V skutočnosti je globálny trh s reťazami pre elektrické bicykle veľkou súčasťou tohto rastu, čo ukazuje, aký veľký je dopyt po dieloch, ktoré vydržia náročné zaobchádzanie. Pre bližší pohľad na rozšírenie trhu si môžete pozrieť podrobné prognózy na gminsights.com.
Motor e-bicykla vyvíja sily, ktoré by štandardný reťaz rýchlo natiahli a mohli by ho dokonca aj pretrhnúť. Preto používanie špeciálneho reťaza určeného pre e-bicykle nie je len odporúčanie – je to nevyhnutnosť pre bezpečnosť a výkon.
Zoznámenie sa s tým, čo robí reťaz vášho elektrického bicykla výnimočnou, je prvým krokom k tomu, aby ste svoj bicykel udržali v špičkovom stave a užívali si každú jazdu. V tomto návode sa pozrieme do detailov:
- Čo naozaj robí tieto reťaze také odolné.
- Ako vybrať tú správnu pre váš konkrétny bicykel.
- Jednoduché tipy na údržbu, aby reťaz fungovala ako nová.
- Zrejmé príznaky, že je čas na výmenu.
S týmito znalosťami môžete jazdiť s úplnou istotou, vedomí si, že srdce vášho pohonu je pripravené na čokoľvek, čo vám cesta prinesie.
Prečo sú reťaze e-bikov vyrobené oveľa odolnejšie
Na prvý pohľad vyzerá reťaz e-biku takmer ako každá iná bicyklová reťaz. Ale nenechajte sa tým oklamať. Skutočná mágia je ukrytá hlboko v kove, kde boli tieto reťaze zásadne prepracované, aby zvládli sily, o ktorých by bežná reťaz mohla len snívať.
Predstavte si to ako neúnavnú hru na preťahovanie lanom. V jednom rohu máte bicykel, jazdca a cestu, ktorí sa bránia. V druhom rohu je výkonný stredový motor, ktorý do systému okamžite vkladá obrovský krútiaci moment. Reťaz elektrického bicykla je lano uprostred a je navrhnutá tak, aby zvládla tento neustály, brutálny ťah bez natiahnutia alebo prasknutia.
Preto sú vyrobené z oveľa kvalitnejších materiálov. Hovoríme o vysokopevnostných, špeciálne upravených oceľových zliatinách, ktoré si nerobia starosti s opotrebovaním. Nitky, ktoré držia celý systém pohromade, sú tiež veľkou súčasťou tejto odolnej modernizácie.
Zosilnené pre neúnavnú silu
Tieto drobné čapy spájajúce každý článok – nitky – sú zvyčajne najslabším miestom reťaze. Na správnej e-bike reťazi sú však zosilnené. Často sú hrubšie a prechádzajú procesom nazývaným „peening“, ktorý rozširuje konce čapov. To vytvára oveľa pevnejšie spojenie, ktoré odolá strihovým a ťahovým silám motora.
Bez tejto dodatočnej sily by sa reťaz „natiahla“ v priebehu chvíle. Nie je to skutočné natiahnutie ako u gumy; ide o opotrebovanie drobných čapov a valčekov, čo spôsobuje predĺženie reťaze a škody na vašich prevodoch. To platí najmä pre ťažších jazdcov, pretože celková sila na pohon je ešte vyššia. Ak vás to znepokojuje, možno by ste si mali pozrieť náš sprievodca najlepší e-bike pre ťažších jazdcov.
Stredový motor môže vyvinúť trikrát alebo štyrikrát väčšiu silu než silný cyklista. Reťaz vyrobená len pre ľudskú silu jednoducho nedokáže takýto mechanický výkon zvládnuť veľmi dlho.
Navrhnuté pre moderný motor
Spôsob, akým sú tieto reťaze navrhnuté, je priamou reakciou na to, ako rýchlo sa vyvíja technológia e-bikov. Ako motory získavajú väčší výkon, reťaze musia tiež povýšiť svoju úroveň. Stredové motory, ktoré prenášajú výkon priamo cez reťaz, zažívajú obrovský nárast popularity.
Trh s pohonnými jednotkami pre e-biky má podľa predpokladov vzrásť z 8,2 miliárd USD v roku 2025 na ohromujúcich 24,8 miliárd USD do roku 2035. To je obrovský rast a poháňa vážne inovácie vo všetkých komponentoch, ktoré musia zvládnuť tento výkon.
Na konci dňa je každý jeden diel elektrického bicyklového reťaze – od oceľových platní cez tvrdené valčeky až po nitované nity – tam z nejakého dôvodu. Je to malý, ale nesmierne dôležitý kus inžinierstva s jednou úlohou: spoľahlivo prenášať všetku tú silu motora na cestu, míľu za míľou.
Výber správneho reťaze pre váš e-bike
Nájdenie správneho reťaze pre váš e-bike nie je o výbere "najsilnejšieho", ale o nájdení dokonalého padnutia. Predstavte si to ako kľúč k zámku – nesprávny môže vyzerať podobne, ale nebude hladko fungovať. Použitie nesprávneho reťaze na vašom e-biku je recept na katastrofu, spôsobuje hrozné radenie, nepríjemné škrípanie a zrýchlené opotrebovanie vašej drahej kazety a prevodníkov.
Našťastie je to celkom jednoduché. Všetko sa zúži na jedno: počet "rýchlostí", ktoré váš bicykel má.
Tento termín jednoducho označuje, koľko pastorkov (prevodov) je naskladaných na kazete zadného kolesa. Jednoduché.
Zlaďte rýchlosti, dosiahnite perfektné padnutie
Keď vidíte reťaz označenú ako "10-rýchlostný reťaz", znamená to, že bola navrhnutá presne pre bicykel s 10-pastorkovou kazetou. Čím viac rýchlostí bicykel má, tým tesnejšie sú pastorky usporiadané, čo znamená, že reťaz musí byť užšia, aby sa medzi ne zmestila.
Tu môže dôjsť k problémom:
- Širší reťaz (napríklad 8-rýchlostný reťaz na 10-rýchlostnej kazete) sa bude trieť o susedné pastorky. Prehadzovanie bude trhané a hlučné.
- Užší reťaz (napríklad 12-rýchlostný reťaz na 9-rýchlostnej kazete) je príliš úzky na správne usadenie na zuby pastorka. To vedie k nepresnému prenosu sily a preskakovaniu reťaze pri silnom šliapaní.
Takže váš prvý krok je jednoduchý: spočítajte pastorky na zadnom kolese. Ak ich je 9, potrebujete 9-rýchlostný e-bike reťaz. Ak máte 11, potrebujete 11-rýchlostný e-bike reťaz. Je to naozaj také jednoduché.
"Rýchlosť" je jazyk kompatibility reťazí. Vždy priraďte hodnotu rýchlosti reťaze k počtu pastorkov na zadnej kazete vášho bicykla. Je to zlaté pravidlo pre bezchybné fungovanie.
Kompatibilita pohonného systému v UK a EÚ
Okrem počtu rýchlostí stojí za to premýšľať aj o vašom motorovom systéme. Veľkí výrobcovia reťazí nepracujú v izolácii; spolupracujú s výrobcami motorov, aby zabezpečili, že ich reťaze zvládnu jedinečný výkon a krútiaci moment populárnych systémov.
Tu vo Veľkej Británii a EÚ uvidíte veľa bicyklov s motormi od Bosch, Shimano STEPS a Brose. Preto nájdete množstvo reťazí špeciálne označených ako „hodnotené pre e-biky“ alebo certifikovaných pre tieto výkonné stredové pohony.
Aj keď technicky bude fungovať akýkoľvek reťaz e-biku s vhodným rýchlostným hodnotením, výber takého, ktorý bol vyvinutý alebo odporúčaný výrobcom vášho motora, vám poskytne extra pokoj na duši. Tieto reťaze prešli dôkladným testovaním, aby dokonale zapadli do celého pohonného systému, čo vedie k tichšej a efektívnejšej jazde. Získanie kompatibilného elektrického bicyklového reťaze zabezpečí, že všetky diely budú spolupracovať ako jeden celok.
Ako spoznať opotrebovaný reťaz e-biku
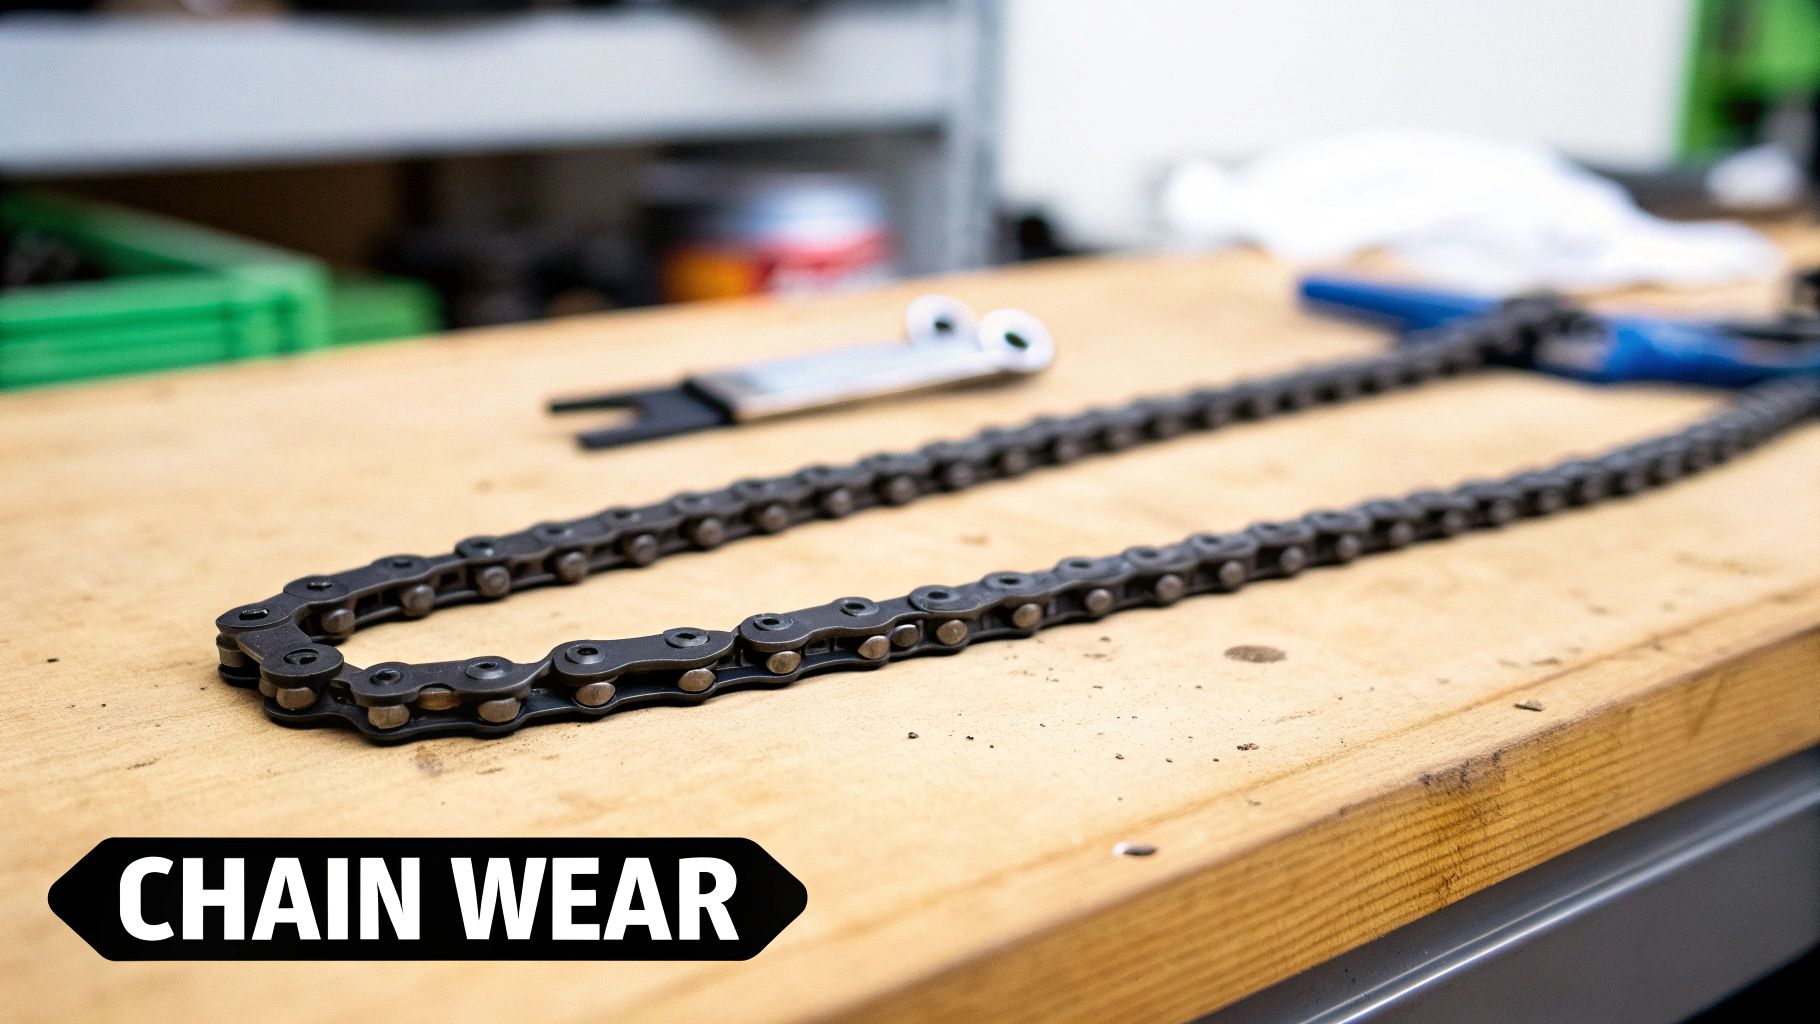
Reťaz vášho e-biku odvádza poriadnu prácu, ale aj tie najodolnejšie diely sa nakoniec opotrebujú. Skutočným tajomstvom šťastného pohonu – a šťastnej peňaženky – je včasné zachytenie tohto opotrebovania. Ignorovanie opotrebovaného reťaze je ako jazda na obutí bez dezénu; skôr či neskôr to povedie k oveľa väčšiemu a drahšiemu problému.
Hlavný problém je niečo, čo ľudia nazývajú „natiahnutie reťaze“, hoci je to trochu zavádzajúce. Kov sám o sebe sa vlastne nenatiahne. Čo sa naozaj deje, je to, že malé čapy a valčeky, ktoré držia články spolu, sa pomaly opotrebovávajú. To vytvára trochu viac miesta medzi každým článkom, čím sa celý reťaz predlžuje.
Je to trochu ako vaše obľúbené rifle. Po niekoľkých rokoch už nesedia rovnako – trochu povolia a strácajú tvar. Váš reťaz robí to isté a táto „voľnosť“ je zlým znamením pre vaše prevody. S pridanou silou z motora e-biku môže táto malá voľnosť rýchlo začať ničiť zvyšok pohonu.
Zrejmé príznaky opotrebovaného reťaze
Ešte skôr, než budete potrebovať akékoľvek náradie, vám váš bicykel začne dávať náznaky, že jeho reťaz je na konci životnosti. Považujte to za skorý varovný systém vášho bicykla, ktorý vás upozorní skôr, než sa malý problém zmení na veľký.
Na ďalšej jazde si dávajte pozor a vnímajte tieto varovné signály:
- Preskakovanie prevodov: Toto je klasika. Šliapete tvrdo, možno šplháte do kopca, a zrazu reťaz preskočí, vytvárajúc otrasný klap, keď sa šmýka a znovu zapadá. Je to aspoň trochu znepokojujúce.
- Hlučný pohon: Zdravý, dobre namazaný reťaz je tichý. Ak počujete škrípanie, hučanie alebo len veľa všeobecného hluku od pohonu, pravdepodobne je vinníkom váš reťaz.
- Neisté radenie: Cítite, že vaše radenie je pomalé alebo trhané? Ak ste už skúšali nastaviť prehadzovačku a stále to neradí hladko, veľmi pravdepodobnou príčinou je opotrebovaný reťaz.
Opotrebovaná reťaz nielenže spôsobuje drsnú jazdu – aktívne obrusuje zuby na vašej drahej kazete a prevodníkoch. Nová reťaz je lacná. Celý nový pohon? Už nie tak veľmi.
Definitívny test: Použitie kontrolóra reťaze
Aj keď sú vaše zmysly skvelou prvou obranou, najspoľahlivejší spôsob, ako si byť istý, je použiť indikátor opotrebenia reťaze. Úprimne, tento malý prístroj je nevyhnutnosťou pre každého majiteľa elektrobicykla. Je lacný, ľahko sa používa a odstraňuje všetky dohady tým, že presne meria „natiahnutie“.
Je to také jednoduché:
- Zavesenie: Položte jeden koniec nástroja na vrch valčeka reťaze.
- Spustite ju dole: Nechajte druhý koniec nástroja, ten so sondou na meranie, spadnúť do reťaze.
- Skontrolujte prispôsobenie: Ak sonda úplne zapadne, vaša reťaz je opotrebovaná. Je čas na výmenu.
Väčšina nástrojov má dve kľúčové značky: 0,5% a 0,75% opotrebenia. Vzhľadom na dodatočný krútiaci moment motora je rozumné vymeniť reťaz elektrobicykla hneď, ako dosiahne značku 0,5%. Týmto ochránite ostatné, drahšie komponenty pohonu pred predčasným opotrebovaním.
Niekedy môžu všetky kluky, kliky a brúsenia byť trochu mätúce. Tu je rýchly sprievodca, ktorý vám pomôže zistiť, čo vám váš elektrobicykel možno chce povedať.
Návod na riešenie problémov s opotrebovaním reťaze
| Príznak | Ako to znie/cíti sa | Možná príčina |
|---|---|---|
| Preskakovanie reťaze | Náhly, tvrdý klunk alebo šmyk pri silnom šliapaní, najmä do kopca. | Reťaz je príliš „natiahnutá“, aby správne sedela na zuboch prevodu a pod záťažou preskakuje. |
| Zvuk brúsenia | Stály, drsný alebo hučiaci zvuk, ktorý sa zhoršuje pri šliapaní. | Opotrebovaná reťaz už hladko nezapadá do zubov kazety a prevodníka. |
| Samovoľné radenie | Bicykel náhodne mení prevody sám od seba, dokonca aj na rovine. | Nepružné uloženie reťaze spôsobuje, že sa čiastočne zapája do susedného ozubeného kolesa. |
| Pomalé alebo váhavé radenie | Kliknete na radenie, ale je tam oneskorenie alebo trhaný prechod na ďalší prevod. | Opotrebovaná reťaz sa nepohybuje hladko cez ozubené kolesá kazety, ako by mala. |
Pamätajte, táto tabuľka je len východiskový bod. Hoci je opotrebovaná reťaz často vinníkom, tieto príznaky môžu niekedy poukazovať na iné problémy, ako je ohnutý záves prehadzovačky alebo nesprávne zarovnané prevody. Ale kontrola reťaze je vždy najjednoduchšie a najlacnejšie miesto, kde začať.
Ovládnutie údržby reťaze elektrobicykla
Predstavte si reťaz vášho elektrobicykla ako motor v aute. Prevádzka bez správnej starostlivosti je recept na katastrofu. Správna údržba je tajnou prísadou pre reťaz, ktorá beží ticho, hladko mení prevody a skutočne vydrží. Ak ju vynecháte, len pozývate trenie, zrýchlené opotrebovanie a nakoniec oveľa väčší účet za opravu. Prejdime si jednoduché kroky, ako udržať váš pohon v chode.
Čistá reťaz je šťastná reťaz. Pri každej jazde si reťaz naberie nádherný kokteil cestnej špiny, prachu a nečistôt. Keď sa to zmieša so starým olejom na reťaz, vznikne hustá, špinavá pasta. Táto špina je v podstate tekutý brúsny papier, ktorý brúsi vašu reťaz, kazetu a prevodníky pri každom šliapnutí do pedálov.
Čistenie reťaze vášho elektrického bicykla
Najprv musíte odstrániť všetku starú, špinavú špinu. Správne dôkladné čistenie vám dá čistý štít, ktorý umožní čerstvému oleju dostať sa do všetkých záhybov a škár, kde môže naozaj plniť svoju funkciu.
Na to budete potrebovať dobrý odmasťovač na bicyklový reťaz a tvrdú kefku. Nebojte sa – nastriekajte odmasťovač po celej reťazi a kazete, potom vezmite kefku a vydrhnite všetku nahromadenú špinu. Je to neporiadok, ale uvidíte, ako sa čierny povlak začne rozpúšťať.
Keď všetko vydrhnete, opláchnite reťaz jemne vodou. A myslím naozaj jemne. Nikdy nesprejujte e-bike vysokotlakovou hadicou, lebo riskujete, že voda prenikne do citlivých ložísk a elektrických častí. Ak máte obavy, náš článok o tom, či sú e-biky vodotesné ponúka skvelé rady. Na záver vezmite čistú handru a reťaz úplne vysušte.
Cieľom čistenia nie je len urobiť reťaz lesklou. Ide o odstránenie drobných abrazívnych častíc, ktoré ničia váš pohon, najmä pri vysokom krútiacom momente z motora e-biku.
Správna údržba mazania
Teraz, keď máte iskriacu čistú a suchú reťaz, je čas ju naolejovať. Druh lubrikantu, ktorý použijete, naozaj záleží a väčšinou závisí od toho, kde žijete a jazdíte.
- Mokrý olej: Tento olej je hustejší a odolnejší. Je perfektný pre vlhké, daždivé podmienky, ktoré často zažívame v UK, pretože sa ľahko nezmyje. Nevýhoda? Priťahuje špinu ako magnet.
- Suchý olej: Je to ľahší, často voskový lubrikant, ideálny pre suchšie podnebie, ktoré nájdete v mnohých častiach Európy. Udržiava reťaz oveľa čistejšiu, ale treba ho aplikovať častejšie, najmä ak vás zastihne dážď.
Aplikácia je kľúčová. Naneste jednu malú kvapku oleja na valček každého článku reťaze. Keď máte celý reťaz pokrytý, pomaly šliapajte dozadu asi 30 sekúnd, aby sa olej dostal hlboko do čapov a valčekov.
Tu je posledný a najdôležitejší krok: vezmite čistú handru a utrite všetok prebytočný olej z vonkajšej strany reťaze. Naozaj, utierajte, kým nebude takmer suchá. Olej, ktorý potrebujete, je vo vnútri reťaze, nie na povrchu, kde by len priťahoval novú vrstvu špiny.
Váš sprievodca výmenou reťaze na e-bicykli
Takže váš nástroj na kontrolu reťaze vám konečne priniesol zlé správy. Nezúfajte. Výmena reťaze na elektrickom bicykli znie ako práca pre profesionálov, ale je to jedna z najľahších údržbových úloh. Mojím cieľom je dať vám istotu, aby ste to buď zvládli sami, alebo aspoň vedeli, o čom hovoríte v cyklistickom obchode.
Celá práca sa v podstate rozdeľuje na štyri časti: pripraviť si nástroje, odstrániť starú reťaz, uistiť sa, že nová má správnu veľkosť, a nakoniec všetko zložiť dohromady.
Neodmysliteľným nástrojom na to je rozpojovač reťaze. Je to šikovný malý prístroj, ktorý vám umožní vytlačiť jeden z čapov (alebo nitov) reťaze a otvoriť ju. Mnohé novšie reťaze však majú master link — špeciálny dvojdielny článok, ktorý môžete rozpojiť špeciálnymi kliešťami, čo veľmi uľahčuje odstránenie starej reťaze.
Nastavenie novej reťaze
Keď je stará, natiahnutá reťaz dole z bicykla, ste na najkritickejšom kroku: správne nastaviť veľkosť novej. Reťaz, ktorá je príliš dlhá alebo príliš krátka, je zlou správou. Môže to viesť k nepresnému radenie alebo, čo je horšie, vyvinúť veľký tlak na váš prehadzovač a ďalšie drahé časti.
Najjednoduchší a najspoľahlivejší spôsob, ako to urobiť správne, je jednoducho položiť starú reťaz rovno a vedľa nej umiestniť novú. Spočítajte články a skráťte novú reťaz tak, aby zodpovedala starej. Tak jednoduché.
Správne zvládnutie tejto základnej údržby je obrovskou súčasťou toho, aby váš e-bicykel fungoval hladko. A keďže trh s e-bicyklami má vzrásť z 68,34 miliárd USD v roku 2025 na viac ako 165,69 miliárd USD do roku 2034, bude nás veľa, ktorí budeme potrebovať vedieť, ako sa starať o tieto kľúčové časti.
Zhrnutie všetkého dohromady
Dobre, nová reťaz skrátená na perfektnú dĺžku? Čas na zábavnú časť. Starostlivo ju prevlečiete cez kladky prehadzovača, okolo pastorkov kazety vzadu a cez predný prevodník.
Potom jednoducho spojte oba konce. Buď použijete nový master link, ktorý prišiel s reťazou, alebo zatlačíte nový spojovací čap pomocou nástroja na reťaz. Ak používate master link, počujete veľmi uspokojivé „cvaknutie“, keď je pevne na mieste. Práca hotová.
Úprimne, robiť to sám je jeden z najlepších spôsobov, ako spoznať pohon svojho bicykla. Celá vec tak prestane byť záhadou. Aby to bolo ešte jednoduchšie, mať špeciálnu sadu je úplná zmena hry. Dobrá sada nástrojov na elektrický bicykel bude mať rozpojovač reťaze a všetko ostatné, čo potrebujete, takže nebudete počas práce hľadať nástroje.
Máte otázky? My máme odpovede
Aj s týmito informáciami môžete mať stále niekoľko otázok. Poďme sa pozrieť na niektoré z najčastejších otázok, ktoré dostávame o reťaziach na e-biky, aby ste sa mohli vrátiť na cestu s úplnou istotou.
Ako často by som mal meniť reťaz na e-biku?
Ach, tá zlatá otázka! Úprimná odpoveď je, no, záleží na tom.
Dobrým pravidlom pre väčšinu jazdcov je začať kontrolovať opotrebenie reťaze okolo 500-750 míľ (alebo 800-1200 km). Ale to je len východiskový bod. Vaše jazdecké návyky a terén, ktorý zdolávate, sú skutočné faktory, ktoré to ovplyvňujú.
Ste stále v režime Turbo? Milujete zdolávanie strmých kopcov? Často jazdíte v blate a daždi? Ak áno, kladiete na reťaz oveľa väčší tlak a tá sa bude opotrebovávať rýchlejšie. Jediný spôsob, ako to zistiť naisto, je použiť indikátor opotrebenia reťaze. Keď tento nástroj ukáže hodnotu na 0.5% Ak vidíte známky opotrebenia, je čas na novú. Nie je potrebné hádať.
Môžem jednoducho nasadiť bežnú bicyklovú reťaz na svoj e-bike?
Môžete to urobiť, ale rozhodne by ste nemali. Hoci štandardná reťaz môže vyzerať, že pasuje, je to úplne iný druh. Nie je navrhnutá na zvládnutie obrovskej, okamžitej sily, ktorú vyvíja motor e-biku.
Predstavte si to ako snahu ťahať auto kúskom špagátu. Jednoducho to nie je na túto prácu a určite to skončí katastrofou.
Použitie reťaze, ktorá nie je určená pre e-biky, spôsobí šokujúco rýchle opotrebenie, nepresné radenie a oveľa vyššie riziko prasknutia reťaze počas jazdy. Náhle prasknutie nie je len nebezpečné pre vás – môže v okamihu zničiť váš motor, kazetu a prevodníky.
Použiť štandardnú reťaz na stredový pohon e-biku je klasická falošná úspora. Môžete ušetriť pár eur na začiatku, ale neskôr za to zaplatíte zrýchleným poškodením celého pohonu. Z jednoduchého úkonu údržby sa stane veľmi drahá oprava.
Takže, čo je také veľké, ak nevymením opotrebovanú reťaz?
Odkladať výmenu reťaze je ako posúvať plechovku po ceste, lenže tá plechovka je granát drahých opráv. Keď sa reťaz opotrebováva, „natiahne sa“, čo znamená, že vzdialenosť medzi valčekmi sa zväčšuje. Toto nové rozostavenie už presne nezodpovedá zubom na vašich prevodoch.
S každým šliapnutím do pedálov táto nezhodná reťaz pomaly, ale isto brúsi váš drahý kazetu a prevodníky na prach.
Zrazu sa jednoduchá a cenovo dostupná výmena reťaze mení na kompletnú výmenu pohonu, čo je úplne iná úroveň nákladov a starostí. A to ešte nehovoríme o tom, že vaša jazda bude hlučná, radenie bude hrozné a všetka radosť z cesty vám úplne zmizne.
Tu v Punk Ride veríme, že šťastný bicykel robí šťastného jazdca. Starostlivo vyberáme kolekciu špičkových elektrických bicyklov a kolobežiek, ktoré sú stvorené na skvelú zábavu, zakaždým. Prezrite si náš sortiment a nájdite svoju ďalšiu dobrodružnú jazdu na https://www.punkride.com.
Zdieľať:
Váš sprievodca nákladmi na výmenu batérie elektrickej kolobežky
Ako vymeniť pneumatiku na kolobežke bez straty rozumu