Ever found yourself wondering what's doing the hard work of smoothing out those bumpy city streets or cracked campus sidewalks on your electric scooter? The secret lies in a simple, often overlooked part: the scooter inner tube. It’s basically an air-filled bladder tucked inside your tire, acting as a cushion that soaks up every jolt and keeps your ride from feeling like a jackhammer.
The Hidden Component Keeping Your Ride Smooth

If you’ve ever owned a bike, you're already halfway there. A scooter inner tube works the exact same way—it's a separate, inflatable rubber ring that sits snug inside the tire. Its entire job is to hold air, which in turn gives the tire its shape and provides that all-important shock absorption. Without it, you'd feel every single crack in the pavement.
While some high-end e-scooters and most modern cars have moved to tubeless tires, the classic tire-and-tube combo is still the go-to for the overwhelming majority of electric scooters out there. Chances are, if you're riding a popular brand like Segway-Ninebot, Glion, or Kaabo, you're rolling on inner tubes.
So, Why Are Inner Tubes Still a Thing?
It really just boils down to a sweet spot of cost, performance, and easy maintenance. For most riders, whether they're commuting across a US city or just zipping around their neighborhood in Australia, this simple system works incredibly well. It's reliable and cheap to fix.
The numbers don't lie. The global two-wheeler tire market, which includes inner tubes, was valued at a massive USD 11.33 billion in 2025 and is on track to hit USD 17.98 billion by 2034. Scooters are a huge piece of that pie, making up around 46% of the market share. You can dig into these two-wheeler market trends yourself, but the takeaway is clear: inner tubes aren't going anywhere.
Think of it this way: the tire is the tough, grippy armor on the outside, but the inner tube is the balloon on the inside providing the air and cushion. They work together to give you a smooth, dependable ride.
Your First Step Toward Scooter Self-Sufficiency
Getting a handle on this one component is the single best thing you can do to become a more confident scooter owner. Let's be honest, a flat tire is the most common headache you'll ever face, and once you understand what's actually happening inside your wheel, fixing it becomes way less intimidating.
In this guide, we're going to cover everything you need to know, from the basics to the pro tips. We'll get into:
- Sizing and Valves: Making sure you buy the right tube for your scooter.
- Puncture Resistance: How to upgrade your tubes so you spend less time fixing flats.
- Repairs and Replacements: A full, step-by-step walkthrough for patching or swapping a tube.
By the time you're done here, you'll have the skills to handle your own maintenance, which will save you a ton of time, money, and frustration down the road.
Alright, let's tackle this. Choosing the right inner tube for your scooter might seem a little daunting at first, but it's actually pretty simple once you know what you're looking for. Think of it like a treasure hunt where all the clues are written right on the side of your tire.
Getting the size right is your number one mission. If you grab a tube that's too big, it'll bunch up and pinch itself inside the tire—a surefire way to get another flat before you even hit the pavement. On the flip side, a tube that's too small will be stretched dangerously thin, making it an easy victim for any sharp pebble or piece of glass.

Cracking the Code on Your Tyre Sidewall
Take a close look at your scooter's tyre. You'll find a set of numbers printed on the sidewall, something like 8.5x2 or 10x2.5. This isn't some secret scooter language; it's the exact dimension you need.
- The first number (the 8.5 or 10): This tells you the tyre's outer diameter in inches. Basically, how tall the wheel is.
- The second number (the 2 or 2.5): This is the tyre's width, also in inches.
So, if your tyre says "8.5x2," you need to buy an 8.5x2 scooter inner tube. It’s designed to perfectly fill the space inside a tyre of that exact size. Easy, right?
A Word of Warning: Always, always check the numbers on the tyre itself before you buy a new tube. Don't just go by the scooter's model name. Manufacturers sometimes switch up wheel sizes between production runs, and you don't want to get caught with the wrong part.
Picking the Right Valve
Once you've nailed down the size, the next piece of the puzzle is the valve—that little nozzle you connect your pump to. For electric scooters, you're almost certainly going to run into one of two types.
Schrader Valves: The Old Familiar
Chances are, you already know the Schrader valve. It's the same type you'll find on car tyres and most bikes, especially in the US and Australia. They’re chunky, tough, and have a little spring-loaded pin in the middle you can press to let air out.
- What they look like: Short, wide, and identical to a car tire valve.
- The upside: Super durable and simple to use. You can fill them up at any gas station (servo in Australia) or with a standard bike pump, no problem.
- The downside: Because they're wider, they can be a bit of a squeeze on scooters with really narrow wheel rims.
Presta Valves: The Skinny Specialist
More common on road bikes and some higher-end scooters, Presta valves are the sleeker, thinner cousins of the Schrader. They have a little captive nut on the tip that you have to unscrew before you can pump them up.
- What they look like: Long and thin with a threaded tip and a tiny nut you can twist.
- The upside: Their slim profile is perfect for narrow rims where a Schrader just won't fit. That little locknut also creates a great seal, helping prevent slow leaks.
- The downside: They're a bit more delicate. You'll need a pump with a Presta-compatible head or a tiny, cheap adapter to use a standard Schrader pump.
If you want to learn more about these adapters (they're a real lifesaver to keep in your toolkit), check out our simple guide on using a Presta valve adapter.
Straight vs. Angled: A Question of Access
One last thing to think about is the valve's angle. On small scooter wheels—especially the hub motor wheels where things are really cramped—getting a pump head on can be a serious knuckle-scraping hassle.
To fix this, many scooter tubes now come with an angled valve, usually bent at 45 or 90 degrees. This simple bend makes a world of difference, giving you much better access.
The rule of thumb is simple: if your old tube had an angled valve, get another one just like it. If it was straight and you never had any issues, a straight valve will work just fine. Go with whatever makes your life easier.
Puncture Proofing Your Ride
Is there anything worse than that sinking feeling—and sound—of a flat tire miles from home? If you're tired of flats turning your commute into a nightmare, it's time we talked about defense. Building a more resilient ride starts from the inside out, with your inner tube.
Your scooter almost certainly came with a standard butyl rubber inner tube. There’s a reason for that: butyl is cheap, flexible, and does a fantastic job of holding air. It’s the go-to for most manufacturers, offering a solid balance of performance and cost for everyday cruising on smooth, predictable roads.
But let's be real, "predictable" isn't always the word for our daily journeys. Whether you're navigating urban streets in the US or dealing with rough Aussie paths, that standard-issue tube is living on borrowed time. That's when you need to think about an upgrade.
Upgrading Your Inner Tube for Maximum Durability
To fight back against punctures, you have a few awesome options, each taking a different approach to keeping you rolling.
- Thorn-Resistant Tubes: The simplest upgrade. Think of these as a standard tube that’s been hitting the gym. They’re made of the same butyl rubber, just much thicker—sometimes twice as thick—making it physically harder for sharp objects to poke through.
- Self-Healing (Slime-Filled) Tubes: These are a bit like magic. They come pre-filled with a gooey liquid sealant. When a thorn or piece of glass causes a puncture, the escaping air pushes the sealant into the hole, where it instantly clots and seals the leak. Often, you won't even know it happened.
- TPU (Thermoplastic Polyurethane) Tubes: This is the high-tech option. TPU is an incredibly tough and lightweight material. These tubes offer amazing puncture resistance while being significantly lighter than even a standard butyl tube. They do cost more, but for some riders, the benefits are worth it.
It’s a huge market. The global tyre inner tubes market hit a staggering USD 10.19 billion in 2025 and is on track to reach USD 11.9 billion by 2032. And no surprise, standard butyl tubes make up about 70% of that market share because they're so cost-effective. You can dig deeper into the growth of the inner tube market and see the trends for yourself.
Is a Tougher Inner Tube Worth It for You?
So, should you actually spend the extra cash on a beefier inner tube? It really boils down to your riding habits and how much you hate fixing flats on the side of the road.
Take a second to think about your typical ride. If you're lucky enough to have clean, well-maintained bike lanes for your entire journey, a standard butyl tube is probably all you need. It gives a comfortable ride and saves you a few bucks.
However, if you find yourself nodding along to any of these questions, an upgrade is a no-brainer:
- Do you ride in the city where glass seems to be part of the pavement?
- Is your route filled with rough patches or unpaved sections?
- Have you had more than one flat in the last couple of months?
- Do you just want absolute peace of mind on your commute?
For most daily riders, the small extra cost for a thorn-resistant or self-healing tube pays for itself the very first time it saves you from being late or stranded. It’s an investment in reliability. While TPU tubes are the top-of-the-line choice for performance and weight, their higher price makes them a better fit for serious enthusiasts who demand the absolute best.
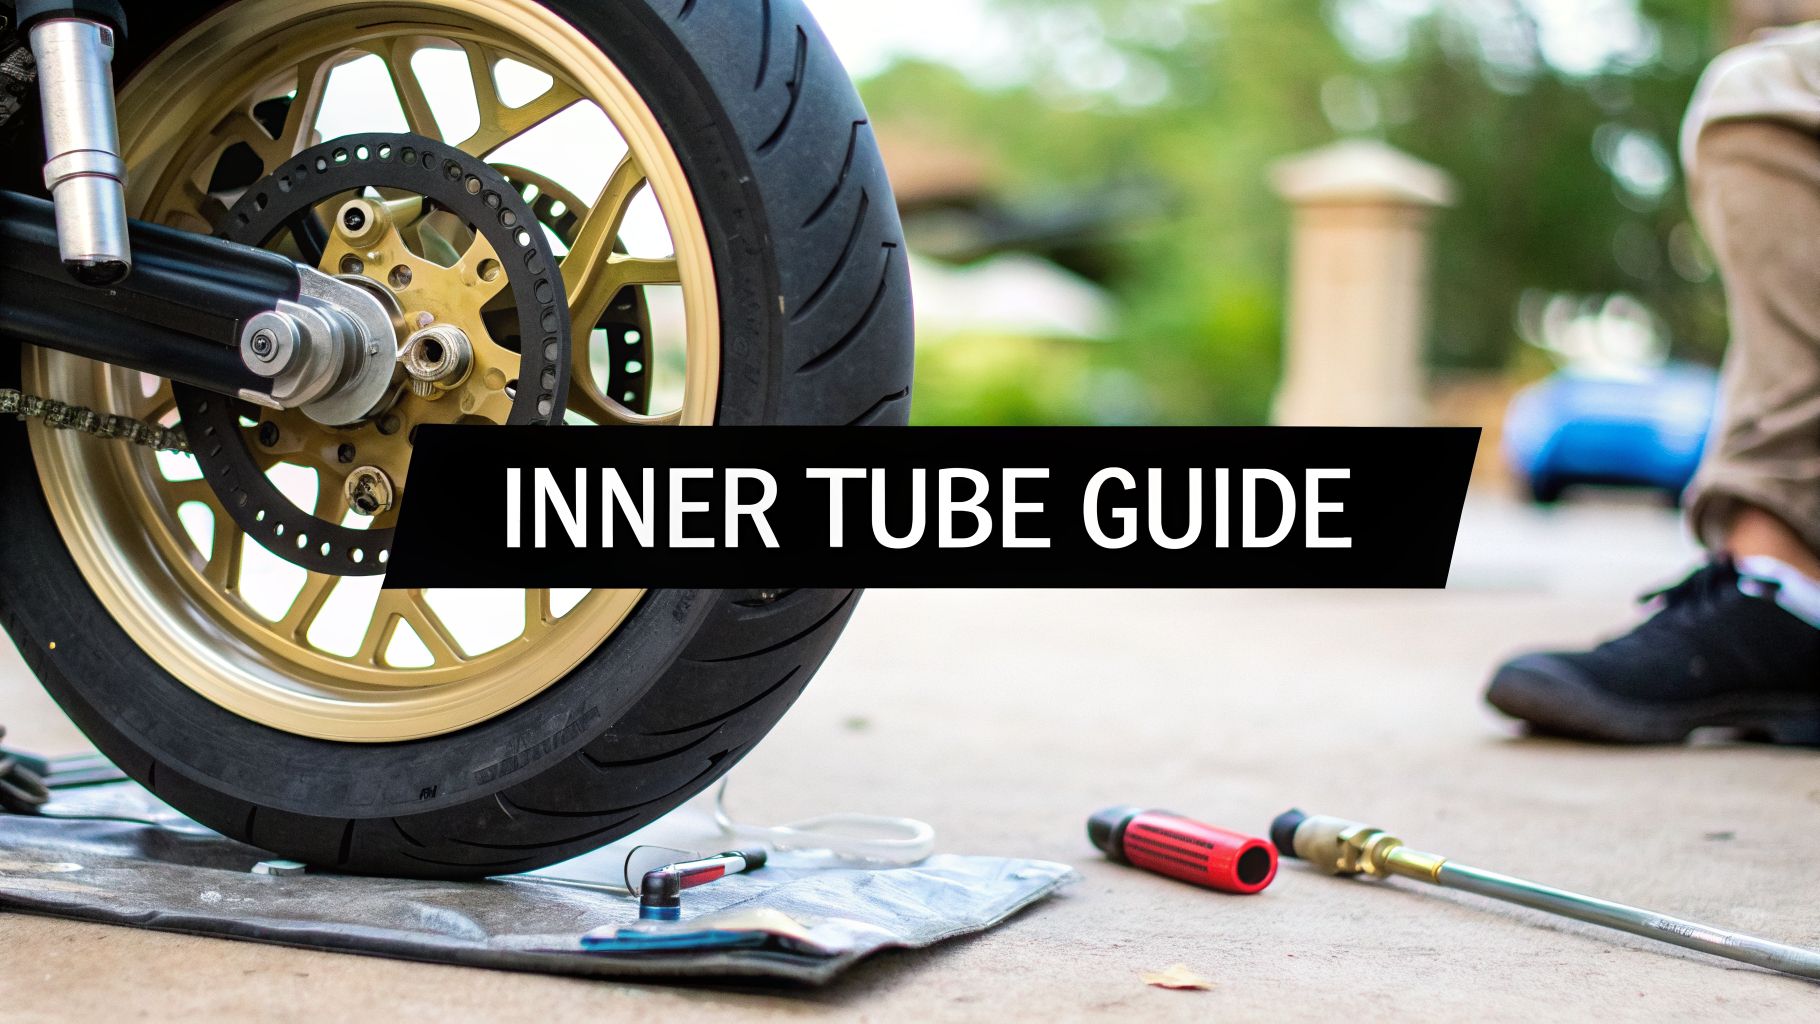
Changing a Flat Scooter Inner Tube Step by Step
Let's be real—getting a flat is a rite of passage for any electric scooter owner. But it doesn't have to ruin your day or cost you a trip to the shop. This guide will walk you through the entire process, turning you into a pro at changing your own inner tube. No techy jargon, just straight-up, practical advice to get you riding again.
Before you even think about touching the wheel, let's get your tools together. Having everything laid out first is the secret to a smooth, headache-free repair.
Step 1: Gather Your Essential Tools
You wouldn't try to bake a cake without the right ingredients, right? Same idea here. Most of these are basic tools, but the tire levers are absolutely essential. Don't be tempted to use screwdrivers! That's a classic rookie mistake that almost always ends with a scratched-up rim or, even worse, a hole in your brand-new tube.
- New Inner Tube: Double-check that you have the right size and valve type for your specific scooter.
- Tire Levers: You’ll want at least two, but three is ideal. Plastic levers are your best friend here; they won’t damage your wheel rims.
- Wrenches or Allen Keys: You'll need these to get the wheel axle nuts off. The size varies from scooter to scooter, so check what yours needs.
- A Pump: To get air back into the new tube. A good pump is crucial for maintaining the right tire pressure. Investing in something like a cordless tire inflator can make this job a whole lot easier.
- A Clean Rag: Good for wiping down greasy parts and keeping your hands relatively clean.
Step 2: Remove the Wheel From the Scooter
With your toolkit ready, it's time to get that wheel off. If you're working on the rear wheel, which is pretty common on scooters with hub motors, pay close attention to the motor cable. It's delicate and absolutely vital for powering your ride.
Start by flipping your scooter upside down or laying it on its side. Just make sure it's on a soft surface like a rug or some cardboard to avoid scratching the handlebars and display.
Grab your wrench or Allen key and loosen the axle nuts. Once they're off, stash them somewhere safe with any washers—they have a tendency to disappear.
Now, you can gently lift the wheel out of its frame. If it’s a motor wheel, you'll probably need to disconnect the motor cable. Look for a quick-release connector a few inches up the wire. Be gentle and never, ever yank on this cable.

Think of upgrading your inner tubes as leveling up your scooter's defense against flats. Moving from a standard tube to a thicker or self-healing one makes a huge difference in your daily ride's reliability.
Step 3: Remove the Old Inner Tube
Alright, here comes the main event. First, let all the air out by pressing the little pin inside the valve stem. Now you've got to "break the bead," which is just a fancy way of saying you need to unstick the tire's edge from the wheel's rim. Usually, you can just squash the tire with your hands or carefully step on it to get it to pop loose.
Once the bead is free, grab your tire levers. Shove one under the edge of the tire and pry it up and over the rim. You can hook the other end on a spoke or just hold it tight. Now, take your second lever and do the same thing a few inches away. You'll feel the tire start to come off.
Keep working your way around the wheel until one whole side of the tire is off the rim. From there, you can just reach in and pull that old, useless inner tube right out.
Pro Tip: The single most frustrating mistake you can make is pinching the new tube when you put it in. We call this a "pinch flat," and it's a soul-crushing experience. The key to avoiding it is patience. Never use brute force.
Step 4: Install the New Scooter Inner Tube
Before you even touch that new tube, do this one simple but critical check: carefully run your fingers along the entire inside of the tire. You're feeling for whatever caused the flat in the first place—a tiny piece of glass, a sharp rock, or a thorn. If you skip this, you’ll just puncture your brand-new tube instantly.
Got it? Good. Now, put just a tiny puff of air into the new scooter inner tube. You only want enough to give it a little bit of shape, which makes it way easier to handle and keeps it from getting twisted or pinched.
Start by poking the valve stem through the hole in the wheel rim. Then, carefully work the rest of the tube into the tire, making sure it lays flat and isn't folded over on itself.
Now for the tricky part. Starting at the valve, use your thumbs to push the edge of the tire (the bead) back over the rim. Work your way around with both hands. The last few inches will be tough, but fight the urge to grab a tire lever to force it on—that’s how you get a pinch flat!
Once the tire is on, inflate it to the recommended PSI, which you'll find printed on the tire's sidewall. Give the wheel a spin to make sure everything looks even and seated correctly. You're all set to put it back on the scooter!
For a deeper dive into changing tires, you might also want to check out our complete guide on electric scooter tire replacement.
How to Patch a Puncture and Save Money
Got a flat? Don't toss that tube just yet. Patching your scooter inner tubes is a classic rider skill that saves cash and keeps a perfectly good tube out of the landfill. It’s the ideal fix for those pesky slow leaks or small punctures, letting you build up a stash of reliable spares without constantly buying new ones.
First things first, you have to find the hole. The old-school bucket of water trick is your best friend here. Just pump a little air into the tube, dunk it in water section by section, and look for a tiny stream of bubbles. That's your culprit.
Choosing Your Patching Method
Once you've circled the spot with a marker, you've got two solid options for the repair. Both will get you back on the road, but they serve slightly different purposes.
- Peel-and-Stick Patches: Think of these as the quick-and-dirty solution. You literally just peel the back off and stick it on. They're perfect for a fast fix on the go, but they might not hold up as long as a proper vulcanizing patch.
- Vulcanizing Glue Kits: This is the tried-and-true method for a permanent fix. You rough up the tube's surface, apply a special cement, and then bond a rubber patch to it. The process creates a chemical reaction (vulcanization) that basically fuses the patch and tube into one solid piece. It's an incredibly strong, airtight seal.
Patching is a fantastic skill, but it’s not always the right answer. If the puncture is a long gash, very close to the valve stem, or on an existing patch, it's safer to just replace the tube. A good patch works on small, clean holes.
Step-by-Step Patching with a Vulcanizing Kit
For a fix that you can truly rely on, the vulcanizing kit is the way to go. It takes a few extra minutes, but the peace of mind is totally worth it.
- Prep the Surface: Grab that little metal scraper from your kit and get to work roughing up the area around the puncture. You're aiming to create a dull, textured surface a bit larger than the patch itself. This step is absolutely crucial for a strong bond.
- Apply the Cement: Squeeze a thin, even layer of vulcanizing cement over the scuffed-up spot. Now for the important part: let it sit for a few minutes. You want the cement to get tacky to the touch, not sopping wet.
- Apply the Patch: Peel the foil or plastic backing from the rubber patch and press it down hard onto the tacky cement. Use your thumb to apply firm, steady pressure for at least a minute to make sure it's bonded everywhere.
- Check Your Work: After letting it sit for another minute or two, you can peel the clear plastic film off the top of the patch. Inflate the tube slightly and give it one final dunk in the water bucket, just to be sure your new seal is perfectly airtight.
Mastering this skill means you’re ready for just about anything the road throws at you. For a deeper dive into common tire problems, check out our guide on how to repair your scooter tire.
Troubleshooting Frequent Flats and Other Issues
Nothing’s more infuriating than getting the same flat tire over and over. If you’re patching one leak just to find another a week later, you’re not just unlucky—your scooter is trying to tell you something.
Recurring flats are almost always a symptom of a deeper problem. The good news? The fix is usually surprisingly simple once you know what to look for. Let’s put on our detective hats and solve this for good.
Pinpointing the Real Problem
So, what's the story with your flat? Is it a slow, overnight leak? A sudden "pop" that leaves you stranded? Or is the valve stem giving you grief? Each one tells a different tale.
- Pinch Flats: Did you get a flat almost immediately after putting a new tube in? That’s a classic pinch flat. It happens when the tube gets wedged between the tire and the metal rim during installation. The best way to avoid this is to use your thumbs—not tire levers—to pop that last bit of tire onto the rim.
- Repeat Offenders: If you keep getting punctures in the same spot, you've got a stowaway. A tiny, nearly invisible shard of glass or a metal sliver is probably still embedded in your tire. Before you install that new tube, carefully run your fingers along the entire inside of the tire. You'll find the culprit.
- The Slow Leak: Waking up to a saggy tire usually means a bad valve seal or a puncture so small you can't see it. The old-school bucket-of-water test is your best friend here. Submerge the inflated tube and watch for the tiny stream of bubbles that reveals the leak's exact location. Sometimes, all you need to do is tighten the valve core with a small tool if you have a Schrader valve.
Here's the single best piece of advice I can give you: check your tire pressure every single week. Under-inflation is the #1 cause of pinch flats because it lets the tube squirm around and get crushed against the rim. Keeping the right PSI is your strongest defense.
Proactive Fixes to Keep You Riding
Once you’ve figured out the why, you can start taking steps to make sure it doesn't happen again. This is how you go from constantly fixing flats to just enjoying the ride.
It’s not just us riders focused on this; the entire industry is innovating to make flats less of a headache. The global inner tube market was valued at US$14,220 million in 2025 and is expected to climb to US$17,090 million by 2032. This is driven by smart new products, like Pirelli's premium tubes that impressively take up 50% less space when stored. You can dig into these market dynamics and product innovations to see how brands are tackling the problem.
To break the cycle of endless repairs, try one of these game-changers:
- Use Tire Sealant: Squirting a liquid sealant like Slime or Armor-Dilloz into your tubes is a cheap, easy, and incredibly effective trick. It automatically plugs small punctures the moment they happen, often without you even knowing.
- Upgrade Your Tube: If you ride on city streets littered with debris, switching to a thicker, thorn-resistant tube can make a world of difference. It’s a tougher physical barrier that shrugs off most sharp objects.
- Inspect Your Rim: Sometimes, the tire isn't the problem—it's the wheel itself. A sharp metal burr on the rim or a worn-out rim strip can easily slice into a tube. Give the inside of your rim a quick feel. If you find a rough spot, a little bit of sandpaper can solve this sneaky issue for good.
Got a burning question about your scooter's inner tubes? Let's get right into some of the common things riders ask us, whether they're cruising through Melbourne or navigating the streets of New York.
How Often Should I Check My Tyre Pressure?
Honestly? At least once a week. Think of it as a quick five-minute health check for your scooter. Keeping your tyres properly inflated is the single best thing you can do to avoid getting a flat.
When the pressure is too low, the scooter inner tube gets pinched between the pavement and the metal wheel rim every time you hit a bump. That's a "pinch flat," and it's by far the most common reason for a flat tyre. It’s also completely preventable. Plus, low pressure kills your battery range and makes handling feel sloppy.
The right PSI (pounds per square inch) is always printed right on the side of your tyre. No need to guess—just pump it up to that number, and you're golden.
Can I Use a Car or Bike Pump on My Scooter?
Yep, you almost certainly can. Most electric scooters, especially those popular in the US and Australia, come with Schrader valves. Those are the same chunky, universal valves you find on car tyres.
That means any air pump at a gas station (or servo, if you're in Australia) or a standard bike pump will work just fine. If your scooter has the skinny Presta-style valve, all you need is a tiny, cheap adapter that screws on top, or a pump with a dual-head design.
What Is the Difference Between Straight and Angled Valves?
It all comes down to convenience and saving yourself a headache. Scooter wheels are small, and the rear wheel, in particular, is crowded by the hub motor. Trying to fit a pump onto a valve in that tight space can be a real pain.
An angled valve, bent at 45° or 90°, points outward, giving you way better access to get the pump on and off easily. A straight valve works great on wheels with plenty of room. When buying a replacement, the easiest path is to just get a tube with the same valve angle as your old one.
Is It Better to Use Slime or a Puncture-Proof Tube?
This is a classic "good vs. better" scenario, and it really hinges on your budget and how much you hate flats. Adding a sealant like Slime to your tube is a cheap and surprisingly effective way to instantly seal up small punctures from thorns, glass, or staples.
On the other hand, upgrading to a dedicated "puncture-proof" or thorn-resistant tube gives you a much tougher physical barrier. These are made with thicker rubber that can shrug off bigger, meaner objects. The only trade-off is they're a bit heavier and can make the ride feel a little stiffer. For most daily commuters, starting with sealant is a great, cost-effective first move.
At Punk Ride LLC, we believe a reliable ride changes everything. Find the perfect high-performance inner tubes and other key accessories for your electric scooter by checking out our collection at https://www.punkride.com.
Share:
Maximise Your Electric Bike or Scooter Battery Life
Discover Comfort and Stability with Electric Scooters