


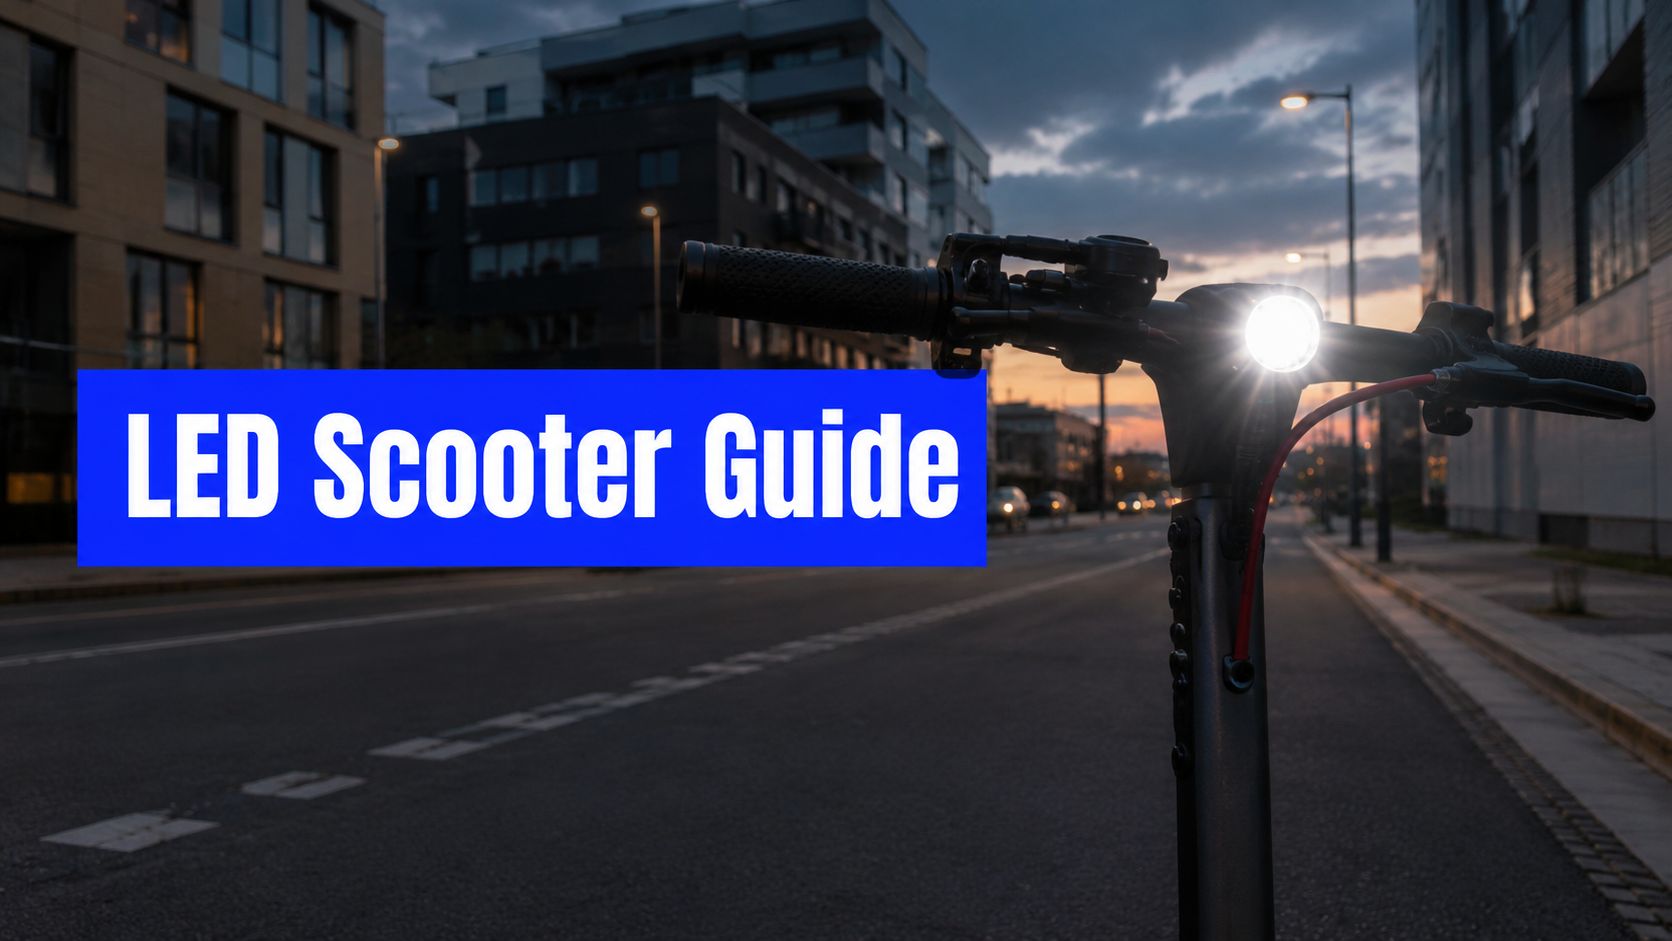
You've probably stood beside your scooter at dusk, switched on the LEDs, and thought, “More light can only help.” Then you ride into a wet junction and discover the opposite. A bright strip throws glare into your own view, a loose mount points the beam at drivers' faces, and decorative colours make it harder for anyone to recognise which end of the scooter is the front.
LED lights for scooters work best when they provide the right signal, in the right colour, with a controlled beam. The practical job is simple: help you see, help others identify you, and avoid dazzling or confusing anyone sharing the road.
What the Law Says About Scooter LEDs
A legal light setup starts with the riding location, not the highest lumen rating. A privately owned scooter used on a public road can remain unlawful even when its front and rear LEDs are bright enough to be seen clearly. The electric scooter laws guide provides a useful starting point, but the rule in force where you ride controls the outcome.
Check three things before fitting a light: where the scooter is ridden, whether it is privately owned or part of a rental scheme, and whether the lamp is approved road equipment or an aftermarket accessory. A decorative strip may improve visibility on private land while still failing the requirements for public-road use.
In the UK, privately owned e-scooters remain limited to private land under the existing 2021 rental trial framework and pending legislation. Adding LEDs does not make a privately owned scooter legal for ordinary road use. On private land, or when riding abroad, use the conservative arrangement of white to the front, red to the rear. Avoid any setting that creates undue dazzle, discomfort, or confusion. UK draft e-scooter lighting rules specify a white front light, a red rear light, and lighting that does not mislead road users or cause undue glare or discomfort (UK technical regulation text).
EU and UNECE-style systems assess more than advertised output. Approval can depend on beam shape, photometry, mounting, and cutoff. A forward-facing red lamp can make the scooter look as though it is travelling toward another road user, while blue lighting can resemble an emergency signal. Flashing modes also depend on national and vehicle-specific rules. The technical principle is practical: colour identifies position, and controlled output prevents a visibility aid from becoming a distraction.
US requirements vary by state, so do not transfer a UK or EU setup directly to an American ride. New York requires a white front lamp visible from at least 500 feet, a red rear light visible from 300 feet, and side visibility from 200 feet during the specified night period (New York statute). Nevada requires a white front lamp visible from 500 feet, a rear red reflector visible from 50 feet to 300 feet, and side-visible reflective material or an alternative lamp visible from 500 feet (Nevada statute). Virginia requires white front and red rear lighting for motorized scooters at night (Virginia Code).
| Region | Front Light | Rear Light | Color Restrictions | Flashing Allowed |
|---|---|---|---|---|
| UK | White, duly lit during lighting-up hours where the applicable rule applies | Red, duly lit | No misleading light, undue dazzle, or discomfort | Only where the applicable lighting rule permits it |
| EU and UNECE-style systems | White beam with compliant photometry and cutoff | Red | No forward red or blue emergency-style lighting | Depends on national and vehicle rules |
| New York | White, visible from 500 feet | Red, visible from 300 feet | White front and red rear | Check the local statute before using a flashing mode |
| Nevada | White, visible from 500 feet | Red reflector visible from 50 to 300 feet | Side visibility is separately required | Check the local statute before using a flashing mode |
| Virginia | White front light | Red rear light | White front and red rear | Confirm local restrictions |
A brighter lamp cannot cure the wrong colour, beam, or legal status. Identify your jurisdiction and riding location first, then choose the colour and mode that match those requirements.
Choosing Brightness, Beam Pattern, and Color
The lumen race is where many scooter buyers waste money. Lumens describe total light output, but they don't tell you where that light lands, whether it creates glare, or whether the beam lets you read the road surface. Practical retrofit guidance warns that under-illumination and poor beam placement are common failure points, while excessive intensity can create glare rather than safety (scooter headlight optimisation guide).
For everyday urban streets, a useful working target is 400 to 600 lumens at the front, paired with a 30 to 80 lumen steady rear light. For unlit paths, 800 lumens or more may be appropriate, but only with a controlled beam and secure mount. These are practical selection targets, not legal approval figures.

Beam shape beats the headline number
A spot beam throws light a long way down a narrow line. It suits dark paths where you need distance, but it can leave the edges of a junction poorly lit. A flood beam spreads wider, which helps at low speeds and around pedestrians, yet scattered light can bounce off wet tarmac and reduce contrast.
A cutoff beam, similar in principle to StVZO-style bicycle lighting, puts a clear upper boundary on the output. Aim it slightly downward, and it illuminates the lane without projecting the brightest part into oncoming eyes. Road-legal LED integration guidance focuses on this photometric control and clear low-beam cutoff rather than raw output (technical headlamp guidance).
A 500-lumen flood with poor cutoff can make a real night ride worse. It may appear powerful from the rider's position, but the scattered light creates glare and washes out surface detail. A 300-lumen cutoff beam can show pothole edges, wet patches, and lane boundaries more clearly because its useful output is placed on the road instead of in the eyes of approaching traffic.
Warm white, around 3000 to 4000K, is generally easier to tolerate in rain and mist and can preserve useful contrast. Cool white at 5000K or above often looks sharper in a product photo, but the blue-heavy appearance can feel harsh in fog and wet conditions. Keep red at the rear and use amber for side or turn indication where local law permits it.
If night vision is a personal concern, optical factors matter too. A properly fitted pair of astigmatism glasses for reducing glare may help some riders manage halos around lamps, but eyewear can't correct a badly aimed scooter light. For broader riding technique, see this guide to bike riding at night.
Matching Light Types to Where You Ride
Your riding environment should decide the kit. An urban commuter on illuminated cycle paths usually needs a stable, cutoff front lamp, a steady red rear, and perhaps amber side markers for junction visibility. An RGB deck strip adds style, but it doesn't replace a correctly aimed headlamp or a recognisable rear signal.
Suburban routes are harder because they mix lit roads, dark gaps, driveways, and poorly marked crossings. A front lamp combining spot reach with moderate flood coverage works better than either extreme, while a rear unit with a brake-responsive mode can make deceleration easier to recognise. Check that the brake function remains red and steady or appropriately modulated under local rules.
For forest tracks and off-pavement routes, a helmet-mounted spot can follow your head as you scan corners, while a handlebar flood lights the immediate ground. A high-output front system in the 800 to 1200 lumen range can suit that environment, with a high-visibility rear flasher at 100 lumens or more, provided the mode is legal where you ride. The beam still needs careful adjustment, because a helmet lamp pointed at face height is unpleasant for everyone approaching you.
| Riding context | Front setup | Rear setup | Side lighting | Decorative LEDs |
|---|---|---|---|---|
| Urban commuter | Cutoff beam, moderate output | Steady red | Optional amber markers | Cosmetic only |
| Suburban mixed light | Spot and flood combination | Brake-responsive red | Useful at junctions | Limited value |
| Night path | Helmet spot plus handlebar flood | High-visibility rear mode | Helpful at crossings | Keep separate from road signals |
| Delivery riding | Redundant front lamps | Redundant rear lamps | Practical side markers | Avoid distraction |

Delivery riders should prioritise redundancy, USB-C charging, and quick-swap mounts. A second light is valuable when the primary unit runs flat or its bracket breaks halfway through a shift. Riders comparing equipment for rougher surfaces can also review this all-terrain electric scooter guide.
Use a simple shortcut. Count the rides you do in fully unlit areas, lit streets, and mixed conditions. Choose a setup that handles the worst 20% of your riding, because that environment exposes weak beam control, poor battery planning, and insecure mounting first.
Installing LED Lights Without Damaging Your Scooter
Start with the scooter stable on a stand, not balanced against a wall. Disconnect the battery before touching the wiring, then dry-fit the front mount and check steering, folding clearance, brake lever movement, and display visibility before drilling anything.
Handlebar diameter matters. Clamps above 22.2 mm need a suitable shim, while thinner bars often accept silicone strap mounts. A bolt-on bracket is more rigid, but a strap mount can be the safer choice when drilling would weaken a housing or interfere with a manufacturer's wiring.

Mount first, then route
Route the cable alongside the existing harness, following the scooter's original movement path. Keep it away from the folding hinge and preserve the brake cable's bend radius. I use spiral wrap at roughly 15 cm intervals to stop the cable rubbing against the stem or frame, especially on scooters folded frequently.
Don't trap a cable under a clamp or leave a loop beside the hinge. Turn the bars fully left and right, then fold the scooter slowly while watching the cable. Any section that tightens, kinks, or touches a sharp edge needs to be rerouted before power is connected.
Protect the circuit
Solder each joint and seal it with heat-shrink. Crimp connectors can work in dry enclosures, but exposed scooter wiring sees vibration, spray, and repeated flexing, so an unsealed joint becomes a likely corrosion point. A general outdoor-lighting installation reference from Lighthouse Energy Services is useful for thinking about cable protection, strain relief, and weather exposure.
Install an inline 2A fuse within 20 cm of the battery positive. The fuse should sit close to the power source so a damaged cable can't remain unprotected along its entire run. Use a toggle or handlebar switch rated for the circuit's current draw, and never tap into the throttle signal. The throttle wiring carries control information, not spare lighting power.
Tighten clamp bolts to roughly 4 to 5 Nm, enough for the housing to stay fixed without cracking a plastic boss. If the manufacturer specifies a lower torque, follow that specification instead. Overtightening is a common way to distort light bodies and strip small fasteners.
Finish with a daylight function test, a brake-tap test for the rear unit, and a slow lap around a safe area. Check full steering lock, braking, vibration, and full fold before taking the scooter into traffic. A light that works on the workbench but moves during the first ride isn't a successful installation.
Why Flashing RGB Strips Often Hurt More Than Help
The attractive glow-up usually happens before the safety check. Riders fit a colour-changing deck strip, select a fast strobe, and assume the scooter now stands out. In traffic, that effect can make the machine harder to interpret.
Other road users expect a white front signal and red rear signal. Those colours communicate direction and orientation quickly. A rapidly changing RGB strip breaks that pattern, especially when it sits low to the ground and reflects across wet asphalt. The rider may look brighter without becoming easier to understand.
A 2025 PubMed-indexed study examined apparent motion in visual displays and reported that motion can support detection, particularly near the ground, but the useful principle involved patterns consistent with biological motion, not arbitrary flashing (PubMed-indexed study). Related powered two-wheeler visibility research points toward structured conspicuity, while research on e-scooter visibility aids found voice and bell alerts rated more positively than continuous sounds and flashing lights across visibility, safety, communication, and acceptance. The practical lesson is to use a signal that communicates an action, not one that produces visual noise.
| Light Type | Avg Detection Distance (m) | Driver Reaction Time (s) |
|---|---|---|
| Steady white front | Not established in the provided data | Not established in the provided data |
| Steady red rear | Not established in the provided data | Not established in the provided data |
| Patterned conspicuity light | Not established in the provided data | Not established in the provided data |
| Flashing RGB underglow | Not established in the provided data | Not established in the provided data |
The blank cells are intentional. No verified source supplied average detection distances or reaction times for these categories, so it would be misleading to invent a performance table.
UK rules restrict misleading light, glare, and discomfort, and the exact UK cycle-lighting reference says a flashing light must produce 1 to 4 equal flashes per second and must not dazzle other road users (UK pedal-cycle lighting rules). That cycle rule isn't a universal permission for every e-scooter setup.
Keep a low-intensity solid red rear lamp and a controlled white front beam as the traffic setup. Treat underglow as cosmetic, switch it off around other road users, and reserve colour cycles for private property or display use where permitted. More light isn't automatically more visibility.
Maintenance and Quick Fixes for Night Rides
A good light becomes a poor safety system when its bracket droops, its lens films over, or its cable starts chafing at the folding joint. Night checks should combine legal colour, useful beam placement, secure mounting, and electrical reliability rather than focusing only on whether the LED switches on.
Once a week, wipe the lenses with isopropyl alcohol and inspect them under a strong room light. Dirt and road spray soften the beam cutoff, while a scratched lens can spread glare. Check mount torque around 4 to 5 Nm, inspect the cable wrap near the hinge, and make sure the fuse holder is seated firmly.

The quick pre-ride ritual
Give the scooter a short check before every night ride:
- Front aim: Confirm the cutoff sits below the eye level of approaching traffic and the mount hasn't rotated.
- Rear colour: Confirm the rear lamp shows a clear red output rather than white, blue, or a mixed RGB mode.
- Brake response: Squeeze the brake lever and check that the rear light changes as intended.
- Side visibility: Stand to either side and verify that the scooter remains identifiable at junction angles.
- Switch condition: Check that the controls are dry, responsive, and not stuck between modes.
- Cable movement: Turn the bars fully and inspect for tension, snagging, or contact with the folding hinge.
The rear light should give a visible red glow from 100 m as a practical inspection target, but that is a workshop check rather than a universal legal distance. The actual law can require different visibility distances, such as New York's rear-light rule or Nevada's reflector rule, so use the applicable jurisdictional requirement when assessing road legality.
Carry a small recovery kit
A pocket repair kit can prevent a failed light from ending a ride. Pack a spare 2A fuse, two zip ties, a short piece of heat-shrink, the correct micro-USB or barrel charging adapter, and a spare rear LED module if your system uses a replaceable one.
Dim output often points to connector corrosion or a poor ground before it indicates a failed battery. Flickering commonly comes from a loose ground or a chafed cable, particularly around the folding joint. Disconnect power before opening a connector, dry the area, and repair the damaged section rather than wrapping tape over a moving fault.
Punk Ride LLC sells scooters with built-in LED systems, including configurations with front and rear lighting and indicators, as well as lighting accessories for electric bikes and scooters. If you're replacing a weak stock lamp or building a more deliberate night setup, visit Punk Ride LLC to compare compatible rides and lighting options before you buy.
Share:
Mid Drive Electric Bike Explained for Real-World Riders
Electric Scooter Regenerative Braking Explained Simply