


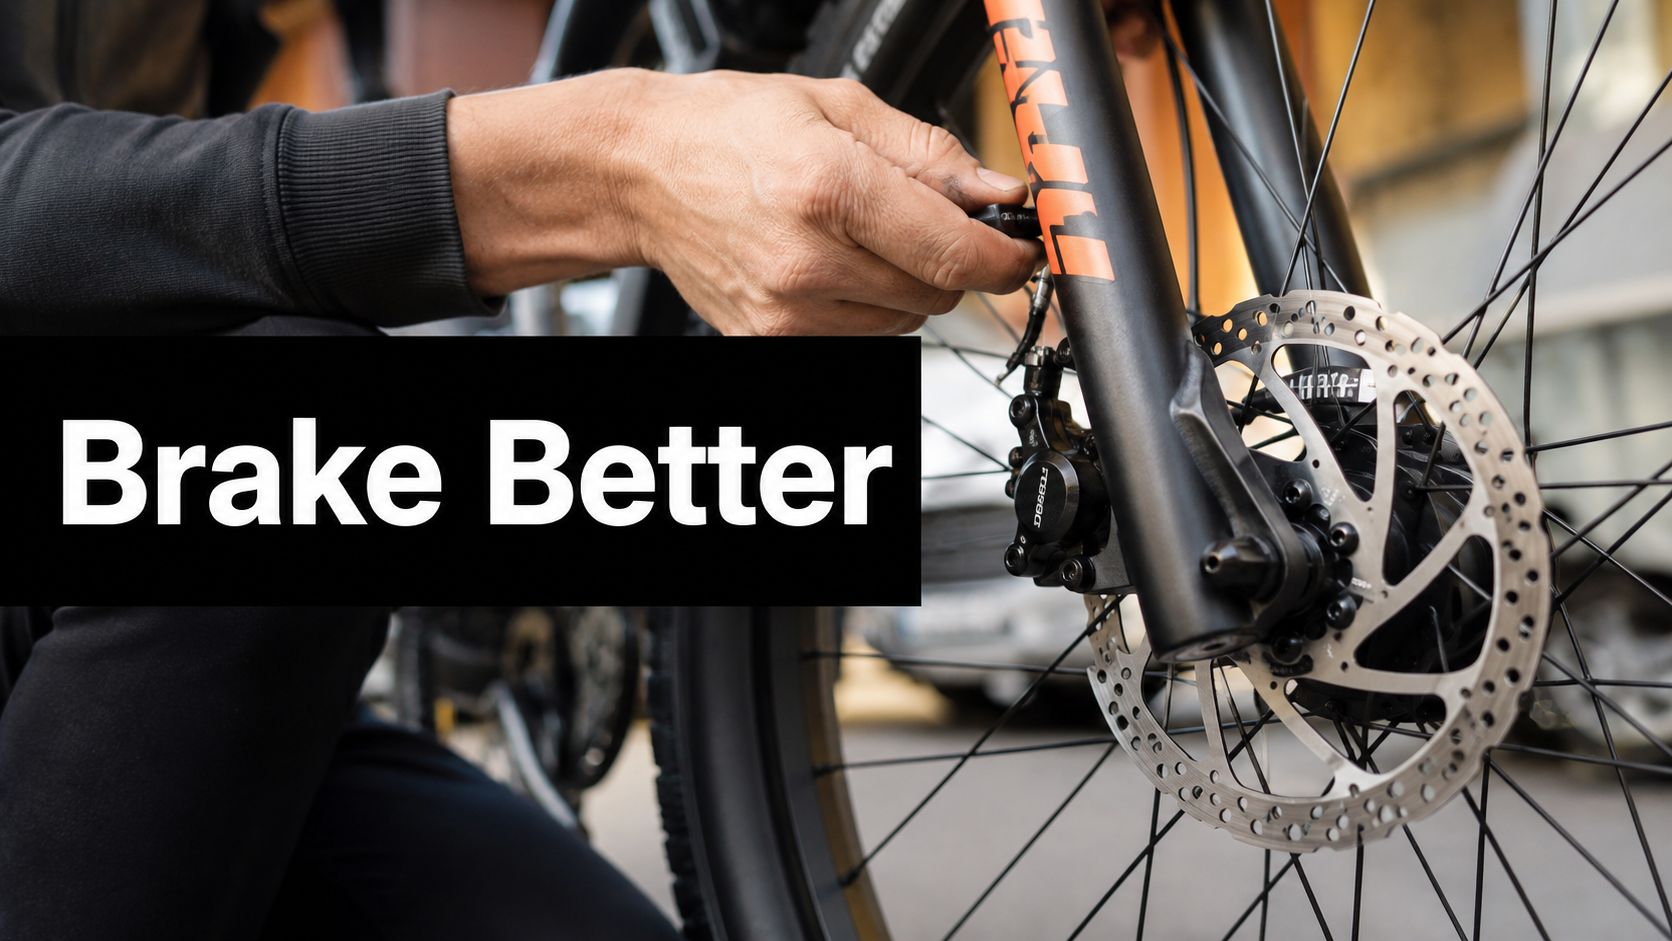
Your brake lever feels a little longer than it did last month. The bike still stops, but not with the same confidence, and now every wet roundabout, steep hill, or sudden taxi door makes you think twice. That's the point where how to improve braking performance stops being a theory exercise and turns into a rider-safety job.
The trick is not buying the shiniest rotor and hoping for the best. Real stopping power comes from the whole system, hardware, tires, load, and rider input, working together. If one part is off, the best upgrade in the world can still feel dull on the road.
Start With a Pre-Ride Brake Inspection
Before any wrench comes out, the first win is a fast check that catches the usual grief early. A lot of braking complaints on e-bikes and scooters come down to plain wear, poor alignment, or a system that's been nudged out of tune, not a total failure.

What to feel at the lever
Squeeze each lever slowly. A healthy setup gives you consistent tension, not mush, grabby bite, or a lever that suddenly drops too close to the bar. If one side feels different from the other, that's a clue worth chasing before the ride starts.
Practical rule: a lever that feels normal one day and suddenly changes the next usually means something moved, wore, or leaked.
Look for pad thickness while the wheel is still. Pads that are nearly down to the backing plate need attention, and uneven wear usually points to a caliper that isn't centered or pistons that aren't moving evenly. Spin the wheel and listen for rub, then look at the rotor edge and face for bends, scoring, or grime.
What to check at the wheels
Quick-release or axle security matters on both ends. A slightly loose wheel can mimic brake problems, and it's one of the fastest ways to get a false diagnosis. Check hose routing too, because a kinked hose or stretched cable housing can make the brake feel lazy even when the pads are fine.
A wet rotor after rain also feels weak for the first few stops because the pad has to clear water film before full friction comes back. That's normal. What isn't normal is fluid on the caliper, hose, or lever, which is a leak until proven otherwise.
Five-minute rider checklist
- Lever feel: firm, even, and predictable.
- Pad wear: enough material left, no obvious taper.
- Rotor condition: true, clean, no heavy grooves.
- Leak check: no wetness around the caliper, hose, or lever.
- Wheel security: axle or quick-release fully seated.
If the brake passes all five, you can ride with a lot more confidence. If it fails one, don't guess, fix the cause first.
Dial In Cable and Hydraulic Adjustment
Cable brakes and hydraulic brakes solve the same problem in different ways, so they need different hands-on checks. Mixing the two up is where plenty of riders waste time, especially when they assume a soft feel is just “normal braking.”
Cable brakes need tension, not magic
On a mechanical brake, start with the barrel adjuster. Turn it a little at a time until the lever engages sooner, but keep enough free play that the pads aren't dragging. If the lever keeps coming back farther every few rides, the cable has probably stretched or the housing has settled, and you'll need to reset tension at the anchor bolt.
A cable brake that feels long and vague usually isn't asking for a more expensive part. It's asking for a proper reset.
Center the pads so they hit the rotor squarely. If one pad kisses first, the brake can feel weak even with good cable tension. After that, test the return action, because sticky housing or a frayed inner cable can make the lever sluggish long before it fully fails.
Hydraulic brakes need clean fluid and correct reach
On hydraulics, lever reach adjustment is for hand fit, not for fixing a spongy system. If the lever pulls back too far or feels soft, that's usually air or fluid in the system, not a simple tuning issue. The practical check is easy, if the feel changes day to day or the bite point wanders, the system needs service.
Adjust the reach so the lever sits where your finger can pull comfortably without overextending. If your model has a bite-point adjuster, use it to suit hand size and pad wear, but don't try to mask contamination or air with more lever travel. A solid hydraulic brake feels firm early and stays predictable all the way through the stop.
The control side matters too. Brake research describes closed-loop deceleration control as measuring actual deceleration, comparing it to a target, and correcting the brake force in real time, which is a good way to think about proper feel on the road. The lever should help you hold a target stop, not turn every squeeze into a guess.
Replace Pads and Rotors the Right Way
New pads and rotors don't automatically mean better braking. They only work well when the compound matches the riding, the rotor isn't already cooked, and the bedding process is done properly.

Pick the compound for the job
Resin pads suit quieter commuting and lighter use. Semi-metallic pads sit in the middle and are the safer everyday choice when the weather turns mixed. Sintered pads hold up better in wet, dirty, hard-used conditions, but they're noisier and usually less forgiving on cheap rotors.
Rotor upgrades are only beneficial when the current rotor is thin, warped, or consistently overheating. Larger discs can increase mechanical advantage, and brake torque can also be raised by a greater piston area, higher line pressure, and a higher friction coefficient between the pad and rotor, but none of that helps if the setup is still contaminated or badly aligned.
Fit it cleanly, then bed it in
Install the pads in the correct orientation, use the anti-rattle hardware that came with the caliper, and tighten rotor bolts evenly. “Tight enough” isn't a torque spec, but it does mean the fasteners are secure and the rotor sits flat without wobble. After that, bedding-in matters more than most riders think, because it transfers material properly and gives you the bite the parts were designed to deliver.
If you want a visual walkthrough for the right kind of home install, the embedded guide above is worth matching against your own setup. For riders choosing between hub-first swaps and full brake refreshes, the core question is whether the rotor is the limiter or the pad surface is.
When a rotor should leave the bike
A rotor that's visibly bent, significantly grooved, or worn past safe thickness belongs in the bin, not back on the wheel. If the brake keeps overheating, a larger or better-vented rotor can help, but only after the pads and alignment are sorted. There's no point bolting on expensive parts if the old ones never had a fair chance.
Bleed Hydraulic Brakes Without the Guesswork
A hydraulic brake that feels off usually needs a proper bleed, not more lever pumping. The job is to get air out, keep the fluid clean, and bring back the firm lever feel that lets you brake with control instead of waiting for the lever to come back to you.
Start by checking the bleed port style on the lever and the caliper. Some systems are easier from the lever end, some from the caliper end, and some need a careful top-up and purge sequence so trapped bubbles can work their way out. A clean bleed kit matters here, because grit in a hydraulic system turns into sticky pistons and weak lever return.
Read the lever before you open anything
A lever that pulls to the bar usually points to air in the system. A lever that bites, then fades, often means there are still bubbles in the line or the fluid has broken down under use. A lever that returns slowly can point to contamination or pistons that are not sliding back freely.
Work clean. Catch the old fluid, dispose of it properly, and do not mix fluid types unless the brake maker allows it. That matters more than people like to admit, because the wrong fluid can damage seals and create a second repair you did not need.
If the brake still feels wrong after a careful bleed, stop chasing the lever. Check the pistons, hose routing, and contamination next.
Keep the routine repeatable
Set the bike level, protect painted surfaces, and bleed slowly enough for bubbles to rise instead of getting chopped up and hidden. Once the system is full, burp it as needed, then test the lever with the wheel installed so you are feeling the whole brake system, not an empty line.
For daily commuting, a brake that starts to feel vague again is a sign to inspect sooner rather than later, even if it still works. If you are also doing a broader maintenance pass, a solid bike tune-up guide can help you keep the rest of the bike from hiding a brake issue.
Tires and Load Often Beat Bigger Brakes
A rider can bolt on larger rotors and still miss the mark. Brakes create the force, but the tire decides how much of that force turns into grip on the road, and that is where stopping distance is won or lost.
Grip and load determine actual stopping distance
Brake studies still point to the same practical lesson. Better control of brake response shortens stopping distance, and better tire load distribution helps straight-line braking as well. In the shop, that means the contact patch and the way the bike settles under load can matter as much as the caliper on the fork. One motorcycle drum-brake study found cooling grooves cut stopping distance by 29.1% at 60 km/h and reduced brake temperature to 3.5 °C (source), which is a reminder that heat management keeps the brake consistent when the ride gets repeated and rough.
Tire pressure is the first thing I check when braking feels lazy. Too hard and the tire skips, too soft and the bike can feel vague, heat up, and lose control of the contact patch before you've even reached the limit. Clean the tread, check for cuts and glaze, and do not ignore a worn front tire just because the brake hardware looks fresh.
Load shifts the whole balance
A rack bag, child seat, or passenger moves the braking load around. That extra weight usually pushes more demand onto the front brake, while the rear gets easier to upset if you grab it too hard. The point is not more brake. It is matching the setup to the actual load you carry.
That trade-off shows up in commuter setups and in small urban machines too. A rider choosing between an e-bike and a moped still has to think about weight, tire size, and how that weight sits over the contact patch, which is why a setup comparison like Punk Ride LLC's moped versus e-bike guide belongs in the planning stage, before the parts list starts getting bigger.
Adaptive braking research also backs the idea that fixed setups leave performance on the table. One heavy-vehicle thesis reported braking-distance reductions of up to 20% on most road surfaces when the controller adapted to road friction (source), and another braking-efficiency study found fixed distribution is not ideal across changing loads (source). The takeaway is simple. A bike tuned for one rider, one surface, and one load does not stay optimal when conditions change.
If you are deciding whether to spend on rubber or brakes, start with the parts touching the road.

Spend where the limit really is
If the tire is old, underinflated, or wrong for the surface, fix that first. Bigger brakes help with heat and consistency, but they cannot make up for traction the tire does not already have.
Riding Technique That Multiplies Your Hardware
A brake system only stops as well as the rider using it. Good hardware can feel weak in the wrong hands, and average hardware can feel strong when the rider loads the tires cleanly, times the squeeze well, and keeps the bike settled.
On a wet downhill, the common mistake is a sudden hard grab. The front tire needs a moment to load before it can take real force, so a progressive squeeze gives the contact patch time to bite instead of shocking it loose. That is threshold braking in plain shop terms, holding the strongest stop the tire can support without crossing into a skid you then have to catch.
Use both brakes with intent
On a commuter bike, the front brake does most of the stopping, but the rear still matters for balance and control. Pull both smoothly, then let the front carry the heavier share while the rear stays calm enough to avoid lockup or a tail slide. If the rear starts getting light, ease off a little instead of trying to force extra braking from it.
ABS changes the feel, not the job. With ABS-equipped rides, steady pressure works better than pumping, because the system already handles skid control. The rider still has to stay firm and smooth so the controller gets a clean input instead of a choppy one.
A passenger on the back changes the whole stop. The bike pitches differently, the front loads harder, and the rear becomes easier to upset, so the rider needs to brake earlier and smoother, not later and harder. That same habit helps in traffic, where quick hand movements and panic grabs waste traction faster than a well-timed squeeze. If you need route ideas for practice rides, find Florida mountain bike routes and use them to work on braking on mixed surfaces and small descents.
Troubleshooting, Tools, and When to Call a Shop
Most brake complaints can be sorted by symptom if you stay honest about what the bike is telling you. Squeal often means contamination or glazed pads. Grab usually points to dirty rotors, uneven pad bedding, or a caliper that isn't centered. Rub is often a bent rotor or a misaligned wheel, while fade says heat or pad compound is becoming the limit.
A soft lever is the warning sign I take most seriously on hydraulics, because it usually means air, fluid loss, or a seal problem. A dragging caliper often comes from sticky pistons, bad hose routing, or a lever return issue. If you've already cleaned, centered, and bled the system, and the issue keeps coming back, stop guessing and let a mechanic dig deeper.
Tools worth owning
- 4 and 5 mm hex keys: for lever clamps, caliper bolts, and common rotor hardware.
- Rotor truing tool: for small bends that don't justify replacement.
- Torque wrench: for repeatable, safe fastener tightening.
- Bleed kit: for the brake model you own.
- Pad spreader and clean nitrile gloves: for clean service without contaminating friction surfaces.
If you want a broader maintenance reference, a solid bike tune-up guide pairs well with brake work because loose wheels, poor alignment, and worn drivetrains can all disguise braking problems.
Call a shop for hydraulic line replacement, stuck pistons, frame-integrated routing, or any brake fault that comes back after a proper bleed. That's not giving up, that's choosing the fix that holds.
If you want help choosing an e-bike or scooter setup that matches your commute, take a look at Punk Ride LLC. We focus on urban electric rides with braking systems and components built for real daily use, so you can compare options with stopping performance in mind before you buy.
Share:
Ladies Cycling Attire: The Complete Style and Comfort Guide
Electric Bike 400 Explained: What It Really Means for Riders