


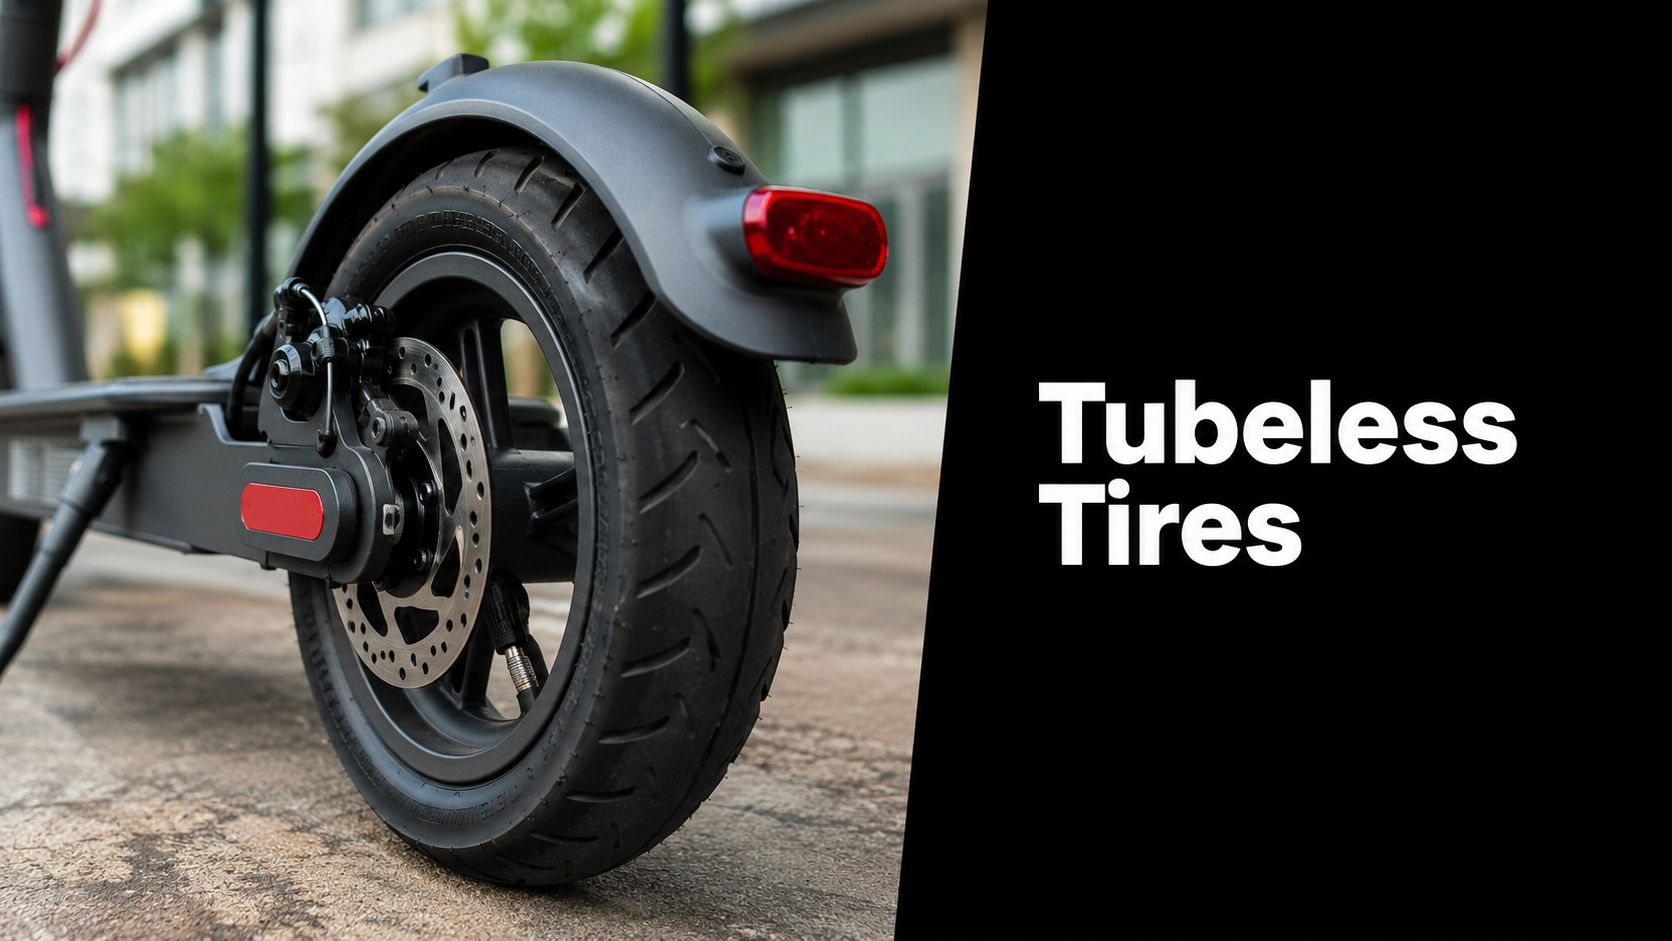
You've got the wheel off, the replacement tire in your hand, and the old tube on the floor, but the new tubeless tire still won't pop onto the rim. That's the moment a lot of scooter owners realize tubeless isn't “fit and forget.” It's a smarter system, yes, but small rims, stubborn beads, and sloppy pressure habits can turn a simple swap into a messy afternoon.
Tubeless scooter tires solve one of the most annoying failure points in urban riding, the sudden flat that leaves you pushing on the pavement. In passenger cars, the tubeless design moved from early experiments to mass adoption quickly once the engineering was right. B.F. Goodrich announced its tubeless tire development on May 11, 1947, won patents in 1952, and by 1955 tubeless tires had become standard on new cars, which is why the design is now so familiar across road vehicles. History.com's account of the tubeless tire breakthrough shows the technical shift clearly, the tire itself became the air container, not a fragile tube inside it.
For scooters, that matters because the daily commute is where punctures feel worst. A tire that seals at the bead, holds pressure directly in the carcass, and can sometimes slow a puncture with sealant gives you more margin when the road throws glass, grit, or sharp edges at you.
Why Tubeless Tires Are Changing the Commute
A rider pulls up to a light, hears the hiss, and already knows the day's gone sideways. With a tube, that noise usually means an immediate stop. With a tubeless setup, especially one with sealant, the same tiny wound can stay manageable long enough to get you home or to a repair spot.

Why the design changed everything
The big shift is simple, but it matters mechanically. A tubeless tire seals air against the rim bead instead of relying on an inner tube, so the tire carcass itself does the holding. That removes one of the most failure-prone parts of a scooter wheel, the tube pinch or valve issue that can dump air fast.
Motorcycles got there later than cars. A historical account notes Michelin developed the first tubeless motorcycle tires in the late 1970s, and racing adopted the technology in 1983 with Freddie Spencer. That same history of tubeless evolution on two wheels helps explain why scooter riders now benefit from a design that had to mature around wheel shape, rim sealing, and real-world stress before it became common.
Practical rule: if a tire system removes the tube from the failure chain, it usually removes one of the easiest ways a flat becomes instant.
Scooters inherited this logic from motorcycles, not from cars. That's why tubeless has become attractive on premium and mid-range electric rides, especially in cities where a short delay can wreck an entire morning.
What riders actually feel
The payoff isn't marketing. It's fewer roadside stops, less drama after a small puncture, and a ride that feels more confident when pressure is right. Commercial vehicle and passenger-car adoption moved quickly once the engineering settled, and the same practical logic applies on smaller wheels, even if the installation is fussier.
That's the trade riders notice first. Tubeless doesn't eliminate maintenance, but it changes the kind of maintenance you deal with. Instead of replacing tubes after every sharp hit, you're managing seal, pressure, and compatibility.
Tubeless vs Tubed Tires in Real-World Riding

A tubed tire usually fails at the tube. One sharp edge, one pinch against the rim, one valve problem, and the air's gone. Tubeless behaves differently because the air is held at the bead, and a self-healing tire can close very small punctures with little or no noticeable loss.
What happens when the puncture hits
The failure mode is the primary divider. In a tube setup, the inner tube carries the pressure, so any cut or pinch can collapse the whole system quickly. In a tubeless setup, the hole has to overcome the tire body and bead seal before it causes a complete deflation, which gives the rider more warning and often more control.
A scooter tire listing for the CST 90/65-6.5 tubeless tire shows 267 lbs at 50 psi with a 35F speed rating, while a Duro HF261 80/100-10 tubeless tire carries a 46J rating, equal to 375 lbs and 62 mph. Those published load and speed numbers matter because they show the tire is engineered to work as the air-holding structure itself, not as a cover over a tube. ScooterWorks' tubeless tire listing makes that point clearly.
What tubeless does not mean
Tubeless is not maintenance-free. It's more forgiving, not magical. Pressure still drops over time, sealant still ages, and a bad rim or a sloppy bead seat can still leak.
The common misconception is that tubeless equals no attention. In practice, it means different attention. You check air, you inspect the bead, and you keep an eye on how the tire rides after installation.
Tubeless buys you time, not immunity.
That's why it works so well for commuting. You're trading the easy, instant failure of a tube for a system that can often warn you, hold together longer, and give you a chance to fix the problem before your ride is over.
Mastering the Installation and Bead Seating Process
The first mistake DIY riders make is thinking installation ends when the tire is on the rim. It doesn't. The hard part is bead seating, the moment the tire lip locks evenly against the rim so the system can hold air. On small scooter rims, that's where patience matters more than strength.

The setup that saves the rim
Start with a clean rim and a clean bead. Dirt, corrosion, old sealant, and tiny burrs are the usual reason a tire won't seal. Soapy water helps because it lubricates the bead and lets the tire slide into place instead of grabbing halfway.
Use a high-volume pump or compressor if you have one. A weak hand pump often won't move enough air fast enough to push both beads outward at the same time. If the tire is stubborn, a tube, a belt-wrap trick, or another improvised restraint can help force the bead outward long enough for the air to catch.
The most useful external walkthrough I've seen for this kind of job is the practical installation advice in this tire-mounting guide, because it addresses the exact problem riders run into when a rim fights back instead of cooperating.
A process that actually works
- Lubricate the rim and bead. Soapy water is enough for most jobs.
- Mount the tire evenly. Don't trap the bead in one section while the opposite side is still loose.
- Inflate hard enough to seat the bead. You're listening for the pop, not nursing it upward slowly.
- Check the line all the way around. An uneven bead is a leak waiting to happen.
If you're dealing with a weird fitment or a rugged wheel shape, it can help to look at mounting logic used in other off-road tire categories, such as all terrain golf cart tires, because the same bead and rim-sealing issues show up across compact vehicles. The details differ, but the physics doesn't.
If the bead still won't seat, stop forcing it. Recheck the rim edge, the valve area, and whether the tire is compatible with the wheel family before you burn an hour fighting a bad fit.
The Hidden Costs of Sealant and Pressure Maintenance
Tubeless gets sold like a low-maintenance upgrade, and compared with tubes, it often is. But the ownership cost sits in the boring stuff, pressure checks and sealant upkeep. Skip those, and the advantage starts fading fast.
Pressure is the habit that keeps the tire honest
A scooter tyre reference lists tubeless cold pressures in the 22–36 psi range depending on model and load. For example, Hero Pleasure is listed at 22 psi front and 29 psi rear for solo riding, rising to 22 psi front and 36 psi rear with a pillion, while TVS NTORQ is listed at 24 psi front and 34 psi rear solo and 24 psi front and 36 psi rear with a pillion. TyreMarket's scooter pressure guide is useful because it shows pressure isn't one universal number, it depends on the vehicle and the load.
Underinflation is where tubeless riders get lazy and then get surprised. The tire can feel soft, the rim can take a hit, and the bead can start leaking. That's when the so-called easy system becomes noisy, vague, and unsafe.
Practical rule: if you don't know your cold pressure, you're guessing at ride quality.
A tire-pressure monitoring system can help, especially for riders who commute daily and don't want to rely on memory. The Alloy Hub Ltd.’s overview of TPMS is a good reference point if you want to understand why pressure visibility matters so much on small wheels.
Sealant has a life cycle
Sealant isn't a forever fix. It dries, clumps, and stops doing its job if you leave it untouched too long. That's why riders who use tubeless as a commuting solution still need to inspect the valve, refresh sealant when it's gone tired, and make sure the tire isn't relying on old goo to stay functional.
The hidden cost isn't just the product itself. It's the time spent checking, topping up, and cleaning up when old sealant leaves residue in the tire or valve. That's part of the trade for puncture resistance, and it's worth accepting if you commute through glassy streets or debris-heavy routes.
Troubleshooting Leaks and Cured Sealant Issues
A leaking tubeless tire needs diagnosis, not guesswork. If you just keep pumping air into it, you'll waste time and usually miss the underlying fault. The first step is always the same, find exactly where the air is leaving.
Start with the obvious leak points
Spray soapy water around the valve stem, the bead line, and any spot that looks scuffed or dirty. Bubbles tell you where the problem lives. A slow leak at the valve usually means the core, stem, or seal surface isn't doing its job, while bead bubbling often points to dirt, corrosion, or a badly seated tire.
Old sealant creates its own mess. It can harden, clog the valve, and stop new sealant from reaching the puncture site. That's one reason riders think the tire “failed,” when really the tire's maintenance history failed them.
The practical repair notes in this scooter tire repair guide are useful because they push the right sequence, locate the leak first, then decide whether the tire needs cleaning, plugging, or replacement.
Know when sealant is no longer enough
Not every puncture belongs to sealant. Bigger holes, sidewall damage, and repeated bead leaks need a different response. If the puncture is large enough that air escapes faster than sealant can move, stop assuming the liquid will save it. That's the kind of situation that calls for a proper plug or a professional patch.
A few field checks make the decision easier:
- Valve leak: tighten or replace the core, then recheck with soapy water.
- Bead leak: clean the rim and bead surface, then reseat the tire.
- Cured sealant blockage: clean the valve and refresh the sealant.
- Visible sidewall damage: replace the tire, don't gamble on it.
The point isn't to turn every rider into a shop tech. It's to stop the guessing that wastes evenings and leaves you with a half-repaired wheel that leaks again by morning.
Sizing Compatibility and Buying the Right Tire
The numbers on a tubeless scooter tire aren't decoration. They tell you what wheel family the tire belongs to, and buying the wrong one is an expensive mistake. A tire that's close isn't good enough if the bead shape, rim width, or load profile doesn't match.
Reading the size without overthinking it
A listing for an 11-inch scooter tire gives a 100/65-6.5 specification with an outer diameter of 261 mm, inner diameter of 162 mm, groove width of 77.5 mm, bead diameter of 184 mm, bead width of 9.6 mm, section width of 96 mm, and a 6 mm deep off-road tread. It also states that “11-inch” refers to the inflated outer diameter. That marketplace spec sheet is a good reminder that scooter sizing is more exact than the shorthand suggests.
Common Tubeless Scooter Tire Specifications
| Tire Size | Outer Diameter | Load Rating (lbs) | Speed Rating |
|---|---|---|---|
| 90/65-6.5 | Not specified in the verified data | 267 | 35F |
| 80/100-10 | Not specified in the verified data | 375 | 46J |
| 100/65-6.5 | 261 mm | Not specified in the verified data | Not specified in the verified data |
The load and speed rating matter as much as the size itself. If the tire can't handle the weight and pace of the scooter, fitment alone won't make it safe.
Punk Ride's replacement-tire category is where this becomes practical, because the parts listing and replacement guidance are only useful if you match the wheel family correctly. Their electric scooter tire replacement guide fits into that decision process nicely.
Tubeless-ready rims are the other half of the equation. Older spoked or split rims often need a tube, or at least a very specific conversion path, because the bead seal and rim design weren't built for an airtight setup. Match the rim first, then the tire, then the pressure.
Safety Considerations and Final Recommendations
A tubeless tire still has to earn its place on the scooter. If the sidewall is cracked, the tread is worn out, or the bead keeps leaking after cleaning and reseating, replacement beats hoping it holds together one more week. That's especially true if you're riding fast or carrying a load.
Incorrect pressure is a safety problem, not just a comfort issue. Low pressure can make the tire unstable and let the rim take the punishment, while a sloppy bead can leak unpredictably. If you want a low-effort visual reference for tire-sidewall messaging, even a simple decal like this Custom Sticker Shop truck decal makes the point that tire condition and road behavior are always connected.
Keep the toolkit basic and dependable, a pressure gauge, soapy water, tire levers, and a sealant you trust. For daily riders, that's enough to manage most problems before they turn into a stranded scooter.
Punk Ride LLC keeps electric ride owners supplied with scooter parts, replacement options, and practical buying guidance for real-world commuting. If you're sorting out a tubeless setup, checking compatibility, or looking for the right tire and accessory match, visit Punk Ride LLC and compare the options before your next ride.
Share:
Hydraulics Brakes Bike: How They Work and Why They Win
How to Improve Acceleration on Your E-Bike or Scooter
1 comment
Thanks, the article was helpful.