


You bought an e-bike, the motor feels great, and now the drivetrain has started making that dry, gritty clicking noise on the second week of real riding. That sound usually shows up after a few damp commutes, a dusty towpath run, or one lazy weekend where the chain got a quick spray and nothing else. Most riders wait too long at that point.
That's a mistake, especially on the UK and EU e-bike scene where wet roads, grit, road salt, and stop-start commuting punish chains fast. The same applies to chain-driven e-scooters and to riders in the US and Australia dealing with dust, heat, and long mixed-surface rides. If you want the short version, a proper bicycle chain cleaner and lube routine gives you quieter pedalling, smoother shifting, better efficiency, and fewer expensive surprises.
Why Your E-Bike's Chain Deserves Attention
A neglected chain doesn't just make noise. It steals efficiency every time the motor and your legs push power through dirty rollers and worn contact points. On an e-bike, that matters more because the drivetrain is carrying rider input plus motor torque, often in traffic, on climbs, and under repeated hard starts.
For outdoor cyclists, drivetrain care is time-sensitive. Industry benchmarks recommend cleaning and lubing every 160 to 320 kilometers (100 to 200 miles) to stop abrasive grit from turning lubricant into a grinding paste, according to ROUVY's chain maintenance guidance. If you ride in wet weather or gritty urban conditions, waiting for the chain to sound bad is already late.
What the noise is telling you
That dry rasp or crunchy clicking usually means one of three things:
- The lube has carried in contamination and is now holding grit where the chain articulates.
- The chain is dry inside the rollers even if it looks shiny outside.
- The whole drivetrain is dirty and the cassette, jockey wheels, and chainrings are sharing the mess.
The outside of the chain fools a lot of people. A chain can look oily and still be badly lubricated where it counts. What matters is the inside of each moving joint, not a glossy coating on the side plates.
Practical rule: If the chain feels black, sticky, and noisy, more lube alone won't fix it.
Why e-bikes wear drivetrains harder
A normal bike chain already lives a hard life. An e-bike chain works under higher load, with more total bike weight, and often with less forgiving riding patterns. Riders accelerate harder, stay in bigger gears longer, and ask the chain to do more work on every ride. That's why chain care has such a high payoff.
If you want a useful primer on what makes electric drivetrains different, this electric bike chain guide gives a good overview of the parts and wear points worth watching.
What a clean chain gives back
A sorted drivetrain usually rewards you in ways you notice immediately:
- Quieter riding on flat roads and under load
- Cleaner shifting when moving across the cassette
- Less grime transfer onto your hands, socks, and trouser leg
- Longer life from expensive drivetrain parts
For most riders, chain maintenance is the cheapest workshop habit with the biggest practical return. Ignore tyres for a week and you might feel it. Ignore the chain for weeks and the whole drivetrain starts paying for it.
Gathering Your Chain Cleaning Toolkit
A decent home setup doesn't need to look like a pro race truck. It does need the right tools. The difference between a quick wipe and a proper clean usually comes down to whether you can remove grime from inside the chain, not just from the visible surfaces.

The core kit that actually earns its place
Start with these:
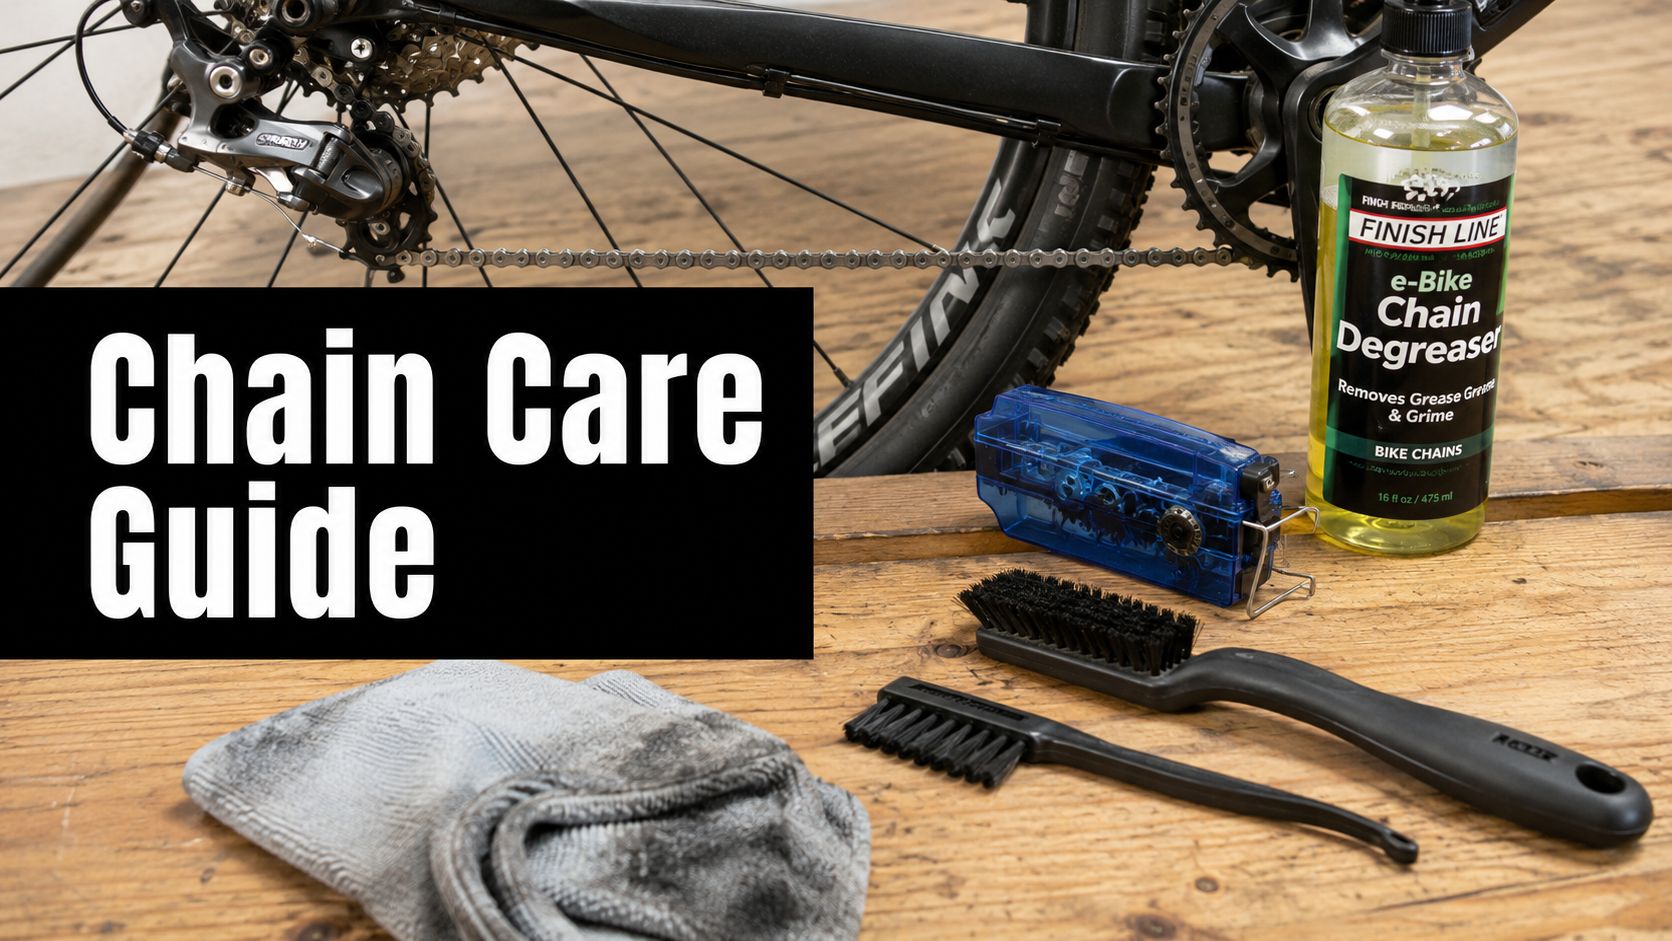
- Chain scrubber tool. A proper scrubber cleans far deeper than a rag alone and keeps the mess contained.
- Bike-specific degreaser. Use something meant for drivetrain grime, not a random household solvent that can be too harsh or leave residue.
- Warm soapy water. This isn't a substitute for degreaser. It's the follow-up that helps lift residue away.
- Drip-on chain lube. Drip bottles give control. That matters because precision beats flooding the chain.
- Stiff brush and detail brush. One for cassette teeth and chainrings, one for pulley wheels and tight corners.
- Clean rags. Have more than one. One rag gets filthy fast.
- Gloves. Optional, but your hands will thank you.
- A repair stand if you have one. Not essential, but it makes the job cleaner and faster.
What to skip
Some products create more problems than they solve.
- Spray-anything lubes can drift where you don't want them, especially near brake rotors.
- Heavy household degreasers may be too aggressive for finishes, seals, or nearby components.
- One-rag-only cleaning is better than nothing, but it leaves too much contamination inside the links for a proper reset.
A lot of new owners also try to clean the chain while ignoring the cassette and pulley wheels. That never lasts. If the chain runs through dirty teeth and clogged jockey wheels, it picks grime right back up.
The best chain setup is boring. It's clean, lightly lubricated, and almost invisible because nothing messy is happening.
Choosing tools for UK and EU riding
If your riding is mostly commuter miles in the UK, northern Europe, or damp coastal areas, build your kit around easy repeat use. You want products that let you do fast maintenance after wet rides without turning the garage floor into a chemical spill. For dry urban riding in southern Europe, the same toolkit works, but dust control becomes the bigger issue.
US and Australian riders can use the same setup. The difference is usually environmental. Dust and heat push you toward more frequent wipe-downs, while rain and road filth push you toward more frequent cleaning and re-lubing.
The Deep Clean Your Drivetrain Needs
A deep clean isn't complicated, but it does punish sloppy habits. The key is simple. Remove the old grime completely, clear out residue, and don't apply fresh lube until the chain is dry.
Here's the process at a glance.

Breaking down the grime
Set the bike in a stand if possible. Shift into a gear that gives you easy chain access. Fill the chain scrubber with degreaser, run the chain through it, and keep pedalling backward until the fluid starts pulling real dirt out.
Expert methodology calls for a dual-solvent flush. Cycling the chain through a degreaser-filled scrubber and then repeating with warm soapy water can prevent up to 40% of drivetrain wear caused by trapped abrasive particles, according to Park Tool's chain scrubber method.
After the chain, thoroughly brush the cassette, chainrings, and derailleur pulley wheels, as old lube frequently cakes up on them. If you leave that buildup behind, the fresh chain comes straight back through it.
For riders who like detailing methods that focus on careful cleaning around sensitive surfaces, the discipline is similar to Titan Coatings on engine bay cleaning. Different machine, same principle. Clean precisely, don't flood sensitive areas, and keep contamination away from components that don't need it.
Rinsing and drying for success
Warm soapy water comes next. This second pass matters because it lifts away leftover degreaser and suspended grime. If the chain still feels greasy on the outside after this stage, it usually needs another pass.
Drying is where a lot of home jobs fail. Don't rush straight from wet chain to fresh lube. Use clean rags, let the drivetrain air dry, or use compressed air carefully if you have it. The chain needs to be dry inside the links, not just dry enough to touch.
The parts riders forget
The dirtiest spots are often the easiest to miss:
- Pulley wheels collect thick black deposits that recontaminate the chain.
- Cassette gaps trap paste-like grime between cogs.
- Chainring teeth carry old lubricant forward with every pedal stroke.
If you're still getting familiar with the rest of the drivetrain layout, this guide to electric bike parts helps put names to the components you're cleaning.
A deep clean should leave the drivetrain looking almost dry and plain. If it still looks wet and shiny before new lube goes on, you probably haven't finished removing the old mess.
Applying Lube for a Silent Smooth Ride
Most chain lube problems come from using too much, using the wrong type for the conditions, or putting it in the wrong place. A bicycle chain cleaner and lube routine only works when cleaning and lubrication are treated as separate jobs.
Choosing the right lube
Here's the practical trade-off.
| Lube Type | Best For | Pros | Cons |
|---|---|---|---|
| Wet | Rain, winter roads, damp commuting | Stays put well, handles frequent moisture better | Can pick up more grime if overapplied |
| Dry | Fair-weather riding, cleaner pavement, dusty but dry days | Cleaner running when used correctly, less messy on the outside | Washes off sooner in rain and repeated wet riding |
| Wax | Riders who want a cleaner drivetrain and are willing to stay on top of prep | Very clean when the setup is right, less oily residue | More sensitive to prep quality, and high-torque e-bikes can be less forgiving |
Wax deserves a note for electric bikes. There's clear interest in it, but the fit isn't always straightforward on high-torque setups. Some riders like the cleanliness. Others find it less tolerant of load, weather, and less-than-perfect prep. If you ride a heavy commuter e-bike in the UK through wet roads and winter grit, wet lube is often the safer choice.
The application method that works
The technique is precise. Apply exactly one drop of lubricant per roller, let it sit for 5 to 10 minutes, then wipe off all external excess, as outlined in Sustainable Streets' chain care method. If you skip the wipe-down, the excess becomes a "dirt magnet" and wear accelerates.
That means:
- Pedal backward slowly.
- Put one drop on each roller, not a stream across the chain.
- Let the lube migrate into the moving parts.
- Wipe the outer plates thoroughly with a clean rag.
Apply lube for the inside of the chain. Wipe the outside until it looks almost too clean. That's usually right.
Where riders go wrong
The outside plates don't need to be soaked. The lubrication job happens inside the chain joints. A properly lubed chain often looks far less oily than people expect.
If you want a condition-by-condition breakdown for electric setups, this e-bike chain lube guide is a useful companion.
The test ride should sound quieter within minutes. If the chain still sounds rough after correct lubrication, the problem is usually leftover contamination, not lack of oil.
E-Bike and E-Scooter Specific Considerations
An electric drivetrain is less forgiving than a standard bike setup. More torque, more system weight, and more repeated starts mean the chain gets loaded hard, especially on commuter bikes and utility models.

For high-torque e-bike drivetrains, the recommendation is to re-lube every 150 to 200 miles. Neglecting that schedule raises the risk of chain stretch by 3x, according to Cycling Weekly's chain lube guidance. That's one reason e-bike owners burn through drivetrains faster when they follow maintenance advice written for light weekend bikes.
Why electric rides change the maintenance game
The chain on an e-bike often sees:
- Harder launches away from lights and junctions
- Longer time under load on climbs and headwinds
- Heavier total mass from the bike, rider, battery, and cargo
- More commuting miles in poor weather
On chain-driven e-scooters, the same idea applies. The chain is usually tucked into a smaller package, often closer to road spray and grime. That means regular inspection matters even more because dirt can accumulate unnoticed.
Cleaning around motors and electronics
This is where restraint matters. Don't blast the bike with high-pressure water. Don't soak electrical connectors, battery terminals, display units, or motor housings. Use controlled amounts of cleaner and keep your attention on the drivetrain itself.
A few workshop habits save trouble:
- Remove the battery if the bike design allows it before a bigger clean.
- Use a rag and brush near the motor area instead of spraying blindly.
- Keep lube away from brake rotors and pads. Drip-on lubes are easier to control.
- Inspect the lower run of chain more often on commuter bikes because road spray tends to load that section with contamination.
UK and EU context matters
This matters especially in the UK and EU, where many riders use e-bikes and e-scooters as real transport, not occasional leisure kit. Damp roads, winter salt, cycle lane grit, and frequent stop-start use create a harsher maintenance environment than the average fair-weather bike guide assumes.
For US and Australian riders, the problem often shifts from moisture to dust and heat, but the principle stays the same. Electric drivetrains reward consistency, not heroic rescue cleans done too late.
Common Mistakes and Pro-Level Tips
Most riders don't ruin their chain with one dramatic error. They ruin it with a stack of small habits that feel harmless. Lube on a dirty chain. Quick spray, no wipe. Wet ride, then bike in the shed for days. New chain fitted straight from the box with factory coating untouched.

What most riders get wrong
A few workshop mistakes show up constantly:
- Over-lubrication. More lube feels safer, but it usually means more grime stuck to the outside of the chain.
- Lubing before cleaning. That just mixes contamination into the rollers.
- Poor drying. Water left inside the chain dilutes lubrication and invites corrosion.
- Using a general-purpose spray instead of a proper chain product. Convenience wins for a day, then the drivetrain gets messy fast.
A silent chain is rarely a soaked chain. It's usually a clean chain with very controlled lubrication.
The factory grease issue almost nobody explains
Here's the pro-level step many beginner guides skip. A brand-new chain often arrives with a thick factory grease that's there for storage and shipping, not for long-term performance on a real commuter e-bike. It traps dirt, blocks proper penetration from your chosen lube, and starts the drivetrain off on the wrong foot.
Mechanical tests show that stripping factory grease and lubricating correctly from day one helps chains last 20 to 30% longer, according to this chain prep breakdown. On an e-bike, that matters even more because the drivetrain is under heavier stress from the start.
How to handle a new chain properly
If you're installing a new chain and you want the best result:
- Remove or strip the factory coating thoroughly.
- Dry the chain completely.
- Apply your chosen lube with the same one-drop-per-roller discipline.
- Wipe the outside clean before the first ride.
This step takes more effort, especially if chain removal is involved, but it separates a clean-running setup from a chain that turns black and gritty almost immediately.
My short list of habits worth keeping
These are the habits that move the needle:
- After wet rides clean and relube sooner, not later.
- Use separate rags for degreasing and final wipe-down.
- Check pulley wheels every time you inspect the chain.
- Treat noise as feedback. If it sounds rough, don't just drown it in lube.
A good maintenance routine doesn't need to be obsessive. It needs to be deliberate. Clean thoroughly, lube precisely, wipe aggressively, and don't let contamination sit.
If you're upgrading your ride, replacing worn drivetrain parts, or comparing e-bikes and e-scooters built for real-world commuting, Punk Ride LLC is worth a look. They focus on modern urban electric mobility, with stock positioned to serve riders across the US, UK, and Germany, which makes them especially relevant for commuters who want practical options rather than showroom hype.
Share:
How to Fix Electric Scooter: Your 2026 DIY Guide
Urban Mobility Innovation: Your 2026 City Guide