


You know the bike in the shed: it fits, it's comfortable, and you trust it. But the hill on the way to work still leaves your shirt damp before the day has begun. A pedal-assist bike kit might let you keep that familiar bicycle and add a helping hand, but choosing one isn't just a question of motor size. You also need to know how it senses your pedalling, whether it fits your bike, and where its assistance must stop under the rules where you ride.
The UK, EU, US, and Australia don't all apply the same limits. A kit that seems suitable on a product page may need a different controller setting, or may not be legal for public-road use in your area. The practical approach is to treat the conversion as a complete system: bicycle, motor, battery, controls, installation, and local compliance.
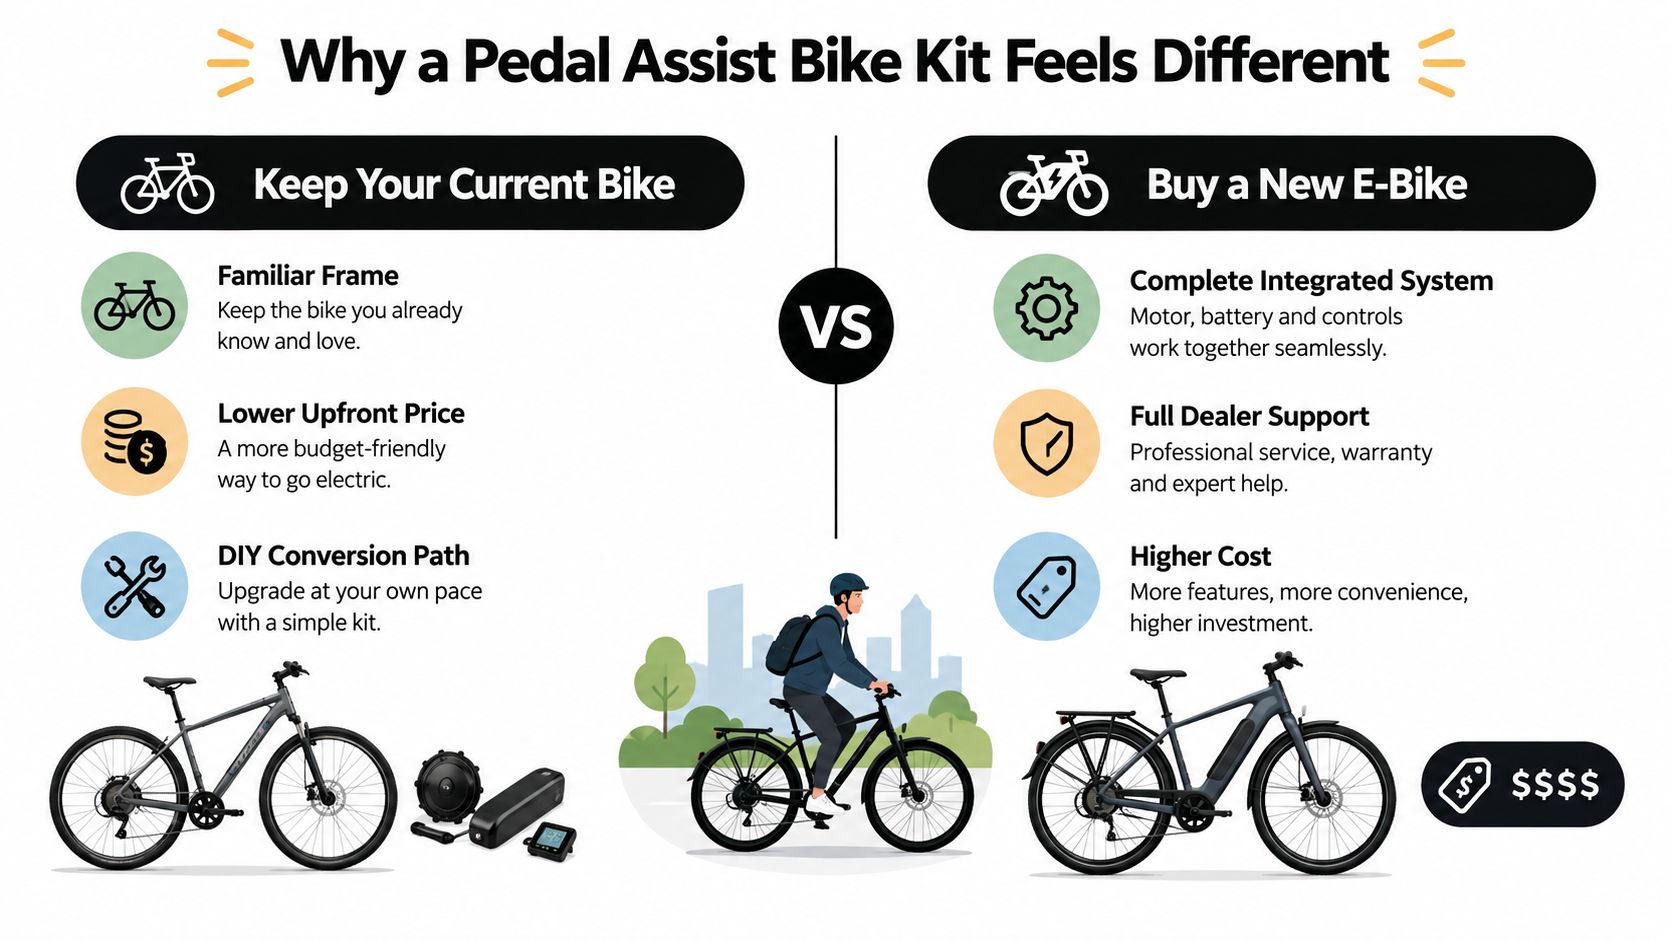
Why a Pedal Assist Bike Kit Feels Different
On a familiar route, the steepest part is often what turns a pleasant commute into a sweaty one. An electric assist can help you keep moving up the hill without asking you to give up a bicycle that already fits your body and routine. A survey of 553 e-bike riders conducted by Portland State University in 2013 found that about 40% of respondents who converted a conventional bicycle used a mountain-bike frame, showing that conversion was already a route for riders with different kinds of bikes, not only road commuters (Portland State University's North American e-bike survey).
There are two basic questions to answer before buying: how does the kit know you're pedalling, and when must it stop helping? The first depends on the sensor. A cadence sensor detects that the cranks are turning. Think of it as a yes-or-no signal: once you pedal, the system supplies the selected level of assistance. It can feel more on-or-off than natural, but it's straightforward for a casual rider or a commuter on mostly level roads.
A torque sensor measures how hard you're pushing on the pedals. That makes the assistance feel more like a responsive accelerator: pedal gently and the motor contributes less; push harder and it responds with more help. This often feels closer to a purpose-built e-bike, especially on climbs or when you want the motor to follow your effort. It can also make for a more costly kit, and the sensor and controller must be compatible.
Workshop rule: Choose cadence sensing if simple, affordable assistance suits your riding. Consider torque sensing if you care more about a natural response on hills than keeping the setup basic.
The other question is legal, not a matter of preference. A kit's control system determines when motor assistance cuts out, and requirements vary between the UK, EU, US, and Australia. The right choice starts with your route and your existing bike, then checks whether the completed bicycle can meet local rules.
The Core Components Inside a Conversion Kit
A conversion kit is a set of parts that have to work together. The motor provides the drive, the battery supplies energy, and the controller manages power between them. Sensors tell the controller when you're pedalling, while the display lets you select assistance and check system information. Wiring connects those parts, so fit and compatibility matter as much as the headline motor specification.
Hub motors sit in a wheel. Mid-drive motors sit near the pedals and drive through the bicycle's chain and gears. The first keeps the motor separate from the chain; the second uses the bike's gearing, which can be useful when the route includes climbs. For a closer look at the trade-offs, compare electric bike motor types.
Battery watt-hours (Wh) describe stored energy, while voltage must match the motor and controller requirements. Neither figure guarantees a particular range: terrain, rider input, speed, temperature, and drivetrain losses all affect how quickly the battery is used. One study reported approximately 70% efficiency for conventional pedelec drive systems, and noted the motor, gearing, cooling, power electronics, and battery as areas that affect efficiency (EN 15194 technical preview).
| Common Kit Components and What They Actually Do | What it does | What to watch for |
|---|---|---|
| Motor | Adds drive at the wheel or through the drivetrain | Check frame fit, intended terrain, and local limits |
| Battery | Stores electrical energy for the system | Match voltage and mounting arrangement |
| Controller | Regulates power and assistance behaviour | Verify sensor compatibility and cutoff settings |
| Display and sensors | Show system information and detect rider input | Confirm they work with the controller |
| Wiring | Connects the electrical components | Inspect routing, connectors, and protection |
Matching a Kit to Your Donor Bike
A motor can be well made and still be wrong for the bicycle you plan to convert. Before ordering, inspect the frame and the hardware that will carry the extra mass and drive force. A bike is only a suitable donor if its condition, fit, and brakes match the intended use.
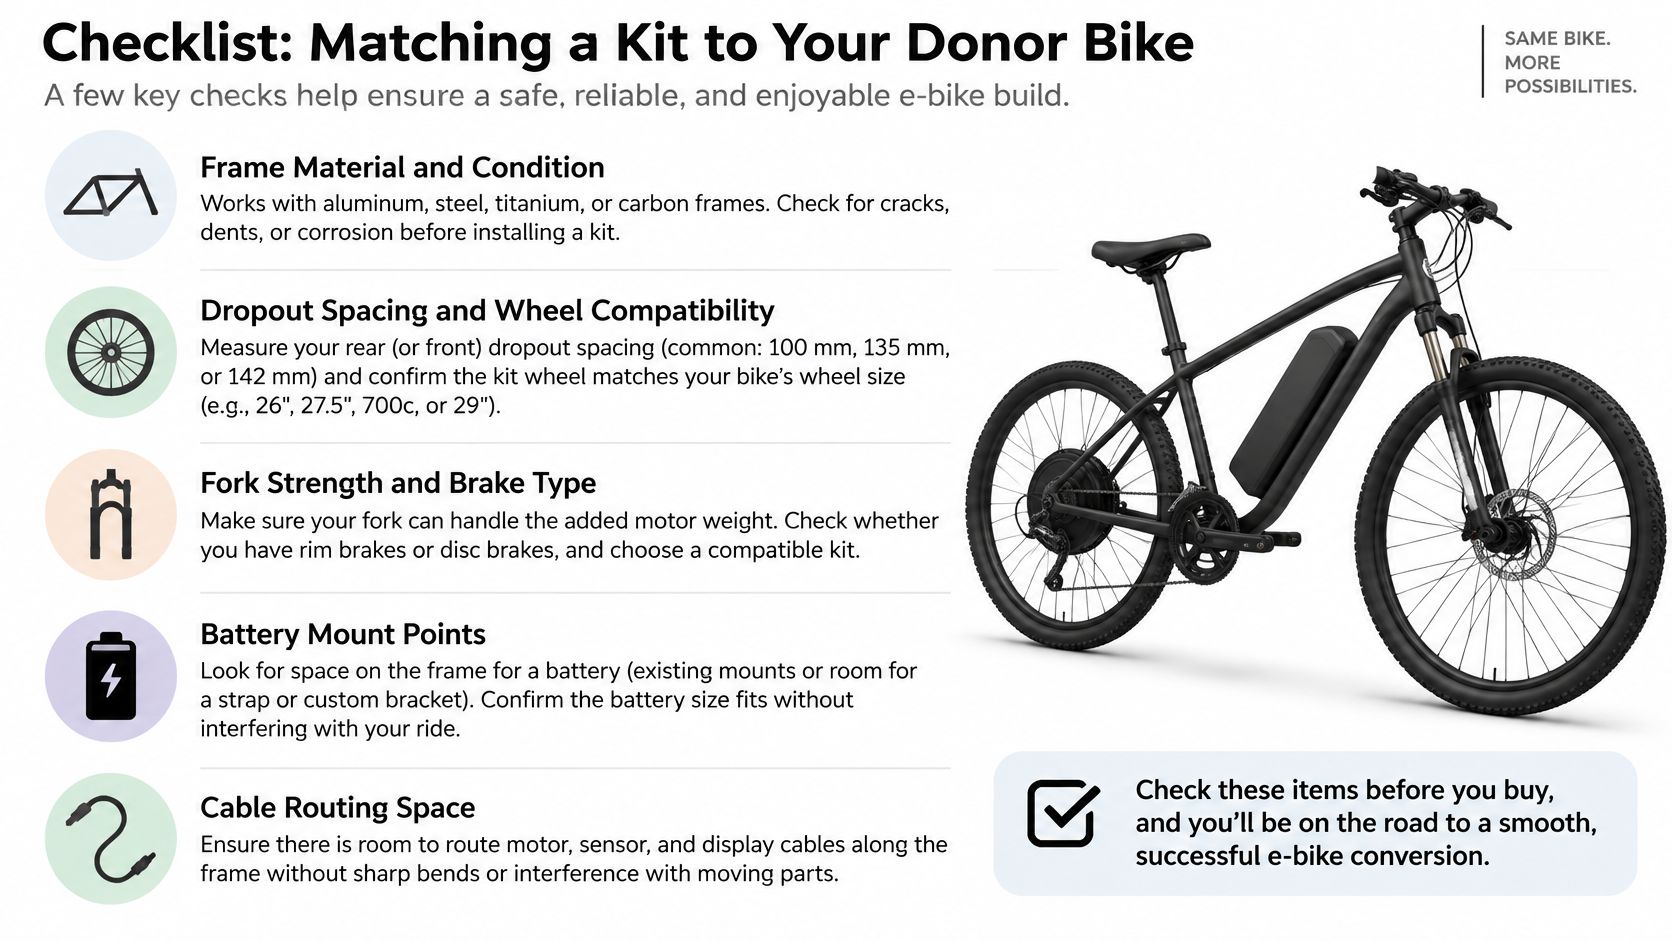
Start with the places where parts attach. Dropouts must suit the motor axle, and a fork or frame must be appropriate for the motor's position and drive forces. Check wheel size and brake-rotor clearance for a hub motor; for a mid-drive, confirm bottom-bracket fit. Then consider the battery: does the frame provide a secure mounting position, and can you route wiring without pinching or rubbing it?
| Donor-bike type | Possible motor position | Questions to ask before ordering |
|---|---|---|
| Rigid commuter bike | Hub or mid-drive, depending on fit | Will the wheel, brakes, and battery mount clear the frame? |
| Mountain bike | Hub or mid-drive, subject to frame condition | Can the dropouts, fork, brakes, and wiring suit the conversion? |
| Full-suspension bike | Depends on space and kit design | Is there a secure battery location that won't interfere with suspension? |
| Carbon-frame bike | Requires extra caution | Has a qualified installer confirmed the frame and mounting approach? |
Inspect brakes, cables, and the frame for damage before installation. A low-cost bicycle with worn brakes or unsuitable attachment points can become an expensive project once those issues need attention. If you're uncertain about the fork, dropouts, or battery mounting, get a retailer or mechanic to check compatibility rather than trying to force a fit.
The Legal Envelope in the UK, EU, US, and Australia
A commuter in Leeds bolts a 250 W kit onto a hybrid, keeps the factory controller settings, and rides to work on a compliant machine. A rider in Brisbane fits near-identical hardware and answers to a different regulator. Legality follows the finished bicycle, including how the controller delivers assistance, so a compliant motor can still create a problem if its settings keep pushing power past the local limit.
| Pedal-Assist Rules at a Glance | Max continuous power | Assistance cut-off | Throttle allowance | Key standard |
|---|---|---|---|---|
| Great Britain and EU-style EPAC | 250 W | 25 km/h | Rules depend on the specific jurisdiction and configuration | EN 15194 |
| United States federal low-speed category | Less than 750 W | Motor-only speed below 20 mph under the federal definition; class limits also apply | Class 2 permits a motor-controlled throttle within its class limit | Federal consumer-product definition and applicable state rules |
| Queensland, Australia | 250 W | 25 km/h | Starting assistance up to 6 km/h | EN 15194 |
In Great Britain, an EAPC needs working pedals, a motor rated at no more than 250 W continuous power, and assistance that stops at 15.5 mph (25 km/h) (UK electric bike rules). The EU-style EPAC envelope works the same way: the limit governs the motor's assistance rather than the bicycle's speed on a descent. EN 15194 defines how that assistance must taper and cut off (EN 15194 requirements), and the installation section explains why this behaviour matters during setup.
US rules take a different shape. The federal low-speed definition covers a motor below 750 W with a motor-only speed below 20 mph under specified test conditions (US federal electric-bicycle definition). The common class framework separates pedal-assist from throttle-equipped configurations, and state and local rules add another layer on top. Queensland follows the European-style envelope: 250 W, cut-off at 25 km/h, and throttle assistance restricted to starting at 6 km/h (Queensland e-bike requirements).
Enforcement is active. The UK regulator's 2025 programme reviewed 55 suppliers, including 9 conversion-service providers, around 16.4% of those reviewed (Vehicle Market Surveillance Unit programme results). Check both the supplier and the settings before you buy. For a jurisdiction-focused overview, see whether electric bikes are street legal. Riders seeking information after a road collision in Texas can also consult the Bryan Fagan Texas injury lawyers at the Law Office of Bryan Fagan, PLLC.
What Installation Actually Looks Like
A conversion works like two jobs stacked together: first a mechanical swap, then an electrical check. Read the kit instructions fully before touching a bolt, and compare every mounting point against your actual bike. You will need suitable bicycle tools for the hardware in your kit plus a safe, stable way to work on the bike. A workstand helps enormously. If a bracket doesn't sit flush or a torque value isn't printed, stop rather than improvise.
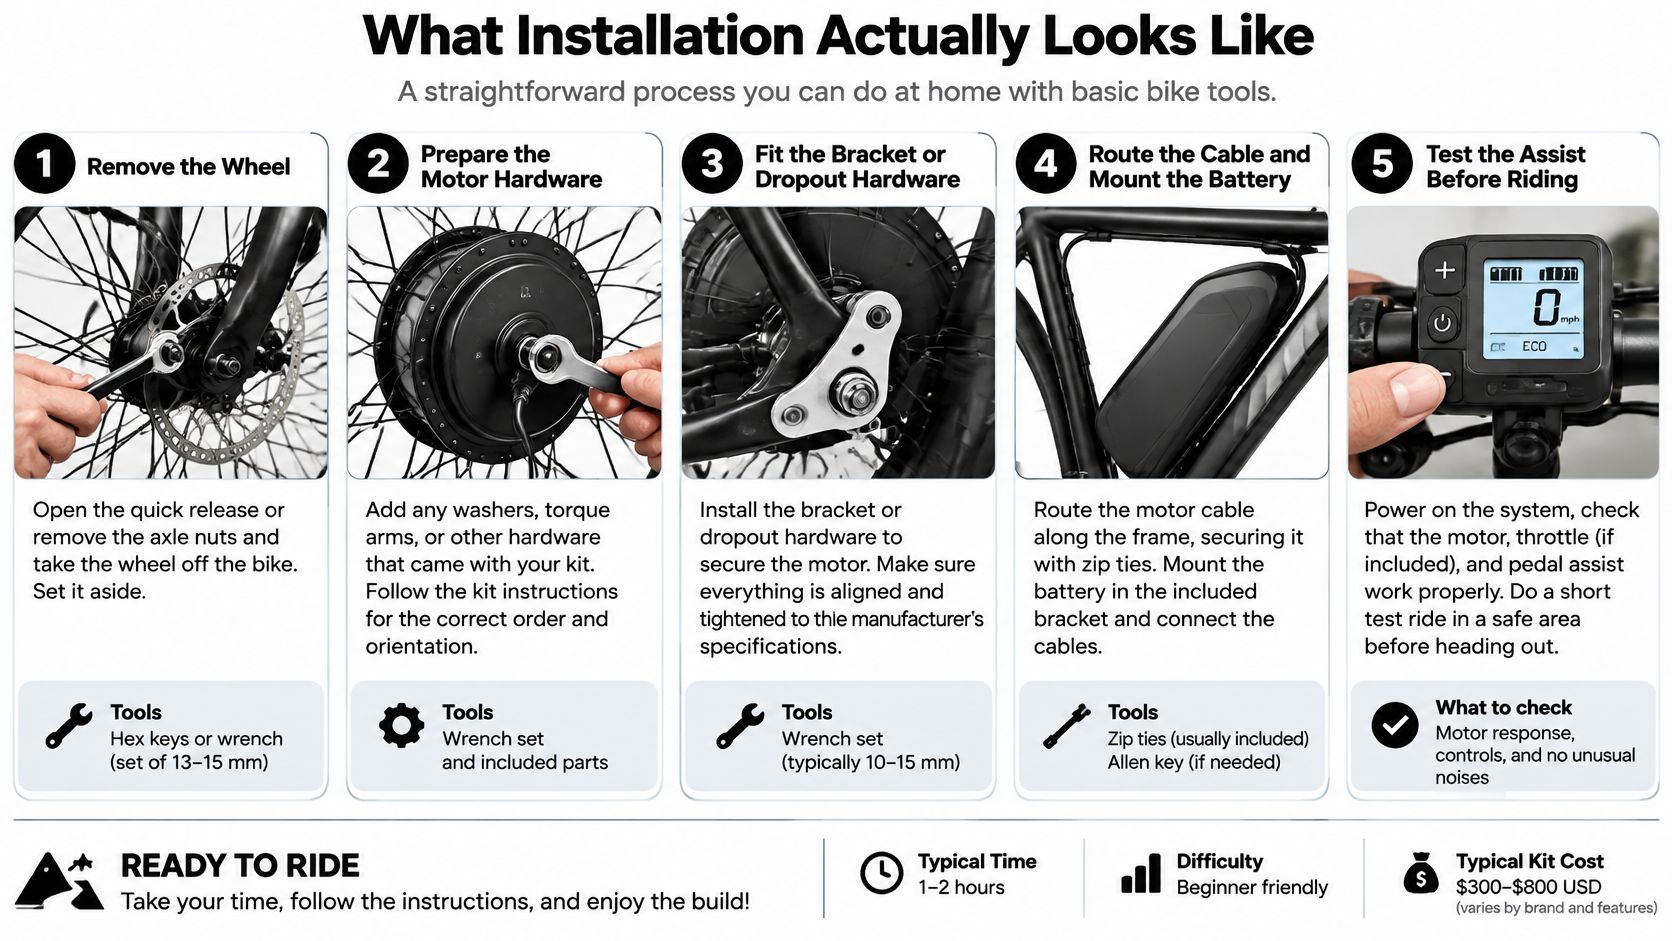
A typical sequence runs like this. Remove the relevant wheel or crank hardware, prepare and fit the motor, then secure its mounting hardware. Mount the battery and route the wiring along the frame. Install the display and sensors, connect the system as directed, and check that no cable interferes with steering, braking, or moving parts. Think of cable routing as plumbing: a hose that kinks or rubs will fail eventually, and a cable snagging on your brake lever fails immediately.
Before riding, set the correct wheel size in the display or controller. This setting drives the speed reading, and the speed reading drives the cut-off, so confirm during setup that the controller's wheel-size and cut-off parameters match the limits described in the legal section above. A bike configured for a 26-inch wheel but rolling on a 700c will misread speed and may assist past the legal ceiling without you noticing.
Check the battery mount with the same care. A battery that shifts under braking can damage its connectors or compromise control of the bike. Then test the system in a controlled setting, confirming that pedal assistance stops when pedalling stops and that the brakes work exactly as they did before the conversion.
Don't treat a powered wheel test as a substitute for checking the bicycle's mechanical fit and braking first.
This video gives another view of the conversion process:
Some builds cross the line where professional installation is the sensible choice: a carbon frame, hydraulic brakes that need system integration, or any mount you cannot verify. A careful first build is a substantial job, not just a matter of attaching a motor and heading out.
The Four Certifications That Actually Matter for Safety
A motor label doesn't tell you whether the whole conversion is safe. Treat safety as four separate checks: battery, charger, complete electrical system, and installer. A certification or test claim for one part doesn't automatically establish that the others are suitable.
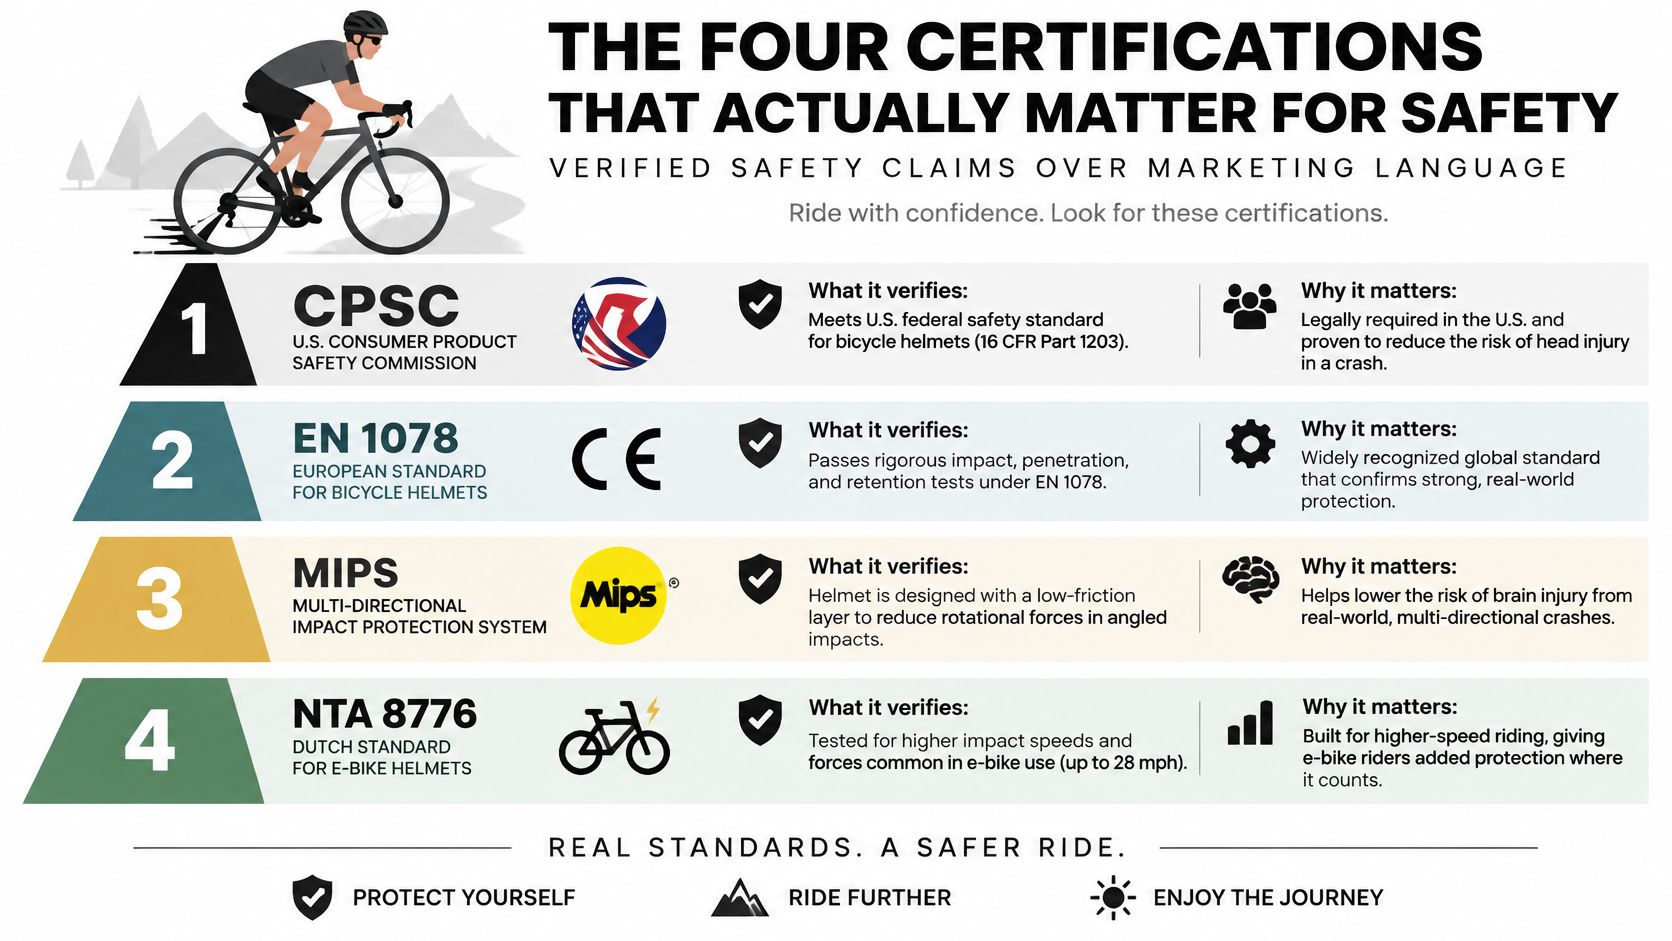
Ask the seller for documentation that identifies the battery and charger, explains which system configuration the paperwork covers, and confirms that the components are meant to work together. Check that the charger matches the battery. Look for secure connectors, intact wiring insulation, a sound battery enclosure, and mounting hardware suited to the bicycle. A charger label alone doesn't establish that a mismatched battery or poorly routed harness is safe.
A 2026 US regulatory proposal would extend safety requirements to replacement and conversion-kit batteries, referencing UL 2849-20, UL 2271-23, and UL 2272-24 as applicable (Federal Register proposal). That proposal points to the challenge for buyers: conversion kits don't currently have one dedicated certification that answers every safety question.
The installer is the fourth layer. Before fitting a used bike, check the frame for damage, the brakes for reliable operation, and the mounting points for a secure fit. If you can't confirm that the battery is compatible, the wiring is protected, or the motor hardware is properly supported, don't rely on a product listing or a reassuring sticker. Ask a qualified installer to assess the build before it goes on the road.
Matching Performance to How You Actually Ride
Start with your route, not the biggest number on a spec sheet. A mostly flat commute may work well with a hub motor and cadence sensor if you want uncomplicated assistance. Regular climbs make motor architecture and sensor feel more important; a mid-drive can use the bicycle's gears, while a torque sensor responds to how hard you pedal.
A weekend rider on mixed terrain should pay attention to battery capacity, mounting security, and how the controller behaves when the route changes. Choose a battery that matches the motor and controller rather than treating watt-hours as a promise of fixed distance. Actual energy use changes with rider effort, terrain, speed, temperature, and losses in the drivetrain.
A useful range check: Ride a representative route, record the battery energy used, and repeat the check under similar conditions. Your own route gives a better comparison than an advertised range that may assume different terrain and riding habits.
Before buying, ask the retailer whether the motor position fits your frame, whether the battery and controller voltage match, and whether the assist behaviour can be configured for where you'll ride. Ask how the system verifies pedal input and wheel speed, and what documentation covers the battery, charger, and complete electrical system. If the seller can't explain how the finished bicycle stays within local rules, keep looking.
Living With a Conversion Kit Beyond the First Ride
The kit needs attention after installation, particularly its lithium-ion battery. Stop using and charging a pack that's swollen, damaged by an impact, unusually hot, giving off an unfamiliar odour, or losing charge unexpectedly. Don't open it, keep charging it, or mail a damaged battery. Move people away from immediate danger and contact local fire-safety guidance, the manufacturer, or your municipal hazardous-waste service for instructions on safe handling and disposal.
Never place an e-bike battery in household rubbish or ordinary curbside recycling. Battery fires can occur during collection and processing, and a damaged or overheated pack can present a serious hazard. Check your manufacturer's take-back arrangements and local disposal rules; for routine care, follow practical bike battery maintenance guidance.
Battery stewardship rules are also developing. Illinois's law took effect on January 1, 2026 and covers specified medium-format batteries, including e-bike batteries weighing roughly 4.4 to 25 pounds. New South Wales reforms are expected to establish funded e-bike and e-scooter battery collection from October 2026, according to the CPSC battery-safety notice.
The commuter who wanted an easier ride up the hill also takes responsibility for maintaining the conversion and dealing with its battery safely at the end of its life. A good kit choice includes that whole ownership journey, not only the first ride.
Punk Ride LLC offers electric rides and bike parts, including an electric bike conversion kit, so you can compare conversion options alongside other ways to travel by electric bike. Visit Punk Ride LLC to explore the available products and check compatibility before you choose.

Teilen:
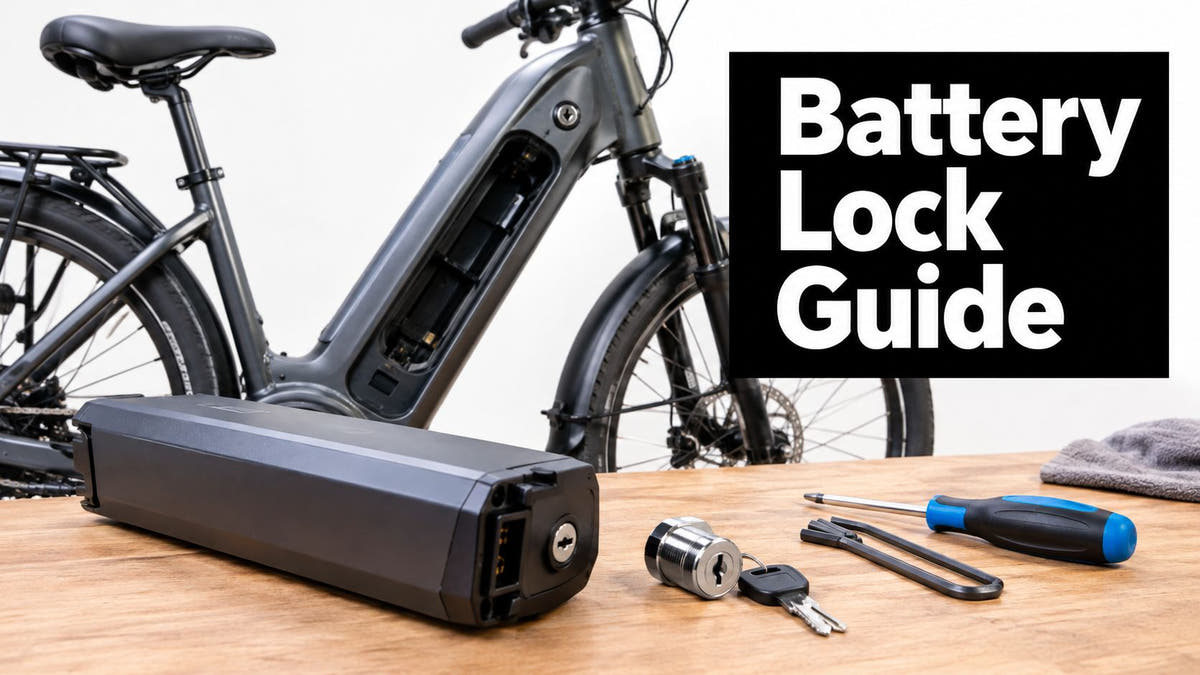
Anleitung zum Austausch des Akkuschlosses für E-Bikes