


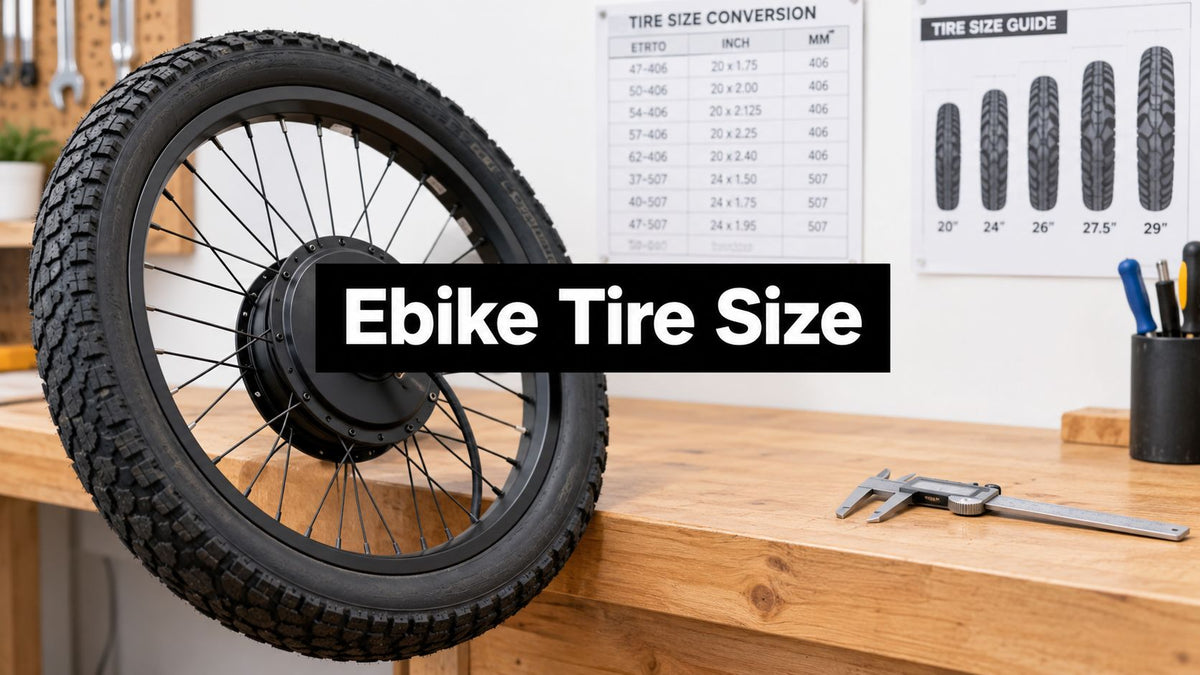
Before buying a replacement, check the ISO/ETRTO number on your current sidewall. A marking such as 37-622 means approximately 37 millimetres of nominal width on a rim with a 622 millimetre bead-seat diameter, and that number matters more than the familiar inch label.
You're standing in a bike shop, or scrolling through an online parts page, with “26-inch,” “27.5-inch,” and “29-inch” tires all looking close enough to fit. That's where expensive mistakes start. On an ebike, the wrong tire can rub the fork, foul a mudguard, lose its bead under pressure, or leave too little room for debris and wheel flex. Motor assistance, heavier frames, batteries, racks, and cargo make poor fitment less forgiving than it is on a lightweight bicycle.
Reading Your Current Tire Markings
A sidewall can look like a mess of brand names, tread labels, pressure markings, and size codes. Ignore the marketing first. Find the complete sizing line, usually printed as something like 50-559, 47-622, or 20 × 4.0 / 100-406.
The first number in an ISO/ETRTO marking is the nominal section width in millimetres. The second is the bead-seat diameter, or BSD, of the rim. A 50-559 tire is roughly equivalent to a 26 × 2.0 tire, but 559 is the measurement that decides whether the bead can seat on the rim. The U.S. Consumer Product Safety Commission also explains that usable tire size depends primarily on rim diameter and width, plus frame and fork clearance, rather than on the diameter label alone (CPSC bicycle standards summary).
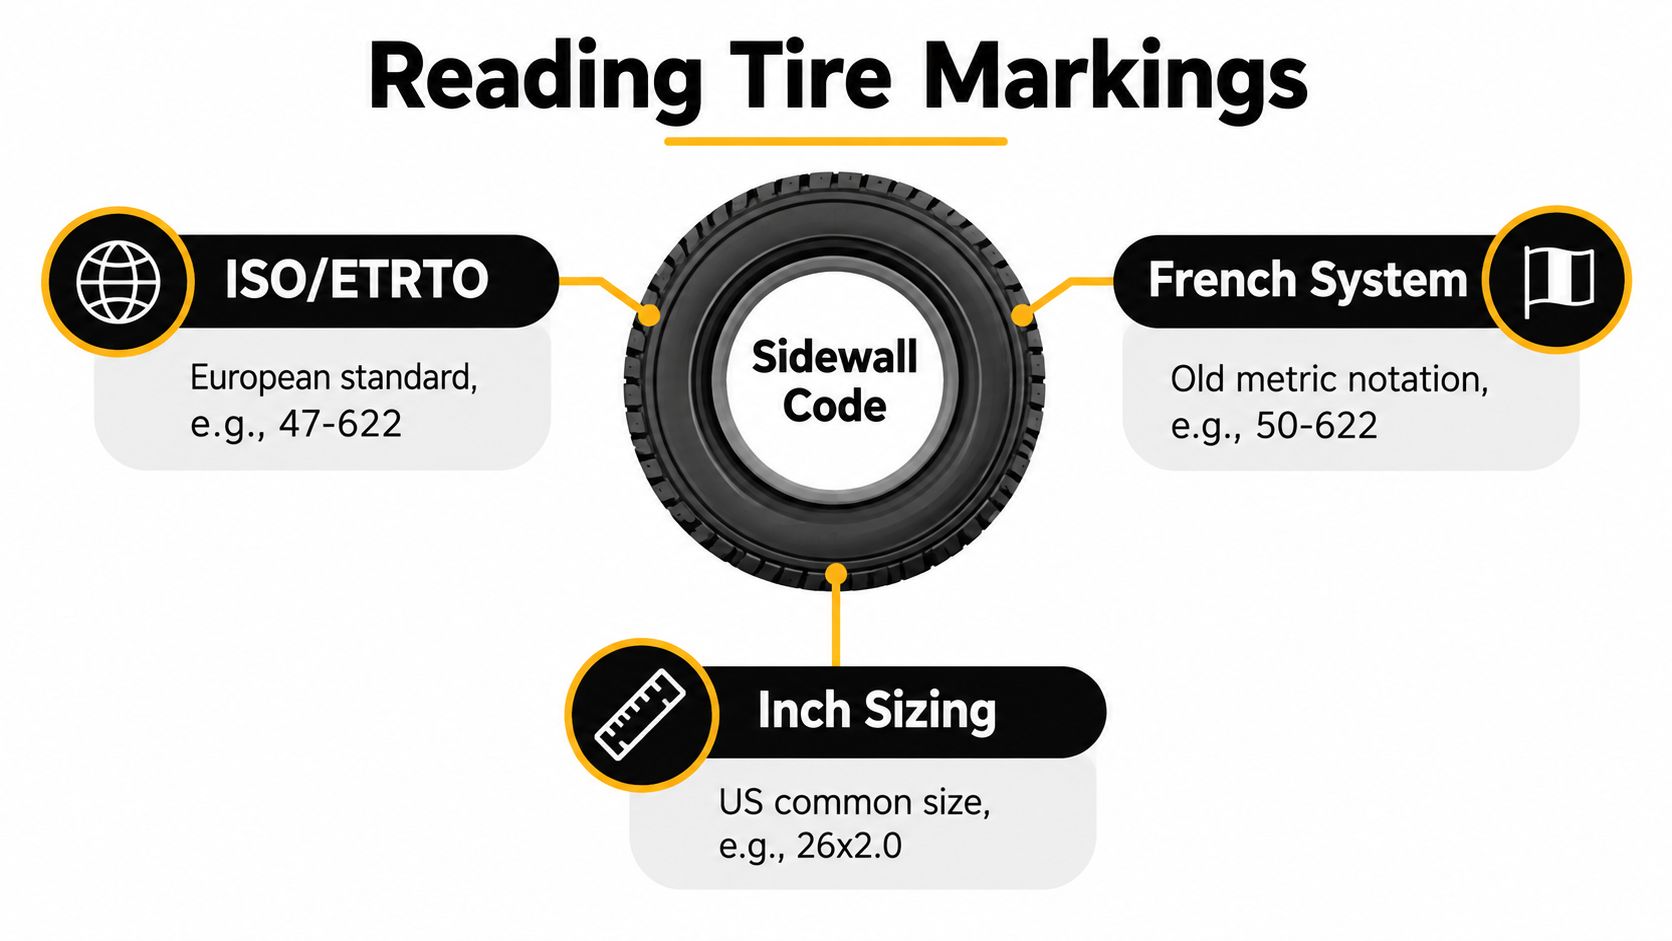
Read the code in this order
- Locate the full marking. Photograph both sidewalls if the print is worn. The front and rear tires may use different widths.
- Record the BSD. This is the second ISO number, such as 559, 584, 622, 406, or another value.
- Record the width. Note the first number and the inch equivalent, if shown.
- Check the pressure and load markings. Keep these visible when comparing replacement tires.
The old inch system is convenient, but it isn't precise enough on its own. “20-inch” tires can use different bead-seat diameters, particularly on fat-tire ebikes. Match the complete sidewall code, not the largest-looking number in an online product title.
Understanding ISO and ETRTO Standards
The reason bicycle tire shopping feels inconsistent is historical. Before standardisation, European countries and other markets used national systems based largely on a theoretical outside diameter. Two tires carrying a similar inch or metric label could have different rim requirements, so a tire that sounded compatible could still fail to mount correctly.
The European Tyre and Rim Technical Organisation began revising the system in 1969, using two concrete dimensions, rim diameter and nominal tire section width, both expressed in millimetres (bicycle tire sizing history). During the early 1980s, the International Organization for Standardization adopted these principles through ISO 5775, with agreement from U.S. and Japanese interests. That created a much more dependable language for tires, tubes, rims, and puncture-protection products.
Why the second number comes first in your decision
A code such as 37-622 tells you more than “700C” or “29 inches” can. The 622 BSD identifies the rim bead seat, while the 37 millimetre figure describes the tire's nominal width. Both matter, but they solve different problems.
A tire and rim must share the same BSD. Width then has to suit the internal rim width, available clearance, pressure range, and intended load. ISO 5775-1 covers pneumatic bicycle tire designations and dimensions, while ISO 5775-2 addresses rim geometry. The practical result is simple: use the ISO/ETRTO marking as your primary search term, and treat the inch label as a helpful translation rather than proof of compatibility.
Wheel Diameter Size Chart and Conversions
The three principal wheel diameters found on modern ebikes are 26 inches, 27.5 inches, and 29 inches, but those labels describe approximate marketing categories rather than one universal outside diameter. The actual bead-seat diameter belongs to the rim, and the inflated tire's outside diameter changes with width and casing height.
| Marketing Size | ISO Bead-Seat Diameter | Common Alias |
|---|---|---|
| 26 inch | 559 millimetres | ISO 559 |
| 27.5 inch | 584 millimetres | 650B |
| 29 inch | 622 millimetres | 700C when used in road-bike formats |
A 27.5-inch wheel is also called 650B, and its rim uses a 584 millimetre BSD. A 29-inch wheel uses 622 millimetres, the same bead-seat diameter used by the road-bike 700C format. That doesn't mean a road 700C tire and a mountain or ebike 29-inch tire are interchangeable in every practical sense. Their widths, tread profiles, casing construction, frame clearance, and pressure requirements can be very different.
| What you see | What it tells you | What it doesn't prove |
|---|---|---|
| 26 inch | Approximate wheel category | That every 26-inch tire fits |
| 27.5 inch or 650B | Approximate 584 rim category | That width and clearance are suitable |
| 29 inch or 700C | Approximate 622 rim category | That the tire will clear the frame or fork |
| 50-622 | 50 millimetre nominal width and 622 BSD | That the rim accepts that width |
The historical popularity of 26-inch wheels grew during mountain biking's expansion in the 1980s, partly because builders could use readily available 559 millimetre cruiser-bike wheels. The 584 millimetre 650B format regained major modern momentum around 2012, while 622 millimetre wheels moved from road bikes into mountain and electric bikes because their larger diameter can roll over obstacles more easily. Geometry, rider size, motor torque, and clearance still decide whether that advantage applies to your bike.
Choosing the Right Tire Width
Once the BSD matches, width becomes the next fitment decision. Width affects air volume, comfort, traction, steering response, rolling resistance, wheel weight, and whether the rubber clears the chainstays, fork blades, brake hardware, and mudguards.
A useful workshop rule from Park Tool's tire, wheel, and inner-tube standards guide is that ISO tire width is generally about 1.5 to 2 times the internal rim width. A rim with a 25 millimetre internal width commonly pairs with a tire around 37 to 50 millimetres wide, although the tire manufacturer's approved range takes priority. A technical explanation also notes that changing rim width can alter inflated tire width by approximately 0.4 millimetres for every 1 millimetre change in rim width (rim width and tire width explanation).
Width is a load decision, not only a comfort decision
Ebike tires carry the complete rider, bicycle, battery, luggage, and sometimes cargo. Choose a casing and load rating that suit that combined mass. A wider tire can add cushioning and loose-surface grip, but it may also add rotating weight, aerodynamic drag, and rolling resistance on smooth pavement.
For a fat-tire setup, check the complete marking rather than assuming all “20-inch” tires are alike. 20 × 4.0, 20 × 4.25, and narrower 20-inch formats can differ in BSD, casing clearance, rim requirements, and load capacity. The guide to fat-tire ebike fitment is useful background, but your own rim and frame measurements remain decisive.
Workshop rule: A wider tire is only an upgrade if the rim, frame, fork, pressure range, and load rating all approve the change.
Don't choose a wider tire because the product photograph looks tougher. Measure the rim's internal width, compare it with the manufacturer's range, and inspect clearance with the wheel installed. If the tire width changes, expect the handling and pressure setup to change too.
Checking Frame and Fork Clearance
The most common upgrade failure isn't a wrong catalog label. It's a tire that technically mounts but rubs when the wheel flexes, the rider loads the bike, or mud builds up beneath a guard.
Start with the wheel installed and properly tightened. Inflate the current tire within its marked range, then measure the smallest gap at the fork crown, fork legs, chainstays, seatstays, brake caliper, and mudguard. Check both sides. A wheel can sit slightly off-centre, especially after service, so measure clearance on the actual bike rather than on a loose wheel.
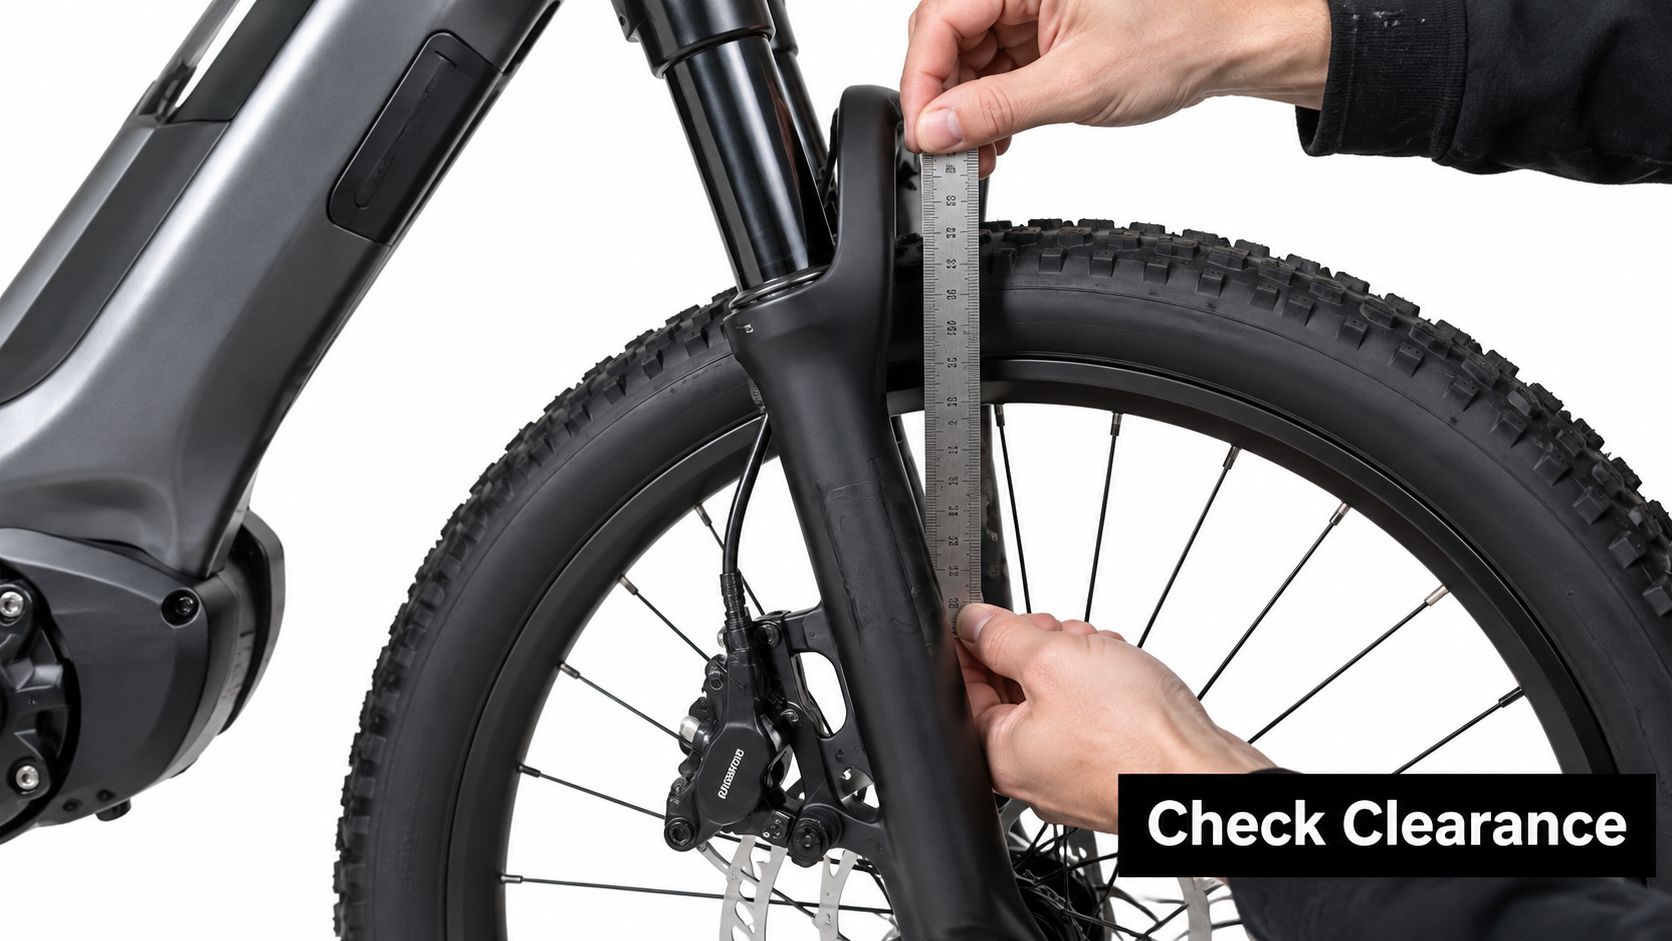
Use the complete wheel system
A wider tire needs room at the sides and above the tread. Leave enough space for wheel flex, compression, wet grit, and mud. A tire that clears the fork while the bike is stationary may still contact the crown or frame during hard cornering or braking.
Check the following before ordering:
- Fork crown and legs: Look for the tightest point above and beside the tire.
- Chainstays and seatstays: Inspect the drivetrain side carefully, especially near the chain and derailleur.
- Brake hardware: Confirm that the tire doesn't approach a caliper, rotor, pad, or cable.
- Mudguards: Measure with the guard fitted, not removed.
- Wheel alignment: Confirm the rim is centred and the axle or quick-release is correctly secured.
A wider tire also changes how the tread sits beneath the brake bridge or mudguard. If you're uncertain, have a mechanic measure the bike with the wheel loaded and the suspension compressed where applicable.
Use this short demonstration as a visual reminder of the measurement process:
Pressure, Vibration, and Rolling Resistance
Tire width and pressure work together, and neither “wide” nor “high pressure” automatically means faster. Experimental results report non-linear relationships between width, inflation pressure, and rolling resistance. The benefit of increasing width tends to level off beyond roughly 30 to 32 millimetres, while vibration damping can continue to improve (experimental tire-width and rolling-resistance results).
That matters because real roads aren't smooth laboratory surfaces. On broken asphalt, paving joints, gravel, and rough cycle paths, a tire that conforms to the surface can reduce vibration and impact losses. On smooth pavement, a heavier or heavily treaded tire can bring more drag and demand more motor energy. The reported rolling-resistance coefficient range of approximately 0.002 to 0.010 in the same experimental source shows why there isn't one universal “best” ebike tire size.
Tune pressure for the route you actually ride
Start at the tire maker's marked range, with the rider and normal cargo included in the setup. Then adjust in small steps while checking steering stability, rim strikes, sidewall support, and tread contact. A heavier rider or loaded cargo bike generally needs more support than a lightly loaded commuter, but the sidewall limit remains the boundary.
- Smooth asphalt: Use enough pressure to keep the tire stable and reduce squirm, without making the bike harsh.
- Broken pavement: A moderate reduction can improve comfort and control if the rim and casing support it.
- Gravel or rough trails: Lower pressure may improve grip and vibration control, but only within the tire and rim maker's limits.
- Rain: Prioritise stable contact, appropriate tread, and controlled steering rather than chasing the lowest pressure.
The practical details of using a pump, gauge, and sidewall range are covered in this guide to inflating bike tires. Check pressure regularly, because a visibly firm tire can still be far outside the useful setup for your weight and surface.
Tubeless Setups and Puncture Protection
Tubeless can be valuable on an ebike, but it isn't a magic upgrade. The rim must be tubeless-compatible, the tire must be approved for tubeless use, the rim tape must seal the spoke holes, and the valve must match the rim's drilling and tape system.
Before converting, inspect the rim for dents, damaged bead seats, and sharp edges. Use the correct tape width, install a compatible tubeless valve, seat the tire with suitable airflow, and add sealant according to the tire and sealant maker's instructions. Don't ride a setup that slowly loses pressure until the bead can no longer remain securely seated.
Choose protection around the actual risk
A quality e-bike tire may use a reinforced casing, puncture belt, tougher sidewalls, or a higher load rating. Those features can add weight, but motor torque and the complete bike load justify taking casing strength seriously. A commuter crossing broken glass may value puncture protection more than the last reduction in rolling drag, while a trail rider may prioritise sidewall security and traction.
Tubeless removes the conventional tube, but it doesn't remove every failure mode. A cut casing, damaged rim, loose bead, leaking tape, or dried sealant can still end a ride. Carry a pump and a repair method suited to the tire, and don't assume a tubeless conversion is safe just because the tire diameter matches.
For a broader roadside kit, compare practical items in Punk Ride's e-bike accessories guide. Whether you use tubes or tubeless, match the tire's BSD, width, load rating, and pressure range to the wheel.
Quick Reference by Riding Use Case
Start with the terrain, then confirm the rim and clearance. These are useful starting categories, not permission to override the tire marking already approved for your ebike.
| Riding use | Starting width | Tread direction | Main priority |
|---|---|---|---|
| City commuter | 38 to 45 millimetres, roughly 2.0 to 2.4 inches | Smooth or lightly patterned | Efficient pavement handling |
| Cargo hauling | 50 to 65 millimetres, roughly 2.8 to 3.0 inches | More pronounced tread | Load support and stability |
| Trail off-road | 60 millimetres or more, 3.0 inches or more | Aggressive knobs | Grip and impact control |
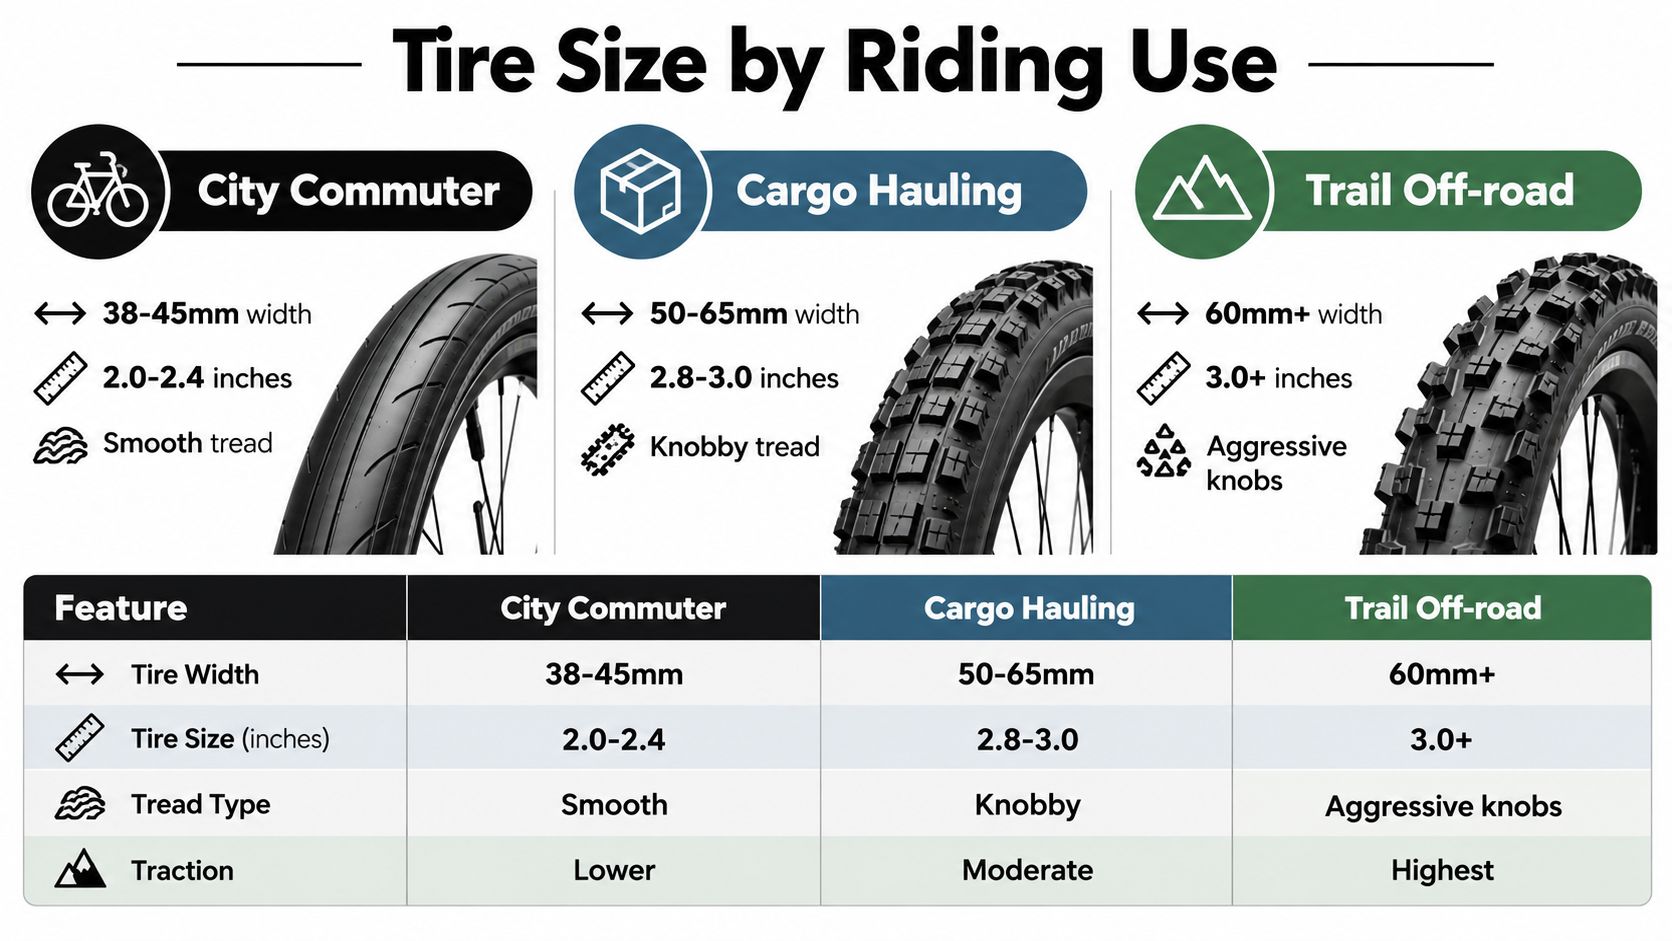
A city commuter on clean asphalt may prefer a narrower, smoother casing that steers quickly and avoids unnecessary drag. That same tire can feel harsh and less secure on rough gravel. A cargo rider needs to check the tire's load rating and sidewall support before choosing width, because extra air volume alone doesn't make an unsuitable casing safe.
Trail riders often benefit from greater volume and deeper tread, but the larger tire must clear the fork, frame, and any suspension movement. If your riding changes between pavement and trails, choose a compromise tread and tune pressure for the surface rather than buying the widest tire available.
Safety Regulations and Legal Compliance
Tire choice isn't only a comfort preference. It affects whether the wheel assembly remains secure, whether the tire stays seated, and whether the complete ebike continues to meet the relevant safety expectations in your market.
In the United States, 16 CFR Part 1512 requires the manufacturer's recommended inflation pressure to be molded into the sidewall in lettering at least 1/8 inch high. The tire must also remain seated on the rim at 110% of the recommended pressure while subjected to a 450-pound-force side load (CPSC bicycle safety FAQ). Those requirements don't prescribe one universal ebike diameter. They reinforce why the marked pressure, bead design, rim dimensions, and frame clearance must agree.
UK and EU fitment concerns
For the United Kingdom, Liverpool City Council identifies BS EN 15194:2017+A1:2023 as the current primary standard relevant to electrically power-assisted cycles. Its safety scope includes rims, tires, tubes, the wheel and tire assembly, frames, forks, brakes, lighting, reflectors, steering, luggage carriers, and road testing of the assembled ebike (Liverpool City Council trading standards guidance).
That makes a tire change part of the vehicle system. A wider casing can alter mudguard spacing, steering, braking clearance, and the relationship between tire, rim, and fork. UK and EU riders should use the manufacturer's approved dimensions and pressure range rather than treating a nominally matching tire as automatically acceptable.
Australian maintenance guidance
New South Wales guidance says bicycles sold in Australia must meet AS/NZS 1927:1998, while compliant e-bikes should meet EN 15194 and use a motor rated at no more than 250 watts of continuous power. It advises using a tire appropriate to the bicycle's size, inflating it to the pressure printed on the sidewall, and replacing it with a tire or tube matching the original (NSW bicycle safety guidance). The same guidance discusses approximately 3 centimetres of clearance for road or hybrid bicycles and 10 centimetres for BMX or mountain-bike designs, so local requirements and the bike's design both matter.
Troubleshooting Common Fitment Issues
A typical failure starts with a harmless-looking assumption. A rider sees “29-inch” on the old tire, orders another 29-inch tire, and discovers that the new casing is wider. The bead seats correctly, but the tread rubs the mudguard under load. Removing the guard may stop the noise, yet the tire can still approach the fork or frame during wheel flex, so the substitution isn't safe.
Another rider buys a “20-inch fat tire” without checking the full marking. The new tire looks right in the product photo, but its BSD doesn't match the rim. Forcing the bead into place can damage the tire, and inflating an incompatible assembly creates a serious seating risk. The reliable fix is to return to the original sidewall code and confirm the complete width-BSD marking.
Symptoms and practical responses
- Valve touches the rim or pump head: Check that the tube matches the tire diameter and width, and inspect whether the valve type and rim drilling are suitable. Don't twist a tube into place to compensate for the wrong size.
- Brake caliper won't close: Confirm the tire is fully seated and the wheel is correctly positioned. If the inflated tire is wider than the original, check caliper, rotor, and frame clearance before riding.
- Tire rubs only with cargo: Measure the loaded clearance and inspect wheel alignment. Reduce the proposed width or use the manufacturer's approved tire if the casing moves toward the frame.
- Bead rises unevenly: Deflate, lubricate the bead as appropriate, and reseat it. If the BSD is wrong, stop. No inflation trick makes incompatible diameters safe.
- Handling feels vague: Pressure may be too low, the casing may be too wide for the rim, or the tire may be overloaded. Compare the rim's internal width with the approved tire range.
For a useful explanation of how tire and wheel dimensions interact across different vehicles, see this wheel and tyre fitment comparison from The Alloy Hub Ltd. It can help clarify why a familiar diameter label isn't enough.
If the tire rubs, the bead won't seat evenly, the wheel isn't centred, or the brake hardware is close to the casing, don't take a test ride to “see if it settles.” Put the original tire back on or have a qualified mechanic inspect the setup.
Punk Ride LLC offers electric rides and publishes practical guidance on tire sizing, pressure, repairs, and fitment for commuters and outdoor riders. Visit Punk Ride LLC to compare suitable ebike options and use the sidewall code, rim dimensions, and clearance checks before ordering replacement parts.
Del:
Guide til centermotor-elcykler for pendlere i byen