


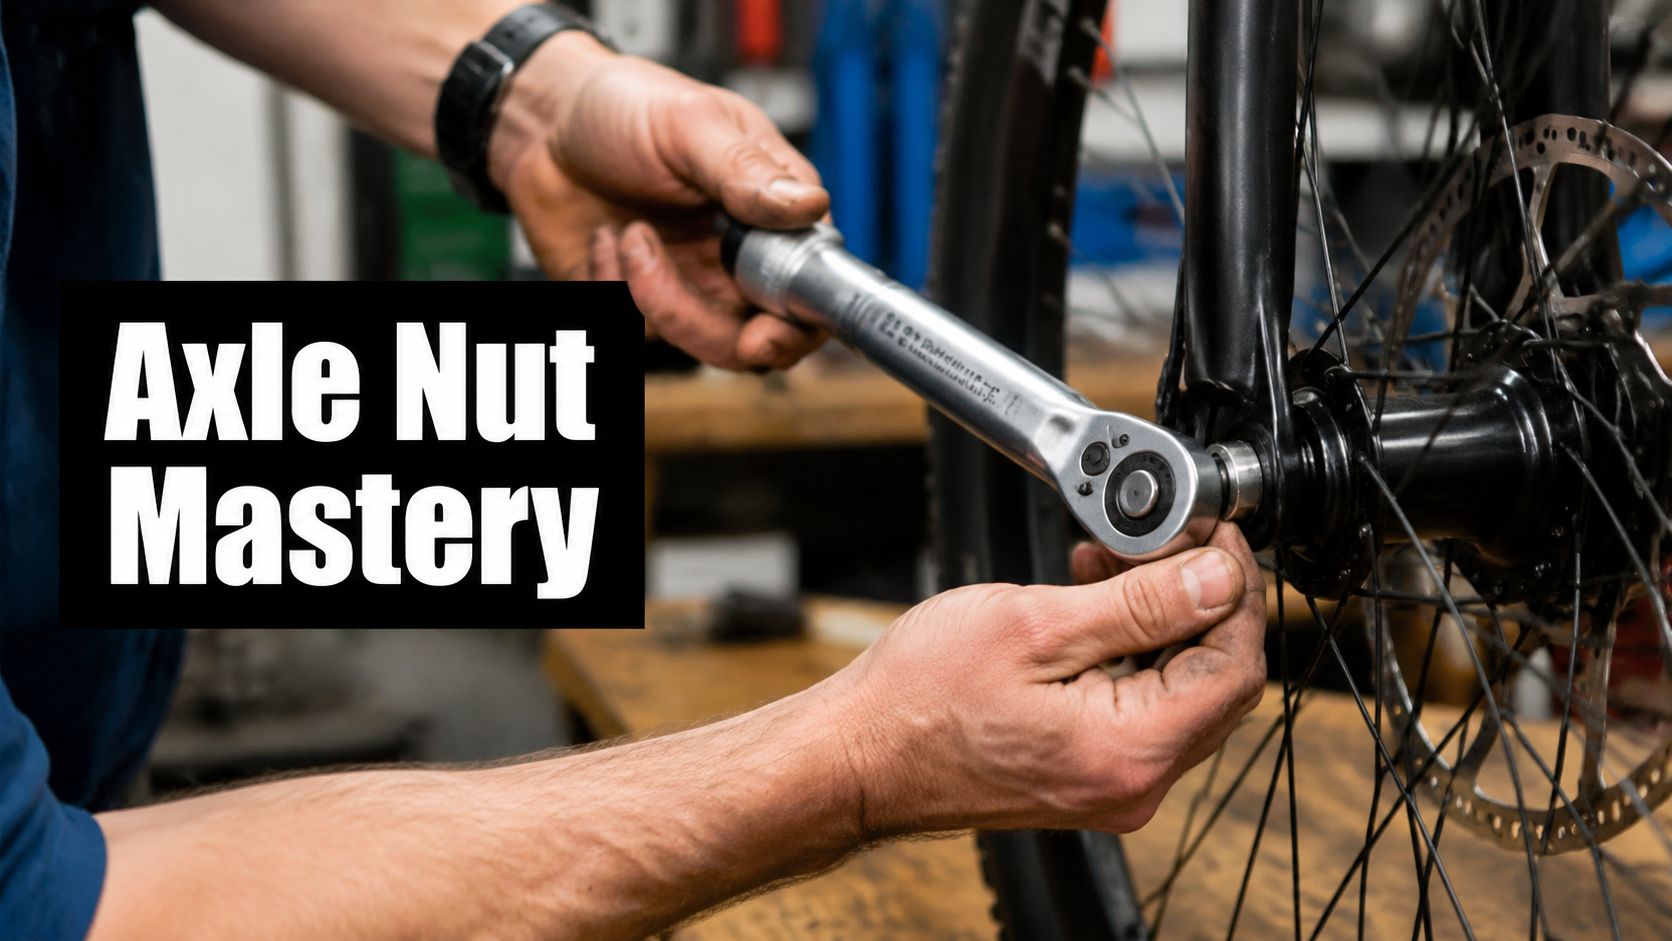
You're checking your wheel because something felt off on the last ride. Maybe the rear end gave a tiny wiggle when you pulled away from a traffic light, or the front wheel made a faint clunk after a pothole. In a lot of cases, the culprit isn't a dramatic broken part. It's a small piece of hardware that most riders never think about until it causes trouble: the bike axle nut.
On e-bikes and scooters, that little nut has a harder job than many people realize. It isn't just keeping a wheel attached in a gentle, old-school bicycle way. It's holding that wheel in place while the bike deals with motor torque, braking loads, road shock, and day-to-day weather. That matters whether you commute on UK and EU streets, or ride in markets like Australia and the US where electric ride setups and local rules can look different.
Why Bike Axle Nuts Matter
A loose axle nut rarely announces itself with a big warning. It starts small. You feel a twitch when climbing a curb. The wheel doesn't sit quite right after a tube change. Then one rough patch of road adds just enough movement for the axle to shift inside the dropout.
That's where the risk comes from. The wheel only stays aligned because the axle nut clamps the axle tightly against the frame or fork. If that clamp force drops, the wheel can move under load. On an e-bike, that load includes not just rider weight and bumps, but also the push and pull from the motor.
For riders in the UK, this matters even more because legal road-going e-bikes under EAPC rules are limited to a maximum continuous rated motor output of 250W and assistance must cut off at 15.5 mph (25 km/h), according to this UK electric bike and scooter law guide. Privately owned e-scooters are treated differently. In the UK, they're classed as motor vehicles under existing law, which makes public-road use illegal unless specific legal requirements are met, as explained by Weightmans on current UK e-scooter rules.
Practical rule: If a wheel has started to shift, don't keep riding and hope it settles down. Axle hardware problems usually get worse, not better.
A bike axle nut is easy to ignore because it's small. But if it loosens, your whole wheel attachment system is compromised.
Understanding What a Bike Axle Nut Does
At the most basic level, a bike axle nut squeezes the wheel axle into the frame or fork dropout. Its function is comparable to a bench vice. The vice doesn't hold a part by magic. It holds because clamping force resists movement. The axle nut does the same thing.
It clamps, aligns, and resists movement
When you tighten the nut, you create pressure between the axle and the dropout faces. That pressure helps stop the axle from sliding, twisting, or rocking. On a regular bicycle, those forces come from pedaling, braking, and road vibration.
On an e-bike or hub-motor scooter, the job gets tougher. The axle doesn't just support weight. It also has to resist reaction torque from the motor. That's one reason the global standard has shifted toward M10 and M12 axle nuts, with M12 becoming standard for modern e-bikes to handle hub motor reaction torque without deformation, according to this bike wheel nut sizing reference.
Why electric rides need more care
Older bikes, lightweight bikes, and children's bikes often use smaller axle hardware. That can work fine in lighter-duty use. Electric rides are different because the motor adds repeated twisting loads to the axle area.
Here's the easy way to picture it:
- Pedal bike load: Mostly rider input, braking force, bumps.
- E-bike load: Rider input plus motor torque, plus sharper acceleration.
- Hub motor load: All of the above, concentrated right where the axle meets the dropout.
That's why steel grade and thread fit matter more than many people expect. The verified guidance for hub motor axles calls for ISO Grade 8.8 or 10.9 steel nuts. In other words, this isn't the place for random hardware from a kitchen drawer.
If you want to compare hardware styles before buying, browsing a catalog of fasteners and fittings can help you see how much nut shape, grade, and thread form vary across applications.
The axle nut isn't just a cap on the end of the axle. It's part of the wheel retention system.
The three details riders often miss
-
Thread engagement matters
A nut can look like it fits and still be wrong. If the thread pitch doesn't match, it may start crooked, bind, or chew up the axle. -
The face of the nut matters
The flat surface that meets the dropout or washer needs to sit squarely. If it tilts, clamping force becomes uneven. -
Material matters
E-bike axle hardware takes repeated load cycles. A suitable steel nut handles that far better than soft or mismatched hardware.
That's why bike axle nut maintenance feels more like safety work than simple tidying.
Identifying Types and Sizing of Bike Axle Nuts
The confusing part about axle nuts is that two nuts can look nearly identical in your hand and still be completely wrong for your bike. The difference might be diameter, thread pitch, wrench size, or material grade.

Start with the axle diameter
The first check is simple. Measure the axle itself, not just the old nut. Common bike and electric ride hardware often falls into M8, M10, M12, and M14 families, but the common standards are not spread evenly across every type of bike.
For traditional 3/8-inch axles, the verified spec is very specific. Standard bicycle axle nuts for 3/8-inch (9.525 mm) axles commonly use a thread pitch of 24 or 26 TPI, with 26 TPI being the standard for multi-geared setups, and a 15 mm wrench needed for installation, according to this axle nut thread guide.
That single fact clears up a lot of workshop confusion. Riders often measure the wrench size and assume they've identified the thread. They haven't. A 15 mm wrench only tells you the size across the flats of the nut, not the thread standard.
Then check the thread pitch
A nut must match both the axle diameter and the thread pitch. Metric axles may differ by pitch. Imperial-style 3/8-inch axles may use 24 or 26 TPI. If those don't match, the nut may thread on partway and then jam.
A good home method looks like this:
- Use a caliper first: Measure the axle outside diameter.
- Use a thread gauge if you have one: It's the cleanest way to confirm pitch.
- Try the nut by hand only: If it doesn't spin on smoothly, stop.
- Never force the first turns with a wrench: That's how threads get destroyed.
If the nut needs a wrench to start, treat that as a warning sign, not a stubborn fit.
Common styles riders run into
You'll usually see two broad styles:
| Nut style | What it does |
|---|---|
| Plain hex nut | Standard shape, often used where a washer handles load spreading |
| Flanged hex nut | Built-in wider face helps spread load across the dropout |
For electric rides, the larger contact area of a flanged nut can be useful, especially where dropout protection matters. But style only comes after compatibility. The right thread always comes first.
A quick real-world sort
If you're holding a mystery nut from your parts tray, ask these questions in order:
- Is this for a front or rear wheel?
- Is the bike single-speed, geared, or hub-motor driven?
- Is the axle metric or 3/8-inch?
- Does the nut start by hand and seat squarely?
That process is slower than guessing, but much cheaper than replacing a damaged axle.
Choosing the Right Bike Axle Nut Replacement
Replacing a bike axle nut on an electric ride is mostly a matching exercise. You're trying to match the axle's diameter, the exact thread pitch, the seating style, and the hardware grade to the job the wheel has to do.

Standard bike versus electric ride hardware
A standard city bike axle nut and an e-bike hub motor axle nut may seem interchangeable. Often, they aren't. Electric rides tend to ask more from the axle area, especially under acceleration and repeated stop-start commuting.
Here's a simple comparison:
| Checkpoint | Standard bicycle setup | E-bike or scooter setup |
|---|---|---|
| Typical concern | Wheel retention under normal riding | Wheel retention plus motor torque |
| Common size direction | Smaller hardware is still common | Larger hardware is more common |
| Material demand | Basic strength may be enough | Higher-strength steel is usually the safer choice |
| Mistake that causes trouble | Wrong thread pitch | Wrong pitch or under-specced hardware |
If you're shopping parts and want a broader view of compatible electric components, this roundup of electric bike parts is a useful reference point.
What to match before you order
Use this checklist before buying a replacement:
- Diameter first: The verified sizing trend is clear. M10 and M12 dominate globally, with M12 becoming standard for modern e-bikes because it handles hub motor reaction torque better, based on this industry sizing overview.
- Pitch second: Even the correct diameter won't save you if the thread pitch is wrong.
- Steel grade next: For hub motor use, stick with the appropriate higher-grade steel hardware rather than generic decorative nuts.
- Nut face and washer arrangement: A flanged nut may suit one dropout better, while another setup relies on a separate washer.
Regional buying habits matter a little
In the UK and EU markets, many commuters are buying replacement axle hardware for urban e-bikes that prioritize reliability and daily wet-weather use. In Australia and the US, riders often run mixed-use setups with longer distances, heavier cargo, or faster road sections where wheel security becomes an everyday maintenance issue, not just a workshop issue.
That doesn't change the main rule. Don't buy by appearance alone. Buy by exact fit.
A replacement axle nut should thread on smoothly by hand, sit flat, and match the actual use case of the bike. If any one of those is off, keep looking.
Tools You Need and Torque Specs
During the tightening process, many axle jobs go wrong. People use the right nut, then tighten it by feel. That might work on a garden gate. It's not good enough for a wheel-retention part.
The tools worth having
You don't need a giant workshop. You do need the right basics:
- A calibrated torque wrench: This is the big one.
- The correct socket or spanner: Sloppy tools round corners.
- A thread gauge or known-good matching nut: Useful for confirming pitch.
- A clean rag and brush: Dirt in the threads hides problems.
- Good lighting: Thread damage is easy to miss in poor light.
If you're new to torque tools, this guide for precise car repairs explains the mindset behind using a torque wrench accurately. The hardware is different, but the principle is the same. Precision beats guesswork.
Verified torque ranges
The verified guidance for hub motor axle nuts is specific. M12 axles require 40–45 Nm, and M14 axles require 50–55 Nm, according to this axle nut torque reference.
Here's the table you want in the workshop:
| Axle Size | Torque (Nm) |
|---|---|
| M12 | 40–45 Nm |
| M14 | 50–55 Nm |
That same guidance also says stainless steel nuts are discouraged because they can gall to the axle. Galling is a nasty kind of thread seizure where the metals bind together. You tighten, then later discover the nut won't come off cleanly at all.
How to tighten without damaging anything
A simple routine works best:
- Thread the nut on by hand first.
- Make sure the wheel is fully seated and aligned.
- Tighten evenly using the correct tool.
- Finish with the torque wrench, not with your instincts.
- Recheck after the first short ride if you've done fresh work on the wheel.
For riders learning to do more of their own maintenance, this practical guide to electric bike repair is a helpful next read.
“Snug plus a quarter-turn” sounds handy, but it doesn't tell you whether you're at 40 Nm or nowhere near it.
On axle nuts, feel is not a measurement.
Installing Maintaining and Troubleshooting Bike Axle Nuts
Installation is straightforward when everything is clean and matched. Trouble starts when the axle has old thread damage, the nut has seized, or a hub motor has spent months building up heat cycles and corrosion inside the dropout area.

Installation that goes smoothly
Use this order:
-
Clean first
Wipe the axle threads and inspect the dropout faces. Dirt can hide thread burrs. -
Protect the dropout
If you're working on an aluminum frame, take care that tools and washers sit squarely. Soft dropout faces mark easily. -
Start the nut by hand
This is your thread test. A correct nut should start cleanly without persuasion. -
Seat the wheel fully
Before tightening, make sure the axle is properly positioned in the dropout. -
Torque it correctly
Use the verified torque range for the axle size, as covered earlier.
A lot of wheel alignment headaches begin before torque. If the tire or rim setup is also being worked on, this guide to installing tires on rims can help you avoid solving one problem while creating another.
What makes stuck e-bike axle nuts different
This is one place where electric rides really do depart from standard bicycle advice. The verified guidance notes that e-bike hub motors create unique thermal expansion and corrosion patterns, which makes standard removal methods inadequate and raises the risk of dropout damage, as discussed in this stuck axle nut troubleshooting reference.
That matters because the axle area on a hub-motor bike sees repeated heating and cooling. Over time, parts can seize in ways that a generic “hit it harder” approach makes worse.
Here's a good rule set for seized nuts:
- Use penetrating oil carefully: Keep it controlled so it doesn't spread where you don't want it.
- Support the frame properly: Don't let the dropout take twisting abuse.
- Use controlled taps, not wild blows: Sharp but measured force is different from brute force.
- Stop if the nut starts to deform: Once the flats round off, the job gets harder fast.
Before you try anything aggressive, this video gives a useful visual overview of axle hardware handling:
A maintenance habit that pays off
Riders often ask how often axle nuts should be checked on e-bikes. There isn't a verified universal interval in the source material, and that gap is part of the problem noted in broader bike forum discussion. So the sensible approach is qualitative and practical: inspect them regularly, especially after wheel removal, after rough-road commuting, and any time the bike starts feeling unsettled at the axle.
Watch for:
- Fresh movement marks around the dropout
- Damaged threads or shiny chewed areas
- Nuts that no longer turn smoothly
- Wheel alignment changes after a ride
Workshop habit: If an axle nut has been hard to remove, don't just reinstall it and forget it. Check the threads and seating surfaces before trusting it again.
Conclusion and Key Safety Considerations
The bike axle nut is small, but its job is huge. It keeps the wheel clamped in place, helps the axle resist load, and becomes even more important on electric rides where motor forces add stress that ordinary bike hardware advice often overlooks.
The safest routine is simple. Match the nut exactly to the axle. Start threads by hand. Use a calibrated torque wrench instead of guessing. Inspect the dropout and thread condition whenever you remove the wheel. If a nut feels seized or wrong, slow down and diagnose it before riding again.
That habit matters on every market's roads, whether you're commuting on UK and EU e-bikes or maintaining electric rides in Australia or the US. Reliable wheel retention isn't a luxury. It's one of the basics that keeps the whole bike safe.
If you're upgrading, replacing, or maintaining parts on an electric ride, Punk Ride LLC is worth exploring for curated e-bikes, scooters, and urban mobility gear from brands riders already know, with support for customers across the US, UK, and Germany.
Share:
How to Use Bike Lock on E-Bikes & Scooters in 2026
Long Term Mobility Scooter Hire Guide for Urban Commuters