


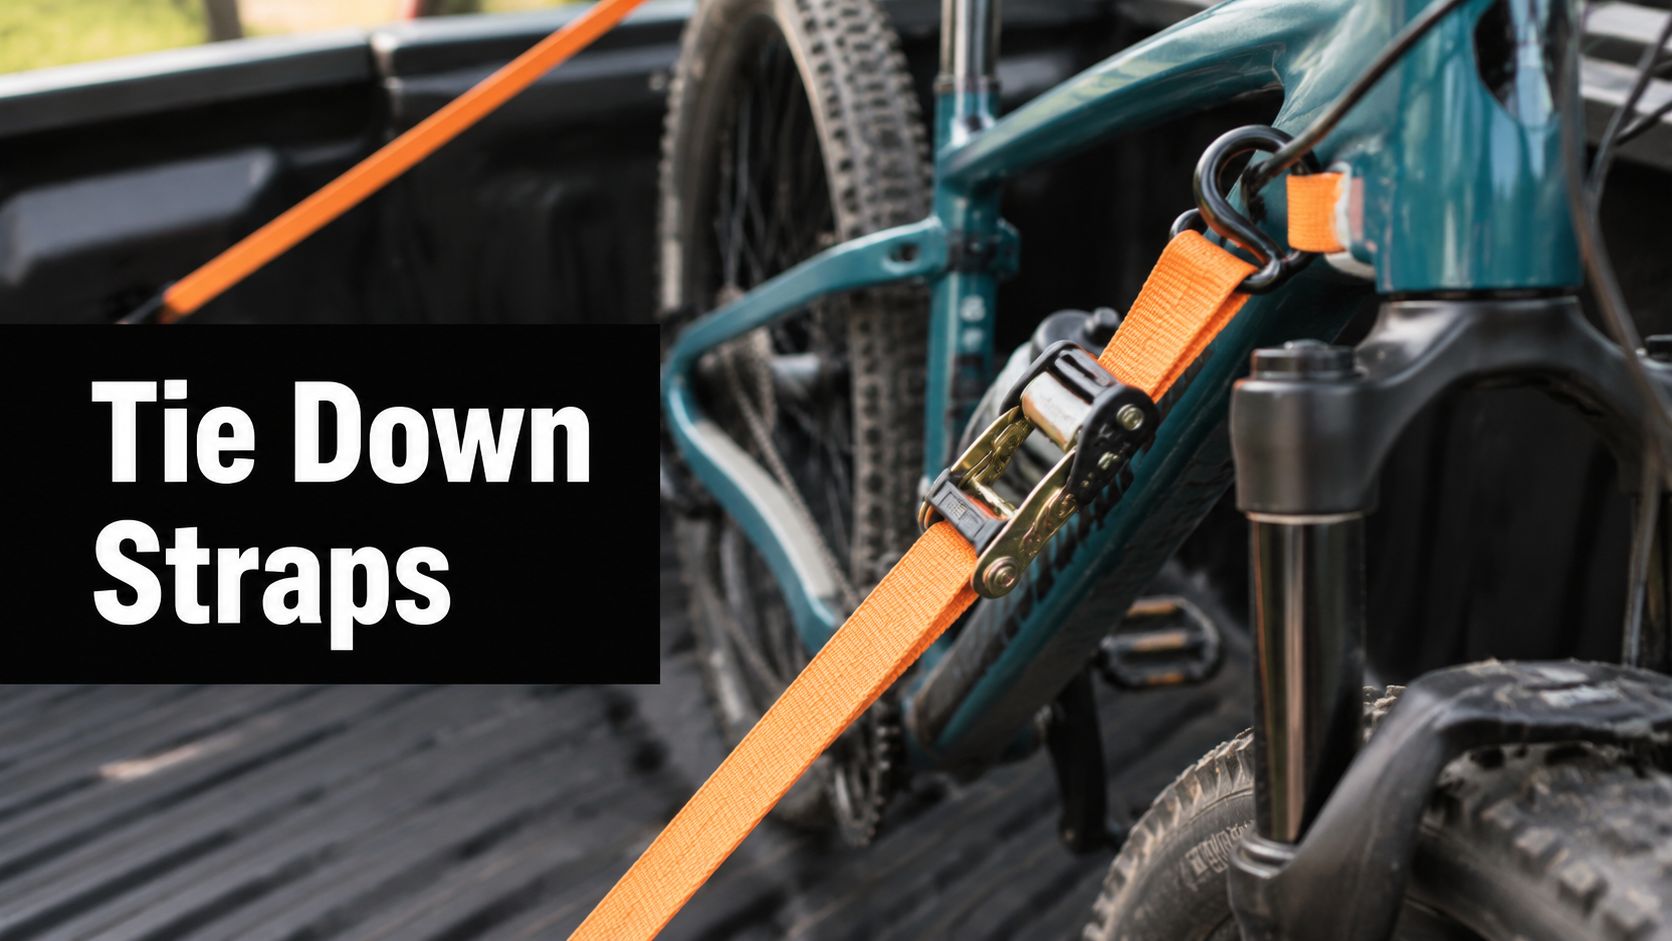
You've got the bike loaded, the tailgate's up, and the first roundabout is coming faster than you'd like. The straps looked fine in the driveway, but on the road a loose hook, a weak buckle, or a bad anchor point turns into the kind of shift you feel through the whole trailer. With tie down straps for bikes, the job isn't just holding a wheel in place, it's keeping an e-bike, scooter, or road bike settled when the vehicle pitches, brakes, and leans in traffic.
The market is big enough to show why this gear matters. The global tie-down straps market was valued at USD 489.17 million in 2026 and is projected to reach USD 728.62 million by 2035, with a 4.53% CAGR over that forecast period, while annual shipments were estimated at 300 million units in 2024 (Industry Research). Ratchet straps accounted for 44% of unit volume, cam straps 32%, and the individual retail segment for bike use sat at 15% of total volume, or about 45 million straps in 2024 in that report. That's a mature category, but most riders still get tripped up by the same two questions, which strap type fits the bike, and what rating is enough for the load they're carrying.
When a Strap Choice Actually Matters on the Road
The worst loading jobs usually don't fail in dramatic fashion. They start with a bike that looks fine in the driveway, then walks sideways after the first sharp turn, and by the time you hit a roundabout or a speed hump, the frame has shifted just enough to make everyone in the cab go quiet. That's the kind of moment that turns strap choice from a shopping decision into a road-safety decision.

Many riders blame the road when the actual problem is the setup. The strap was hooked to a weak tube, the webbing was too narrow, or the load never got re-checked after it settled. In transport work, the failures I see most often happen on short trips, especially when the rider assumes a 10-mile run is too short to bother with a second look.
Practical rule: if the bike shifts in the first few minutes, the problem was already there before the vehicle moved.
That's why people who load bikes for a living think in two steps. First, they match the strap style to the bike and the contact point. Then they check whether the strap rating fits the weight and motion the bike will see in the bed or trailer. Van Dyke Outdoors has a useful cargo securing guide that reflects the same basic mindset, secure the load before the road starts working on it.
If you're adding a rack or hitch setup, the fit matters too. A hitch-mounted system changes the angles the straps have to control, so the support hardware has to match the vehicle as well as the bike. A practical reference point is this bike rack adapter hitch, especially if the bike carrier itself is part of the restraint plan.
Ratchet vs Cam Buckle vs Soft Loop
The strap type you pick changes how the bike behaves under tension. A ratchet strap gives you the most mechanical advantage, which is why it shows up on heavier e-bikes, scooters, and longer highway runs. A cam buckle strap is faster to adjust and gentler to set, but it doesn't give you the same tension ceiling, so it works better for lighter bikes or short local hops where you're not fighting trailer bounce.
A soft loop strap isn't really a standalone tie-down in the usual sense. It's the bridge between the bike and the main strap, and it matters because many frames, stems, and painted tubes should never take a bare metal hook directly. On thin-walled aluminum, powder-coated scooter stems, or any area near carbon, a soft loop is the cleaner attachment because it spreads the contact and keeps metal off the finish.
| Strap Type | Best For | Tension Power | Risk to Frame | Typical Width |
|---|---|---|---|---|
| Ratchet Strap | Heavy e-bikes, scooters, highway transport | High | Higher if over-tightened | 1 inch to 2 inch |
| Cam Buckle Strap | Lighter bikes, short local runs | Moderate | Lower, easier to fine-tune | 1 inch to 2 inch |
| Soft Loop Strap | Frame attachment, paint protection, hook isolation | N/A, used with a main strap | Low when placed correctly | Often 1.5 inch |
The right answer usually isn't one strap type by itself, it's a combination. A ratchet strap alone can be too aggressive on an expensive frame, while a cam buckle alone can feel too soft once the trailer starts moving over broken pavement. Soft loops solve a different problem, they keep the hardware away from the bike's finish and give the main strap a safer attachment point.
A ratchet is the tool for control, not permission to crank harder. If the bike is already centered and stable, more tension can create damage faster than it adds security.
That's why setup quality matters more than raw hardware strength. The hook, the loop, the buckle, and the frame geometry all have to agree with each other. If one part of the chain is wrong, the strongest strap in the world won't make the load behave.
Sizing Straps by Working Load Limit
A lot of riders shop by length, then wonder why the bike still feels loose. Length tells you whether the strap reaches the anchor. Working load limit, or WLL, tells you whether the strap can do the job. Break strength is the failure point, WLL is the number that matters when the bike is moving behind a car or van.
The simplest rule is to choose tie-down straps rated at 3 to 4 times the bike's weight for safety (Journeyman HQ). That gives room for bumps, braking, and trailer flex without running the straps near their limit. The same guide gives a plain example, a 30-pound bike should use straps with at least 120 pounds of capacity, and it also notes that useful load is the working load limit, which is commonly about one-third of breaking strength.
For heavier setups, the margin matters even more. A motorcycle transport guide recommends at least 800 lbs break strength per strap, with four straps for about 3,200 lbs total holding capacity, and it advises checking the load again after the first 10 to 15 miles of travel (Journeyman HQ). That doesn't mean every e-bike needs motorcycle hardware, it means the operating number has to leave real headroom once the road starts shaking the system.
A practical way to think about it is this. A light road bike can usually live in a smaller WLL class, but an e-bike or scooter needs more width, more margin, and more restraint discipline because the mass sits differently and the load can shift faster. One useful reference point is a 833 lb WLL / 2,500 lb break strength strap example from the sizing chart above, which shows why the operating number is the one that counts.
The webbing width helps too. 1.5-inch to 2-inch webbing spreads force over more contact area than skinny straps, which is usually worth the small penalty in bulk. If the bike is expensive, heavy, or odd-shaped, that extra width is cheap insurance.
Video reference for load handling and strap placement is here.
If you're comparing loading gear, the best winch for trailer loading article from SwiftJet is a useful companion, because winch habits and strap habits often solve the same problem from opposite ends of the trailer.
Anchor Points on E-Bikes and Scooters
The biggest mistake I see on modern electric rides is treating them like old-school motorcycles. A lot of generic advice still talks about forks, triples, and rearsets, but many e-bikes and scooters don't have those parts in a form you'd want to strap to. The right anchor point depends on frame shape, battery placement, suspension, and whether the part you're looking at is structural or just covers structure.
On a hardtail e-bike, the safest contact usually sits on the frame triangle or the down tube near the head tube, because those areas are structural and don't move with suspension travel. On a step-through frame, the seat post or reinforced rack mounts are more realistic because the open center section doesn't give you the same rigid triangle a diamond frame does. That's why a setup that works on one commuter bike can look awkward or dangerous on another.
For scooters, the anchor choices are narrower. The stem base can work if it's structural, but a handlebar grip area or plastic shroud is a bad bet. Community guidance still leans toward the unsprung portion of the machine, and that principle holds up because suspension movement can eat tension if you clamp to the wrong end of the bike. The same logic explains why one e-bike rear rack can be useful as a support point while another rack is too light to trust for restraint.
Safe rule: strap to the structure, not to the trim. If the part flexes by hand, it's not the anchor.
There's a special warning for rack-mounted battery bikes. If the battery sits high or close to the attachment point, over-compression can stress the housing over time even if the strap doesn't visibly slip. That's where a four-point restraint makes more sense, with two points at the front and two at the rear, because stability comes from controlling the bike in more than one plane. Transport guides for motorcycle hauling use that four-point idea for good reason, and it adapts well to e-bikes and scooters that need side-to-side control as much as forward restraint.
The safest approach is simple. Find the rigid part of the frame, keep the hook away from cables and covers, and make sure the strap pulls the bike into the vehicle, not sideways against it. The bike should settle into the trailer or bed, not hang from it.
Tensioning Sequence and Re-Check Points
A good tie-down job feels boring by the time you finish it. The bike stands centered, the straps sit clean, and nothing is twisting under load. If you can still see the suspension fully collapsed or the front wheel floating oddly off the floor, the tension is wrong.
Start with a quick walkaround before you touch a strap. Check for brake lines, exposed cables, plastic body panels, and anything that could rub once the bike settles. Put the soft loop in place first if you're using one, because that gives you a clean attachment point before the main strap starts pulling.
Then take the slack out in stages. Bring the front straps snug, not brutal, then settle the bike and follow with the rear points if you're using them. Once the load is centered, finish the ratchet or cam buckle gradually so the bike doesn't get yanked off line on one side before the other side catches up.
A properly set bike should look planted from the rear and from the side. If you tap the wheel, it should feel held, not deadened into the floor by excessive compression. The mistake to avoid is thinking tighter always means safer. Too much tension can fully compress suspension or pull the frame into a side load that wasn't there in the first place.
Re-check the straps after the bike has settled, and again after the first stretch of road. That's the point where small mistakes show up.
One of the best examples of good strap discipline is a straightforward Thule e-bike rack guide, because rack fit and strap fit usually fail for the same reason, people trust the first pull and skip the second look. The safer habit is to stop after 10 to 15 miles and inspect the whole load again, especially if the route includes potholes, ramps, or a lot of braking.
If the bike moved, correct it before the next leg. If the strap relaxed, retension it. If the hook shifted on the tube, move the anchor to a better part of the frame before you keep driving.
Common Mistakes and a Printable Checklist
The first bad assumption is that break strength tells you what's safe. It doesn't. The operating number is working load limit, and the industry examples make that split very clear, with WLL commonly sitting around a third of breaking strength on rated tie-down gear. A strap can look heavy-duty and still be the wrong tool if the WLL is too low for the bike's mass and movement.
The second mistake is thinking more straps automatically solve the problem. Four points are usually more stable than two, but only if they're tensioned correctly and attached to the right structure. A badly placed four-strap setup can deform a frame faster than a clean two-strap setup that's working with the bike instead of against it.
The third mistake is hooking directly to painted or fragile surfaces and calling it secure. That's exactly where soft loops earn their keep. They protect the finish, reduce metal-to-metal contact, and make it easier to connect to a real structural point on an e-bike, scooter stem, or bike frame without chewing up the coating.
A few things to check before every load:
- Inspect the webbing: Look for frays, cuts, stiff spots, or heat damage before you hook anything up.
- Match the anchor: Use a frame tube, stem base, or reinforced mount, not plastic trim or a moving suspension cover.
- Confirm the rating: Use the WLL, not the break number, when judging whether the strap fits the bike.
- Set the tension gradually: Tighten in stages so the load centers instead of leaning hard to one side.
- Re-check after the first stretch of road: Stop after the load has settled and correct any slack before it becomes movement.
- Store the straps cleanly: Coil them dry and keep hooks from bending against each other in the toolbox or boot.
Punk Ride LLC carries an Accessories Collection for electric scooters and bikes, so it's one place to look if you're pairing transport gear with everyday urban mobility hardware. If you want to tighten up how your e-bike or scooter rides to the trailhead or service shop, visit Punk Ride LLC and compare the accessories that fit your setup.
Share:
Servicing a Scooter the Right Way for Longer Rides
How to Ride an Electric Scooter: Complete Beginner Guide